After getting all the engine parts cleaned up it was time to start assembling. After a road trip to Atkins Rotary Specialties in Puyallup for new solid corner seals, I had all the parts I needed to get started.
Having never worked on a rotary before, let alone build one, I read and re-read the manual several times to familiarize myself with the steps, and to make sure I knew of any tips or tricks before I got started. There were the usual items; don't drop any parts into the engine, don't mix up the parts between rotors, have everything ready because you're going to be using RTV and the block bolts need to be torqued before it sets. Nothing too worrisome.
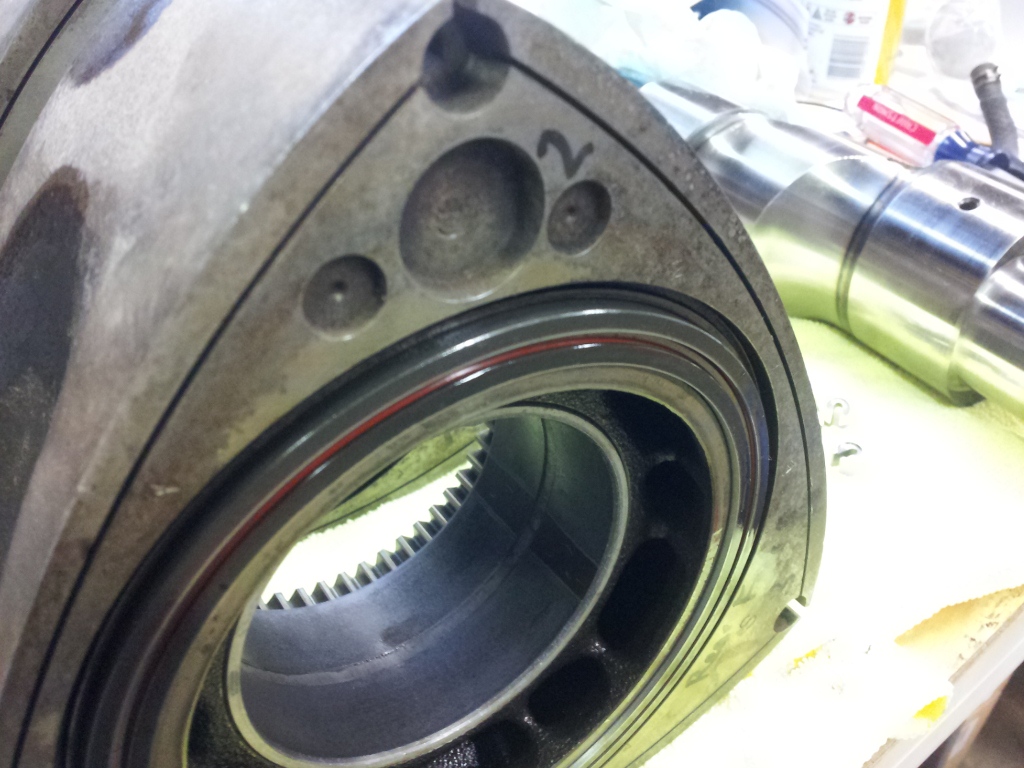
I started out by fitting the inner and outer oil rings on each rotor. There are two on each side (you can see the orange seal inside the carrier).


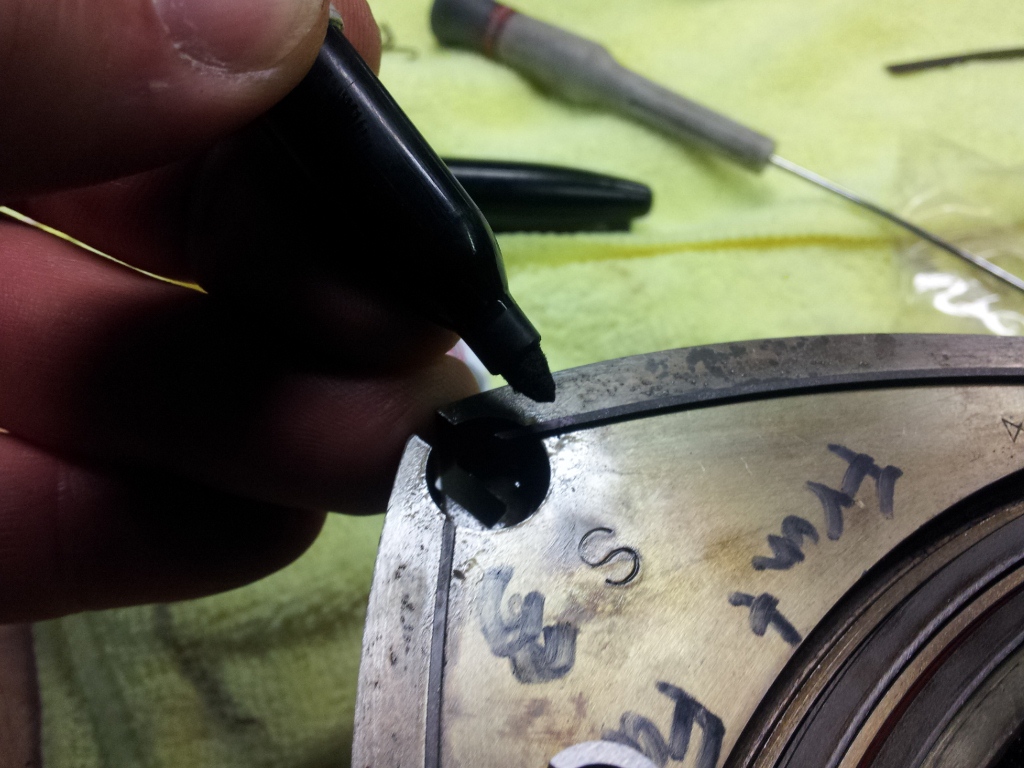
I used a dremel to grind each seal to the proper length, leaving just a slight gap for thermal expansion. After custom fitting 12 side seals, and assembling each rotor, I could start putting the engine together.
Unlike building a piston engine, you build a rotary by stacking the parts together from the front to the rear. I started by fitting the front bearing into the front plate. It was not going easily so I had to beat the piss out of it with a rubber mallet to seat it fully.

Placing the front plate face down, I started stacking the parts. First the front rotor, with one apex pointing to the 12 o'clock position.


And wouldn't you know it, the front bearing plate that had to be beaten mercilessly into submission simply dropped out of the front plate. So I had to pull off the rotor, pull the eccentric shaft back out, then re-install the bearing plate and put a couple bolts in to hold it in place.
After installing the front rotor and shaft again, I prepped the front rotor casing. There is an inner thermal seal (orange) and an outer water seal (black) between each rotor casing and plate. The thermal seal is pretty much the same diameter as the channel that it fits in, so once you get it in there it stays in place. The water seal is a little smaller than the channel in the casing, so I had to tape it into place. I used blue painter's tape so that it would be easy to remove once the casing and plates were in place and making contact.
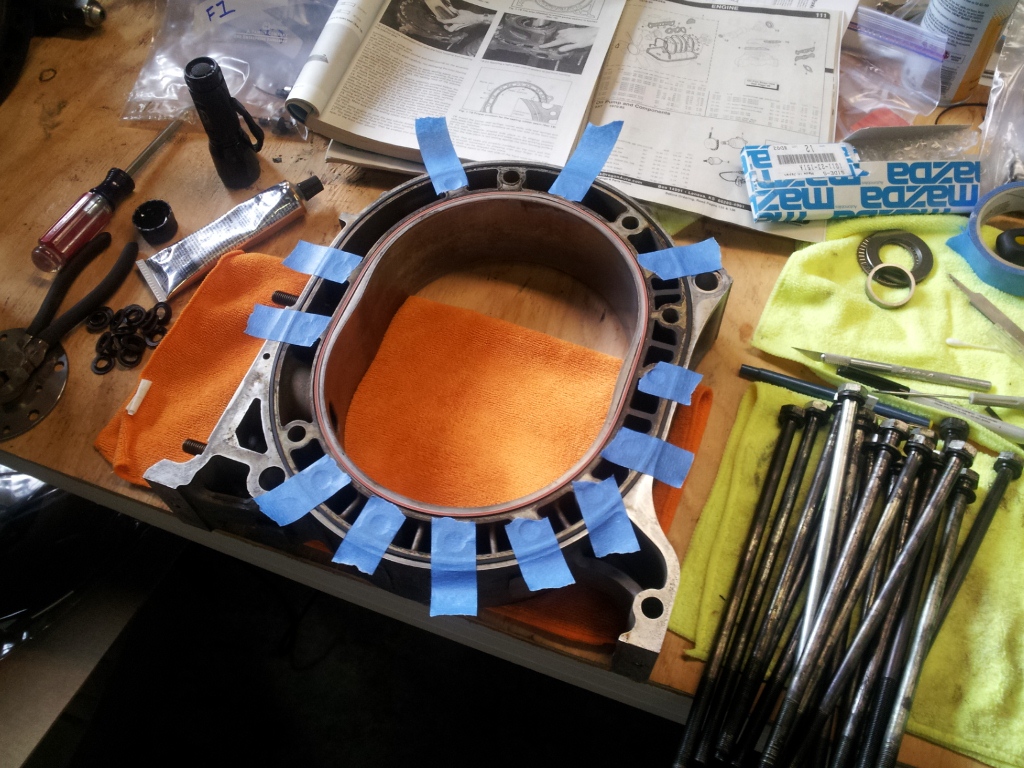
Next I applied RTV to the surfaces just around each of the block bolts.

I assume this to prevent/reduce coolant from making its way into the bolt shafts and leaking out the back of the motor, but I would think that's what all the other seals are for.
This is where the pics get a little sketchy (and by sketchy I mean non-existent for a good stretch), because things really went south in a hurry when I tried to put the center plate on. Because of the shape of the eccentric shaft, getting the center plate on is no easy task, and impossible to perform alone. I enlisted the help of the wife, having her lift the eccentric shaft out of the rotor and front plate just enough to allow the center plate to drop into position.
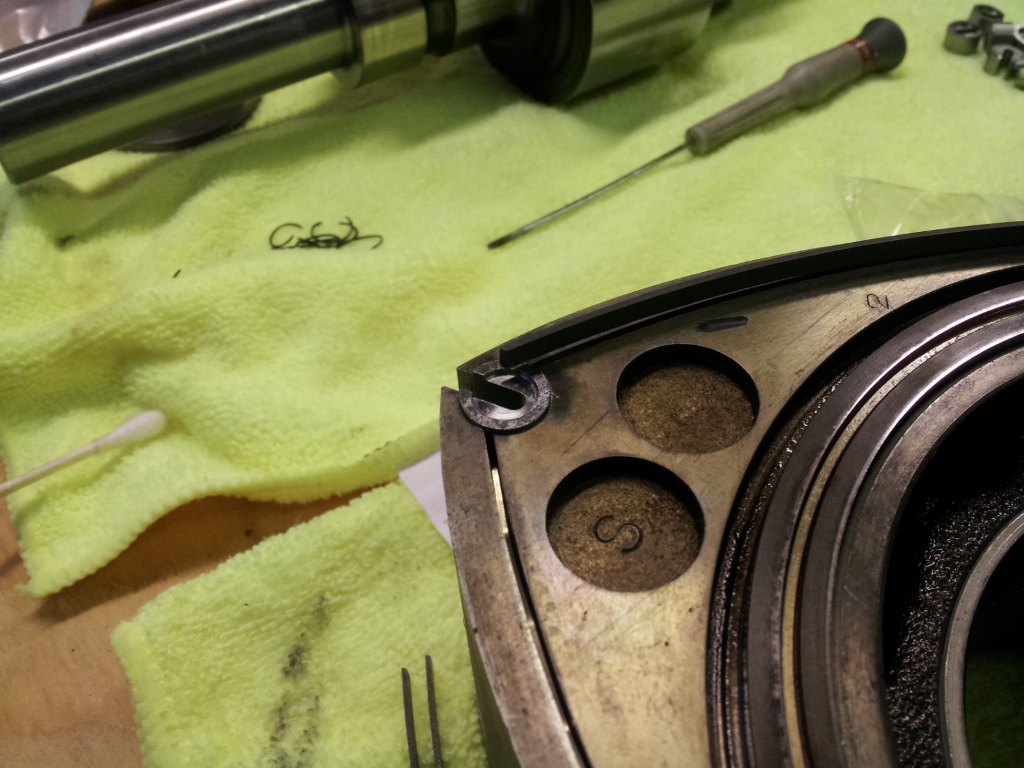
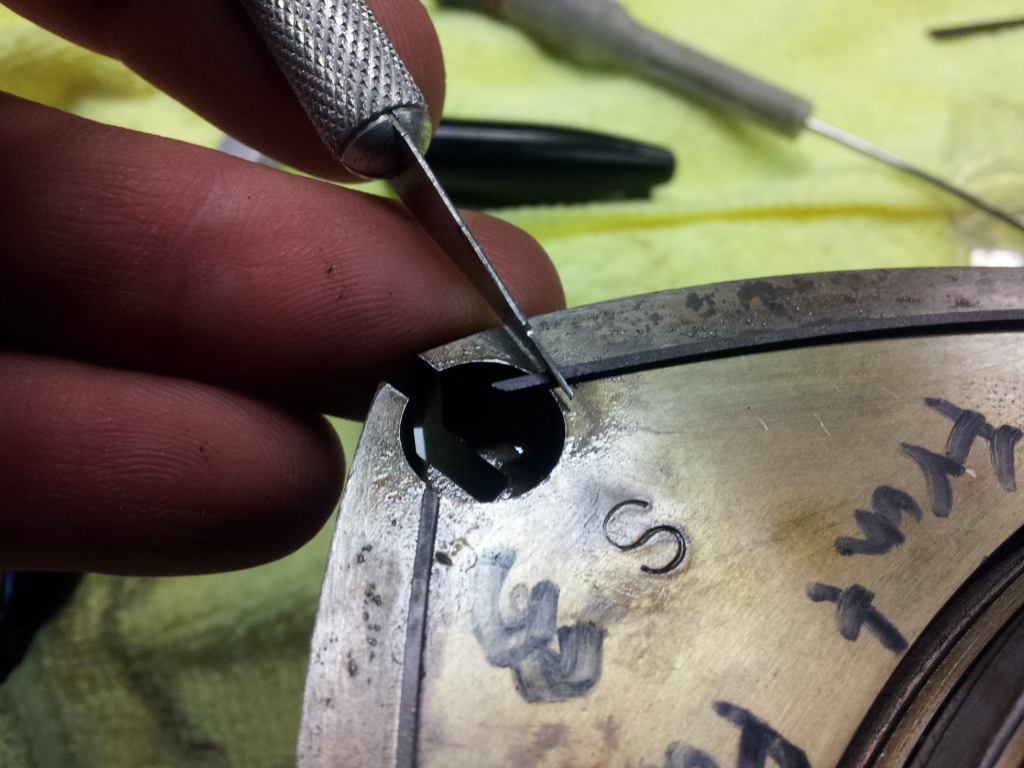
Now the manual leaves a few things out, such as you don't need to fully seat the apex seal side piece during assembly. If you try, one or more of them will pop out and fly either onto the floor, into the combustion chamber, or into one of the water jacket channels where it's impossible to retrieve without tearing the engine back apart.
The eccentric shaft wasn't budging, so I suggested turning it a little. When she did, all three side pieces shot out. I found two, but couldn't find the third. I grabbed a flashlight and started looking around on the floor; nothing. I looked in the combustion chamber; nothing. Then when I looked into one of the water jacket channels, there it was - all the way at the bottom...
Hooray for me.
Keep in mind that I have RTV curing, so I'm bending my brain trying to come up with an idea to get this part the size of a dime out of this partially assembled engine. I tried putting some tape on the end of a screw driver and ramming it down there to see if I could snag it. Unfortunately, all the motor oil that I'd lubed everything up with made that impossible.
I tried holding everything in place and upending it, to see if the side piece would fall out; that was a disastrous move. Nearly all the corner seals and the other side pieces came falling out all over the garage floor. I wasn't supposed to mix up any of the parts but that horse is clearly out of the barn. I won't recount the flurry of expletives that followed. The wife was wise enough to shoot a "let me know if you need any more help" while she headed for cover in the house, leaving me to rectify this mess.
I ended up having to completely pull the rotor out, then tried upending it again and it finally came out. In short, I got everything back to the point where I needed help from the wife. This time everything went much smoother. Too smooth.
When I reached for the rear rotor, something struck me as odd. I noticed a nice "F" in the casting. That can't be right; this is supposed to be the rear rotor. Yep; I'd installed the wrong rotor in the front. I nearly cried. The motor had won the battle, but I was determined to win the war. I decided that it was a good idea to take a break for lunch. Good thing they had a bar...
No comments:
Post a Comment