Racing Seat and
Harness Installation In 90 (or so) Easy Steps -by resident seat and harness expert, Van
I will explain in an easy to follow, step-by-step manner how
you too can install a racing seat and six point racing harness. Please allow 3
months for completion.
Warning!!
Installing a racing seat
requires the use of dangerous power tools in conjunction with alcohol
consumption. Always use appropriate eye
and hearing protection (unless you can’t remember where your goggles are, or
you can see them, but they are clear on the other side of the garage and going
and getting them is really a hassle), and always use good judgment (for
instance, always decide against building a race car).
1) Spend
months agonizing over which seat to buy.
Keep in mind the following criteria:
a. Drivers
come in all shapes and sizes & they all need to fit in the seat,
b. The
seat needs to meet LeMons rules,
c.
You want to be able to install a slider so that
the seat is adjustable,
d. You
will need to be able to install a seat back brace.
Things to worry about later:
e. The
seat needs to fit in the car,
f.
Rule changes may make your purchase obsolete.
When deciding which seat to buy, price is
going to be an issue. It’s tempting to
go the less expensive route, but remember, this thing is going to protect your
life in the event of an accident. On the
other hand, money you save on a seat purchase can be used to buy beer.
2) Wait
practically forever for the seat to arrive.
3) Open
the big box that the seat has been shipped in.
Bask in its shiny glory. Enjoy
how wonderful the seat looks now because once the installation begins, the
polished aluminum glow will fade and you will learn to hate the filthy thing
with all your heart.
4) Go
to the hardware store and purchase all the fasteners you will need (nuts,
bolts, washers, fender washers, lock washers, locking nuts, & jam nuts).
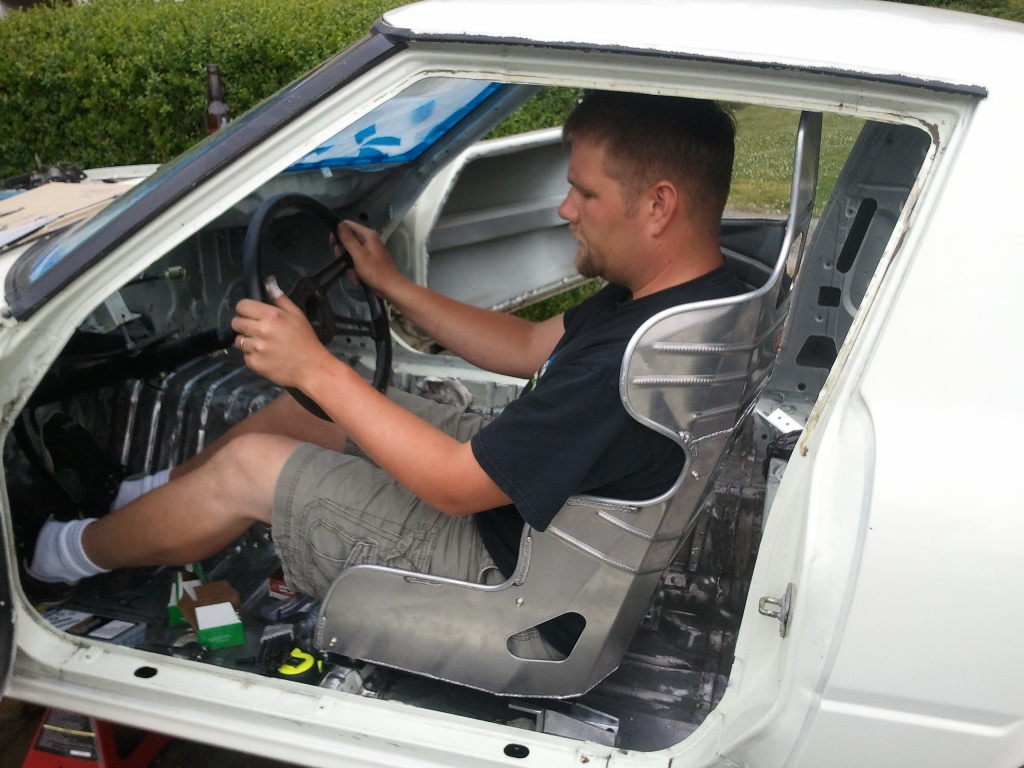
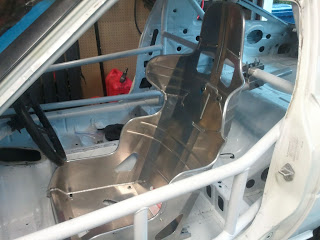
5) Test
fit the seat in the race car. Take
special note that the door won’t close because the seat is too wide. Also note
that it seems to sit pretty high in the car.
Probably too high for the driver’s helmeted heads to be within the roll
cage.
6) Remove
seat from car.
7) Cut
section out of transmission tunnel and cut rear factory seat mounting bracket out
of driver’s floor.
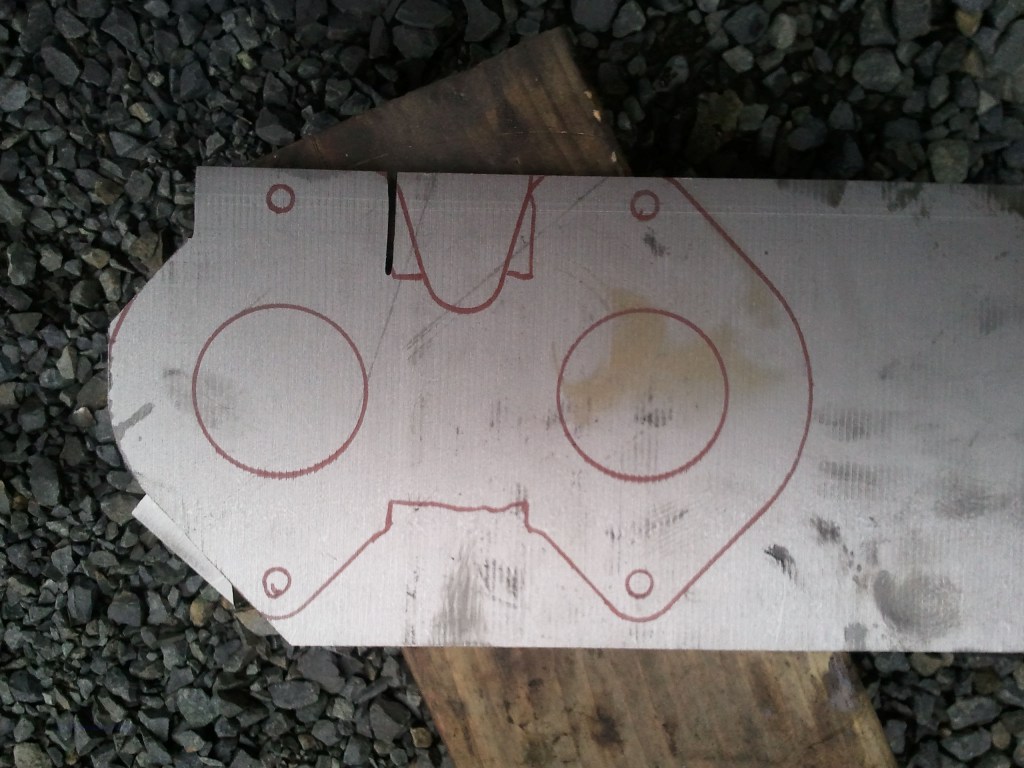
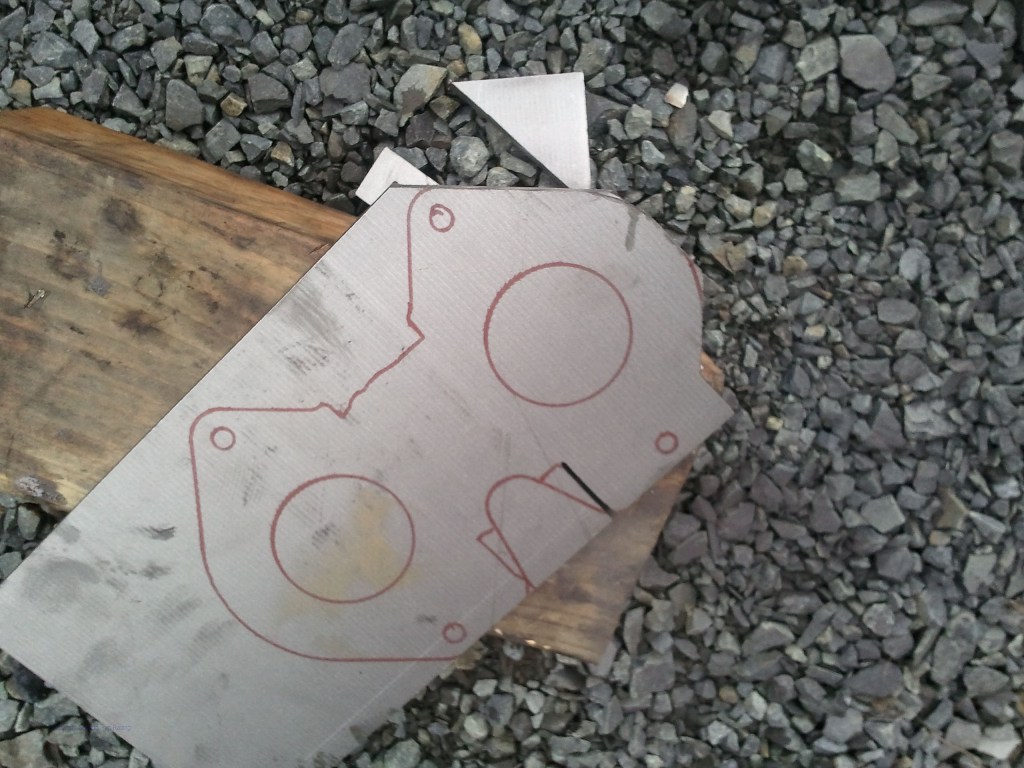
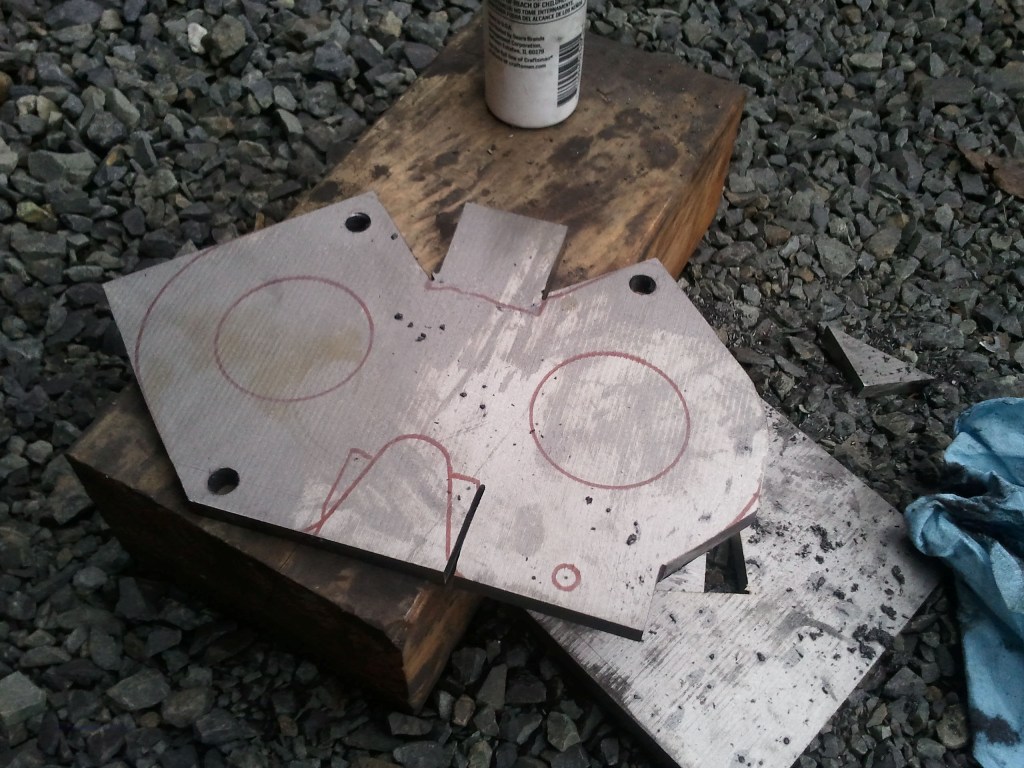
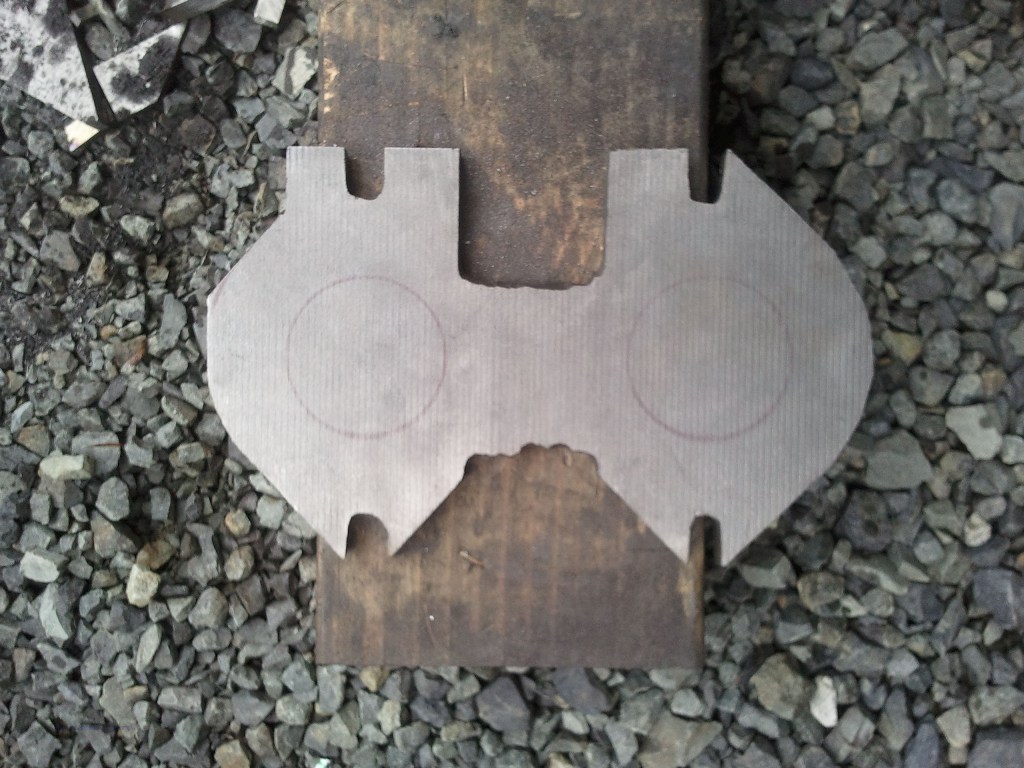
8) Carefully
measure opening in transmission tunnel and fabricate cardboard template to
cover hole.
9) Duplicate
cardboard template by painstakingly cutting & trimming a piece of aluminum.
10) Using
a heavy brass hammer and block off wood, pound aluminum into approximate shape
to fill hole.
11) Fasten
new transmission tunnel into place using rivets, nuts, bolts, and RTV.
12) Drink
a beer and tell yourself that it’s actually a good thing that your handiwork
looks like crap.
13) Carefully
study instructions that came with seat slider assembly. Marvel at how money and trees have been saved
by printing the installation instructions on a 3 inch by 4 inch piece of paper
that contains absolutely no useful information (in four languages!).
14) Spend
a couple of hours installing seat sliders to bottom of seat via trial and
error.
15) Install
seat mounts to bottom of sliders.
16) Put
seat in car and decide, “Well, that’s never going to work!”
17) Remove
seat from car.
18) Trim
seat mounts to fit better.
19) Put
seat in car.
20) Remove
seat from car and trim more.
21) Repeat
steps 19 & 20 until seat fits (about 200 times).
22) Put
seat back in car and screw around trying to get the thing to line up.
23) Decide
that the fasteners you bought don’t include everything you needed to finish
this today and 5 hours of this bullshit is enough for one day.
24) Drink
a beer.
25) Stop
at hardware store to buy more fasteners.
26) Put
seat in car and mark holes for drilling through floor boards.
27) Remove
seat from car and drill holes in floor boards.
28) Put
seat in car and find that the holes don’t line up. Scratch head and wonder how the hell that
could have happened.
29) Mark
additional spots for drilling, remove seat from car, open a beer.
30) Put
seat in car and bolt in. Discover that
the slider allows for almost an entire inch of forward and backward movement!!
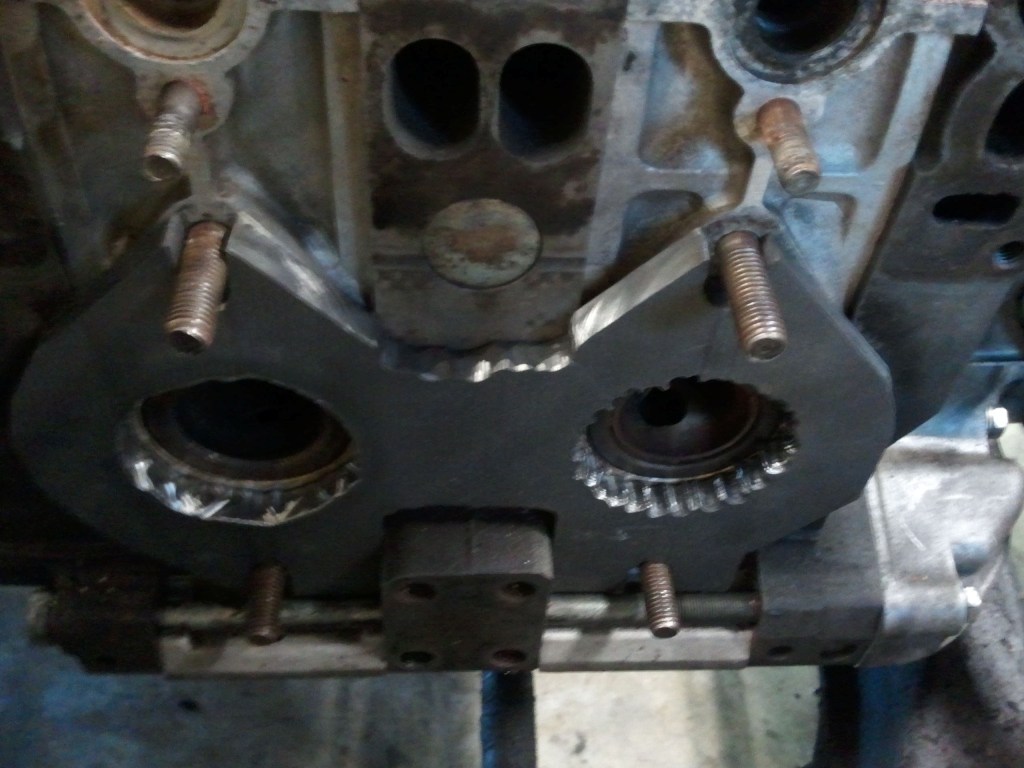
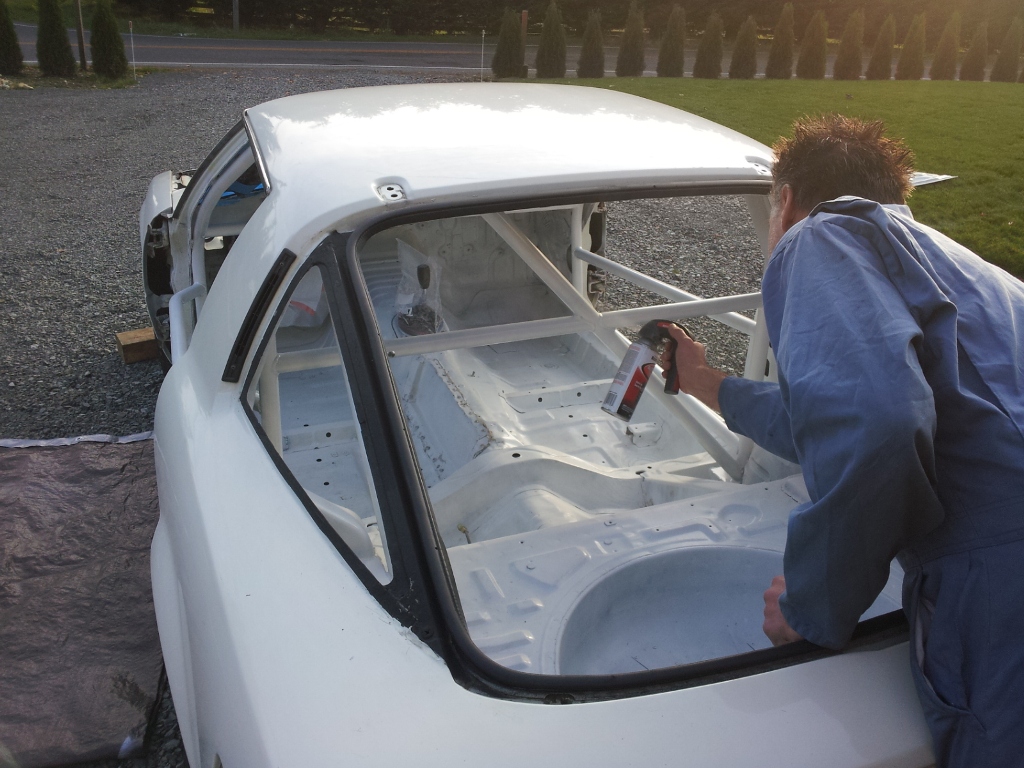
Seat
test fitment
31) Take
car to roll cage builders.
32) Figure
out team name.
33) Design
team T-shirts.
34) Wonder
if you are ever going to see the car again.
35) Drink
beer.
36) Today’s
the day! Pick up the car from the roll cage builders.
37) Find
out that the seat fit is even tighter than you thought. Race seat will need to “toe out” at the front
in order for driver to clear roll cage.
Cage builder has done you a huge favor though and welded bolts into the
factory seat brace so that you don’t need to go through the floor (thanks
Doug!)
38) Take
car home and test fit seat. Discover
that new holes will need to be drilled in the floor pan.
39) Drill
holes and wonder at which point the bottom of the car goes from being “a piece
of steel with holes drilled in it” to “a big hole with some steel still in the
way”.
40) Mount
seat in car.
41) Have
tallest driver get in car and discover that the top of his helmet might be too
high.
42) Email
LeMons technical guru for roll cage clearance clarification.
43) Drink
beer.
44) Check
email and find out that seat will definitely need to be lowered.
45) Remove
seat from car.
46) Remove
Slider from seat (that thing was a POS any.
Glad to see it go.).
47) Attach
seat mounts directly to seat and put back in car. Discover that with the seat sliders gone, you
are going to need to drill holes in the seat itself to mount the front of the
thing.
48) Remove
seat from car and carefully measure locations for new holes.
49) Drill
new holes and tell yourself that without side windows, a few holes in the
bottom of the car will be handy for allowing rain to drain out.
50) Mount
seat in car.
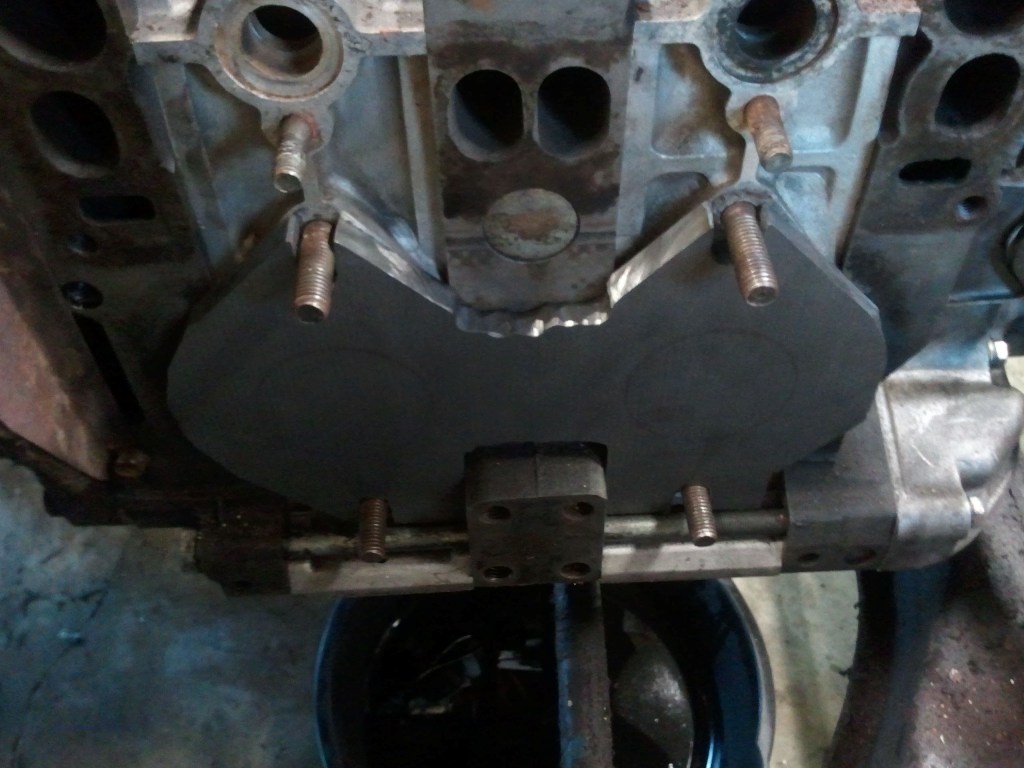
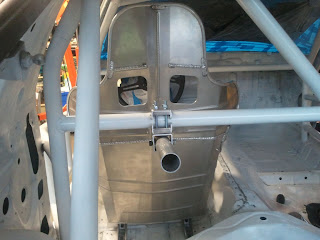
Making the seat fit with the roll cage
installed
51) Rear
mounts are too high, remove seat from car.
52) Take
a drink of beer.
53) Try
to get some warmth and feeling into your fingers and wonder where you put your
gloves.
54) Trim
mounts and put seat in car.
55) Repeat
steps 51 through 54 until seat fits.
Frozen steel and aluminum will suck the heat right out of your hands.
56) Have
tallest driver get in seat with helmet on and find that clearance is more than
adequate.
57) Success!!
Enjoy a beer!!
58) Find
out from further reading of the rules that the seat is now too LOW because
shoulder harnesses are coming through the seatback at a down angle.
59) Give
thanks that you still have one seat mount that has not felt the spinning,
grinding edge of a cutting disk yet.
60) Drill
more holes, cut more aluminum, and finally wrestle the seat into a position
that works inside the car.
Installing seat back brace
61) Discover
that rather than 8 months until the next LeMons race, you actually have 4
months.
62) Order
racing harness (thankfully you actually researched this before hand and have a
pretty good idea of what you need.
63) Receive
racing harness and mounting hardware (ordered separately).
64) Remove
seat.
65) Follow
instructions explicitly for mounting of anti-submarine belts. Hey, that was easy!
66) Mount
seat.
67) Agonize
over locations for lap belts.
68) Screw
that, install the shoulder belts. Another
success.
69) Decide
on lap belt location and remove seat.
70) Drill
your holes.
71) Attach
one lap belt. So far, so good.
72) Mount
other lap belt…. WTF? This one is
different from the other 5?! Looks like
mounting the final belt will have to wait.
Oddball lap belt connector.
73) Drink
a beer.
74) Luckily,
CR is there and works with guys that fabricate stuff from steel all day long. Even more luckily, CR brought over a couple
of growlers of micro-brew.
75) Attach
lap top belt with zip ties and try harness.
76) Drink
some micro-brew. That’s the stuff!
77) Anti-submarine
belts don’t reach and mounts will need to be moved forward.
78) Remove
seat and relocate anti-submarine mounts.
Anti-submarine belt installation, take
2. Actually took 3 tries as the 3” inch
harness clips needed to be replaced with 2” harness clips. How many holes can you count?
79) Drink
some micro-brew.
80) Install
seat and check anti-submarine belt length.
That’s close.
81) Send
CR a drawing of what you need fabricated.
82) Get
bracket from CR. Thanks CR!!
83) Install
new bracket. Works perfect!
84) Install
se… WTF? New bracket is interfering with
the right rear seat mount.
85) Remove
seat and trim seat mount.
86) Test
fit seat.
87) Repeat
85 & 86 until seat fits.
88) Install
seat for the last time (Ha!). Job
complete!!
89) Find
the gloves that you were missing in step 53.
Success!
Bask in the glory. Sure, the seat
no longer has that “brand new” look that it had when you bought because you
drilled a bunch of holes in it, and you don’t have any use at all for that
fancy Italian slider, and the aluminum mounting brackets have been cut more
times than -----------------, but the job is done. And done well! Well enough, anyway.
That’s
the abridged version. In actuality, the
seat was removed and installed in the car absolutely no less than 100 times.


