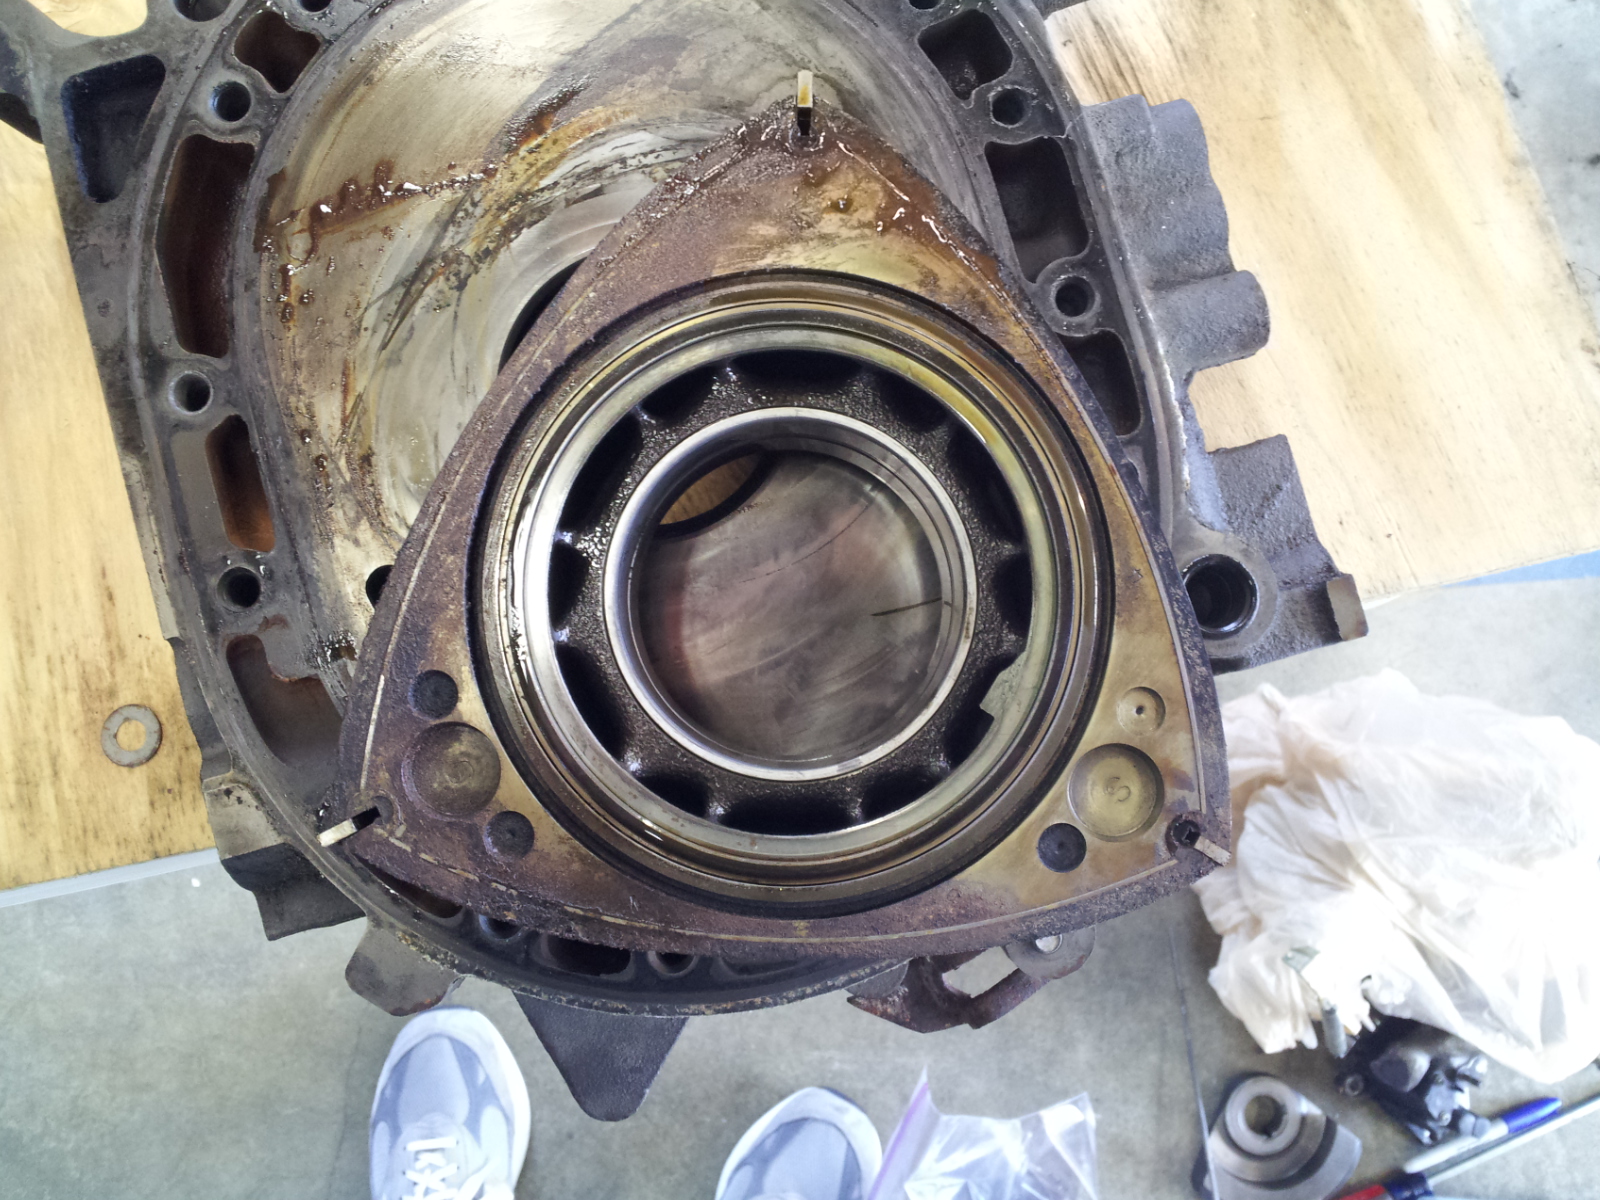
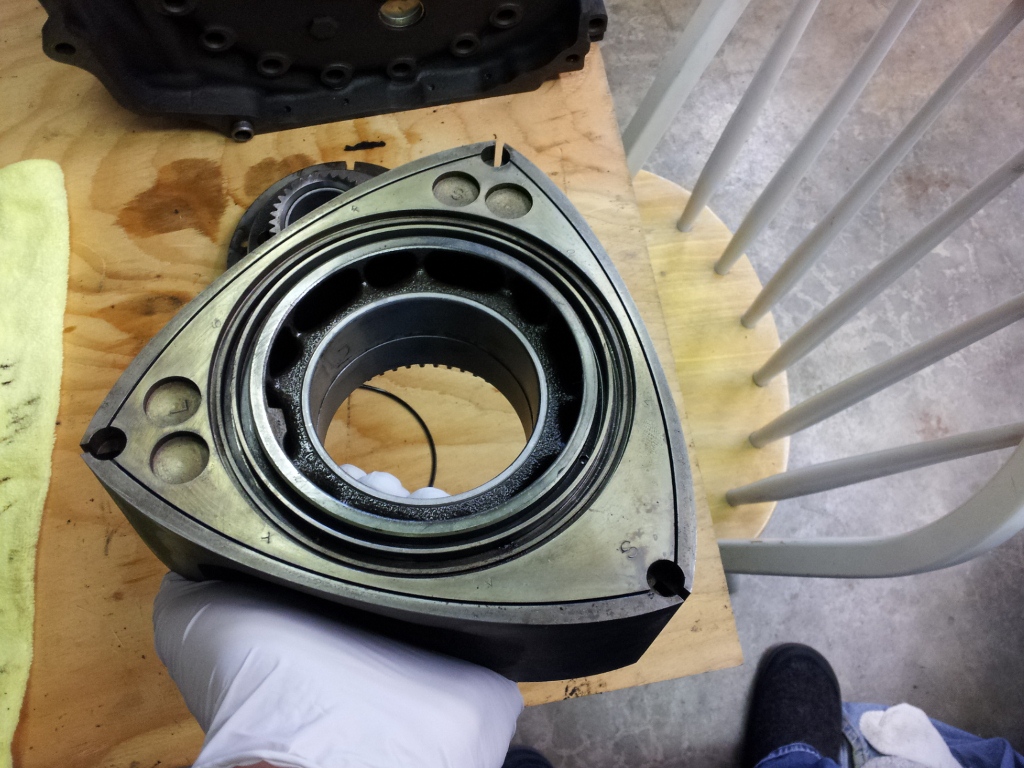
36 days and counting until our inaugural race at Sears Point, March 24-25.
Crunch time.
Since the last update waaaay back in January, we've made a little more progress. We had planned to try to start it this last weekend, but things didn't exactly work out that way.
Saturday
We put a few gallons of premixed fuel in the car so that we could fire up the fuel pump and check the system for leaks. After figuring out our fancy fuel jugs (namely, not having fuel spitting back out of the fill neck all over the garage floor), we turned on the fuel pump. Everything seemed good, until we noticed that the secondaries in the carb were literally filling with fuel. That ain't normal.
I had to take a break to make a run to the airport to pick up the wife from a business trip to Canada, and when I got back, Van had stopped the flood of fuel into the carb, but the motor had quite a bit of fuel in it at that point. Probably not a good idea to try to fire it up inside the garage... We decided that we'd finish up some odds and ends that day, then roll the car into the driveway on Sunday and give her a whirl.
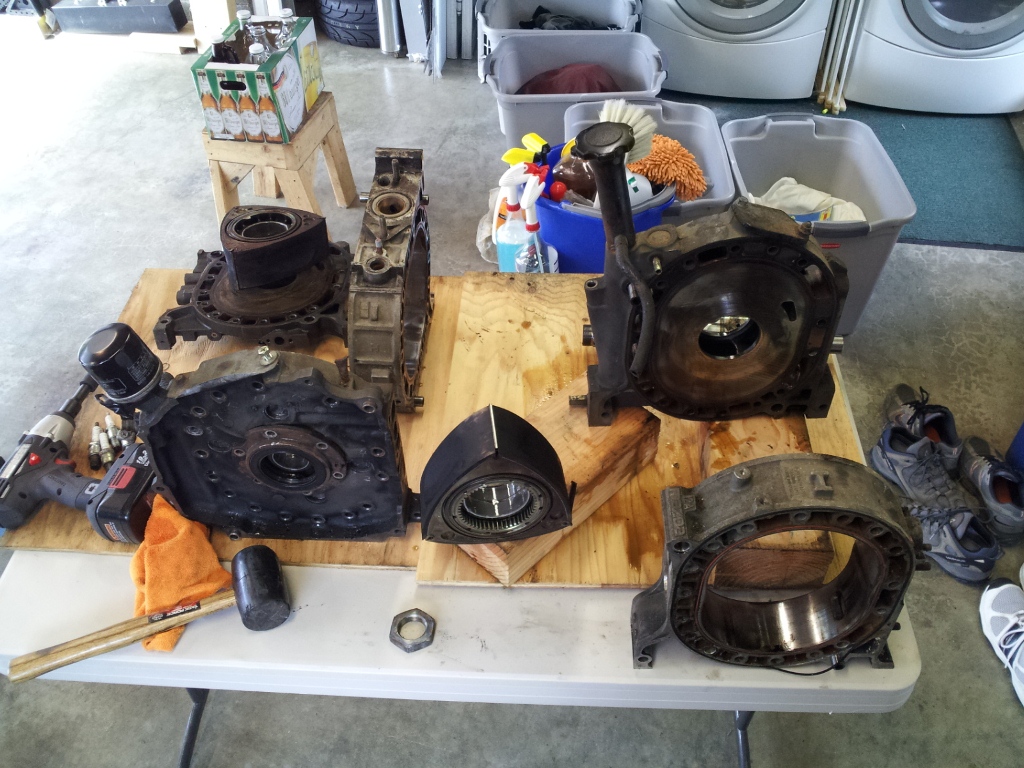
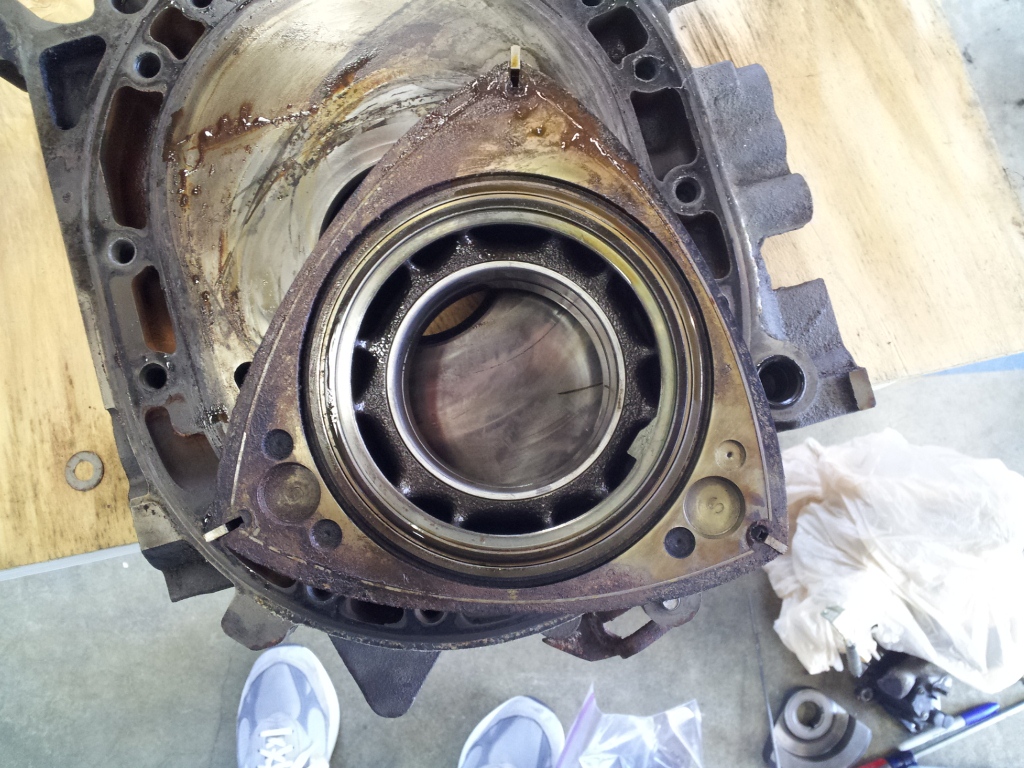
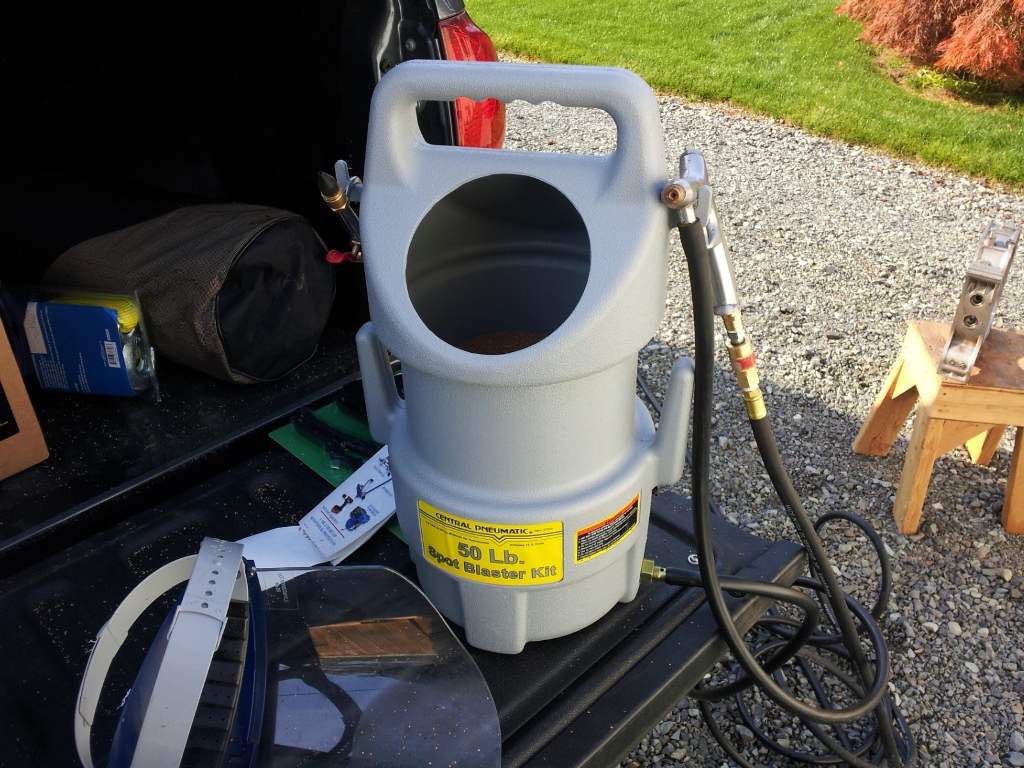
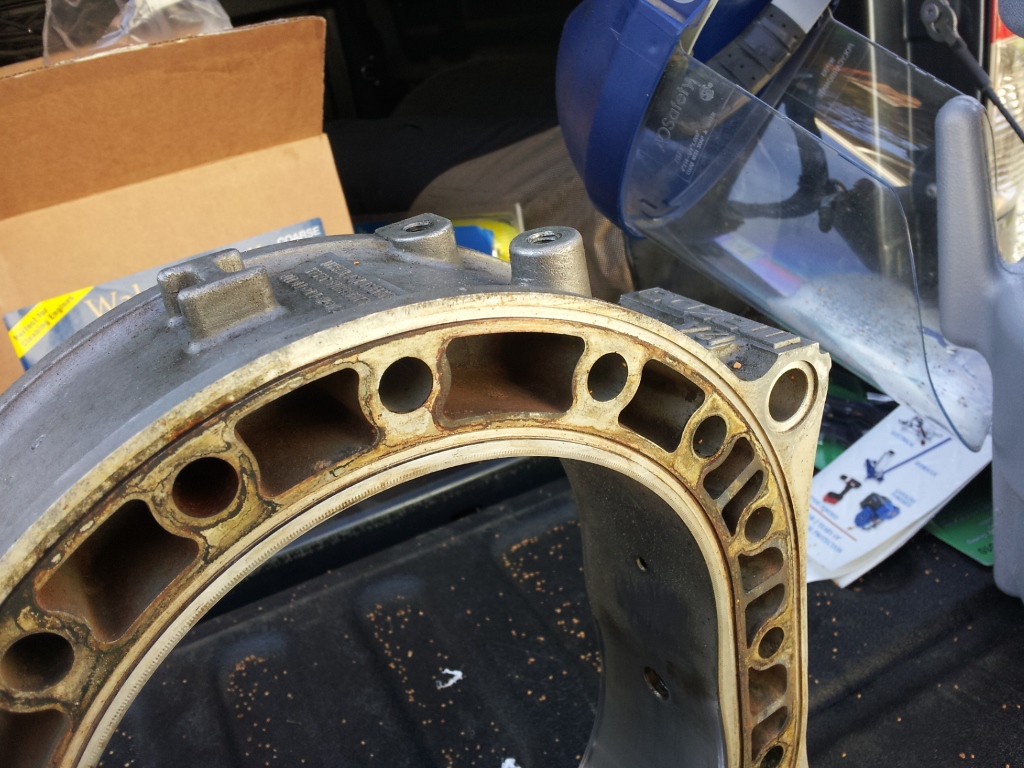
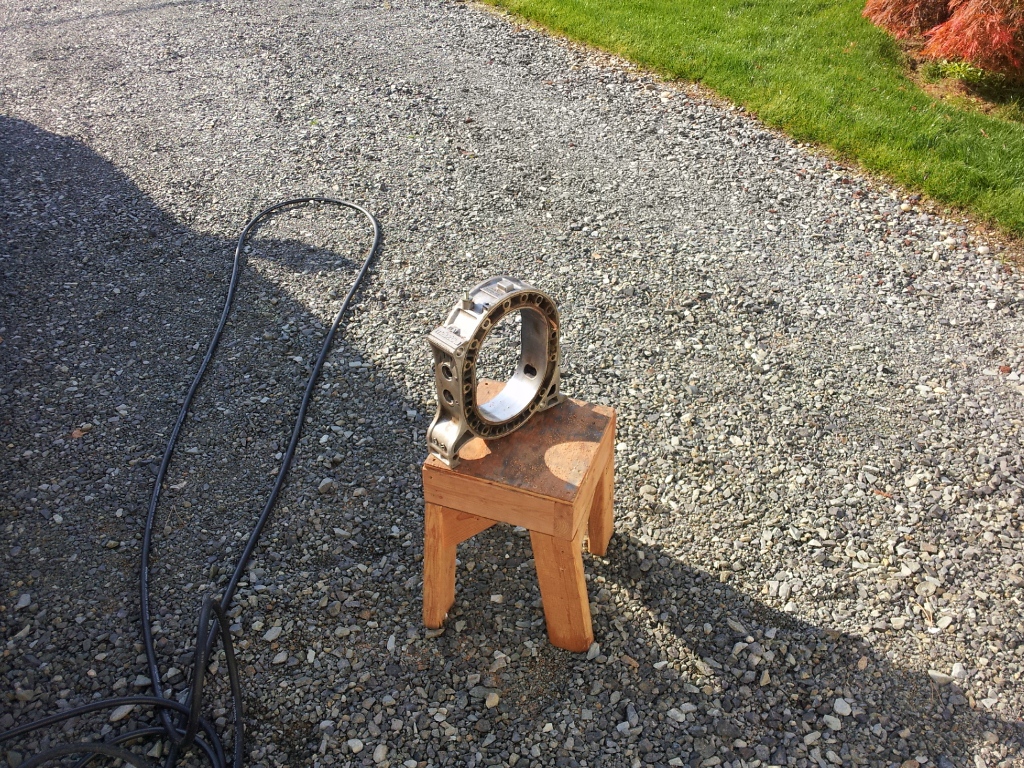
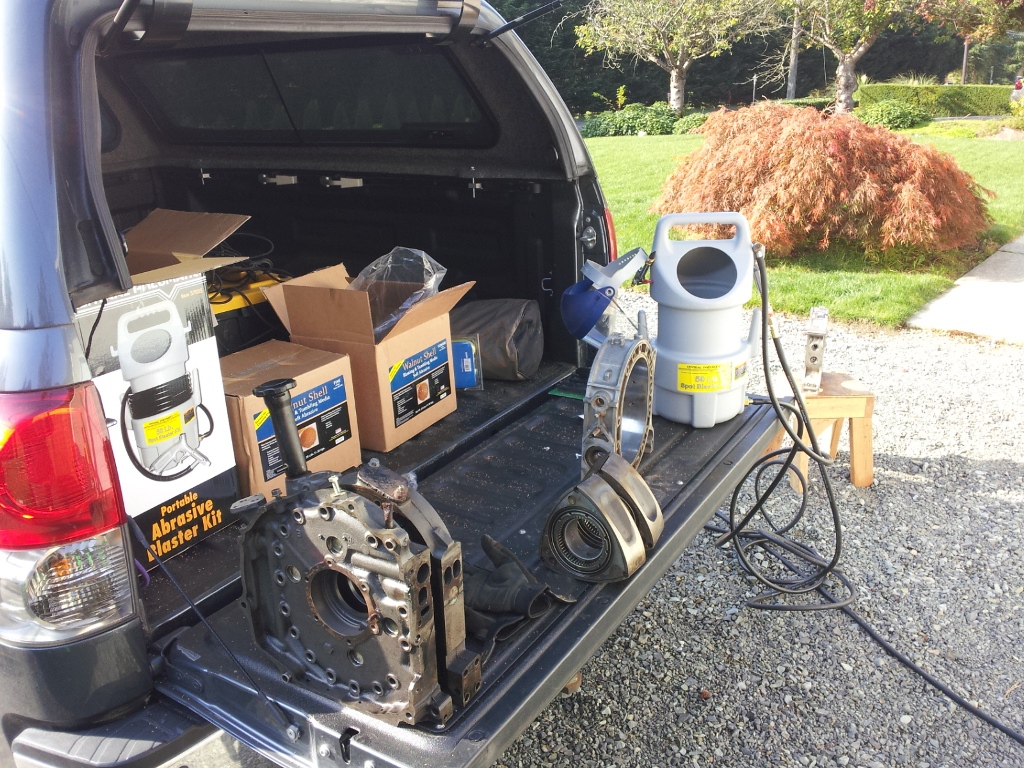
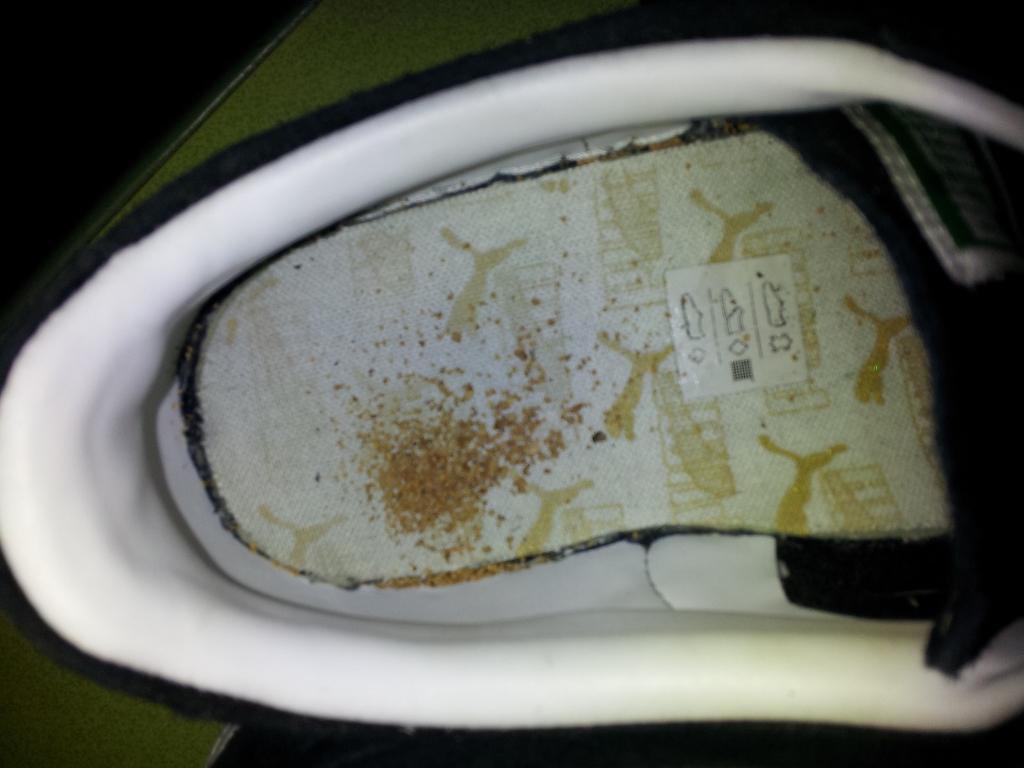
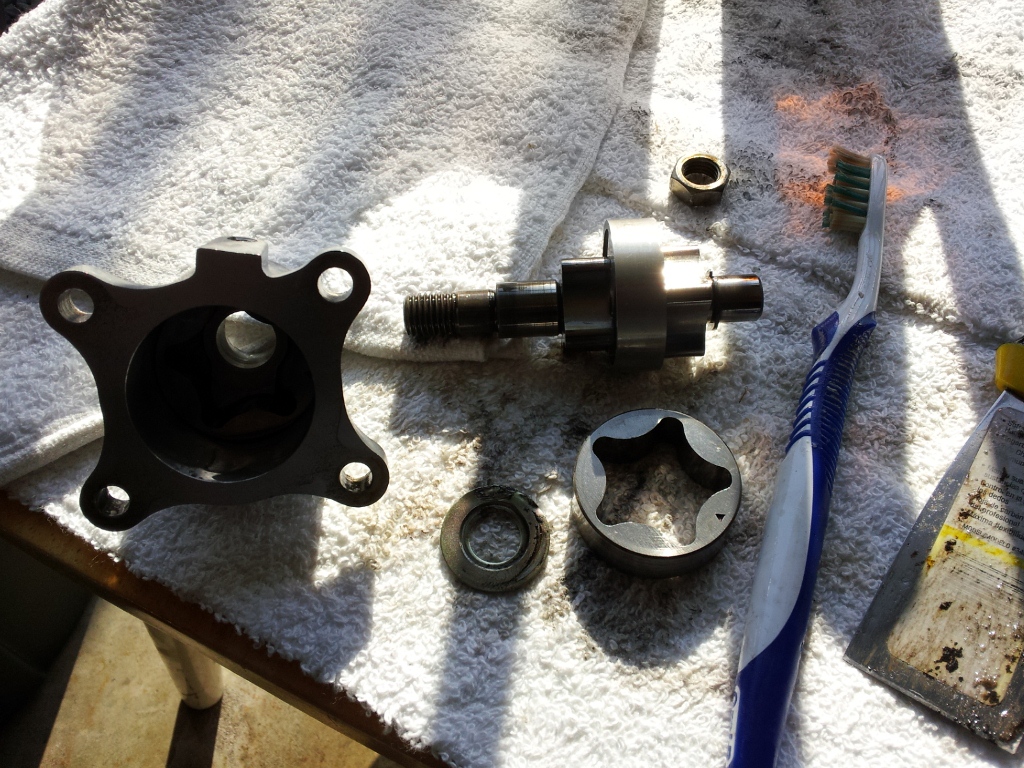
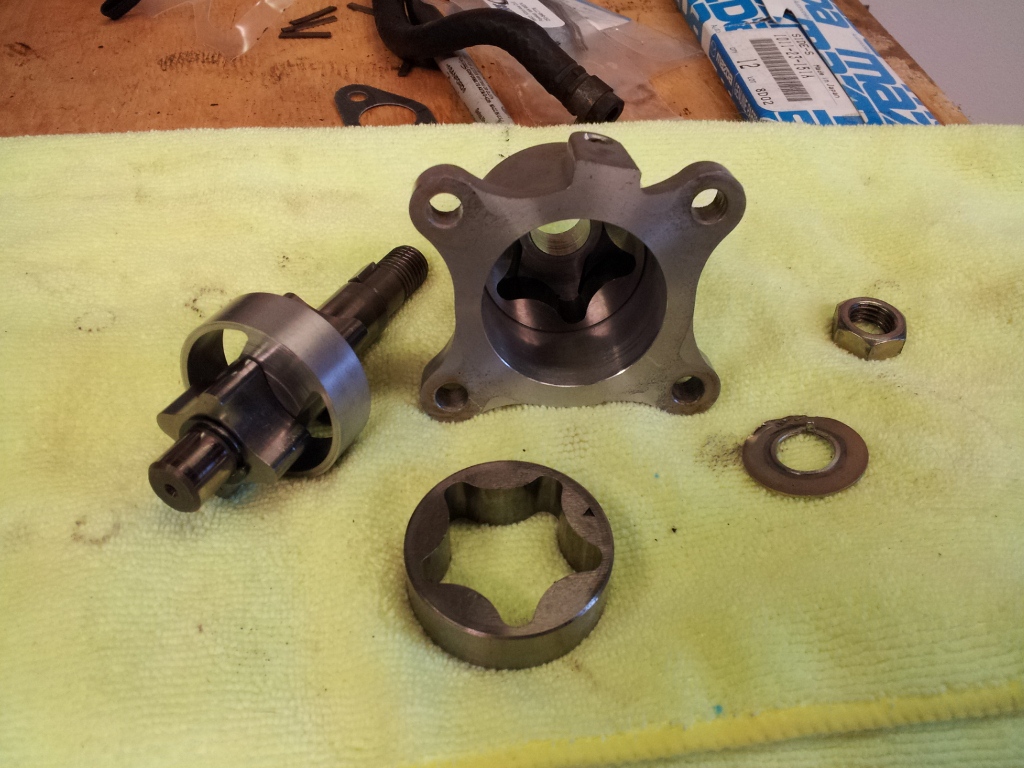
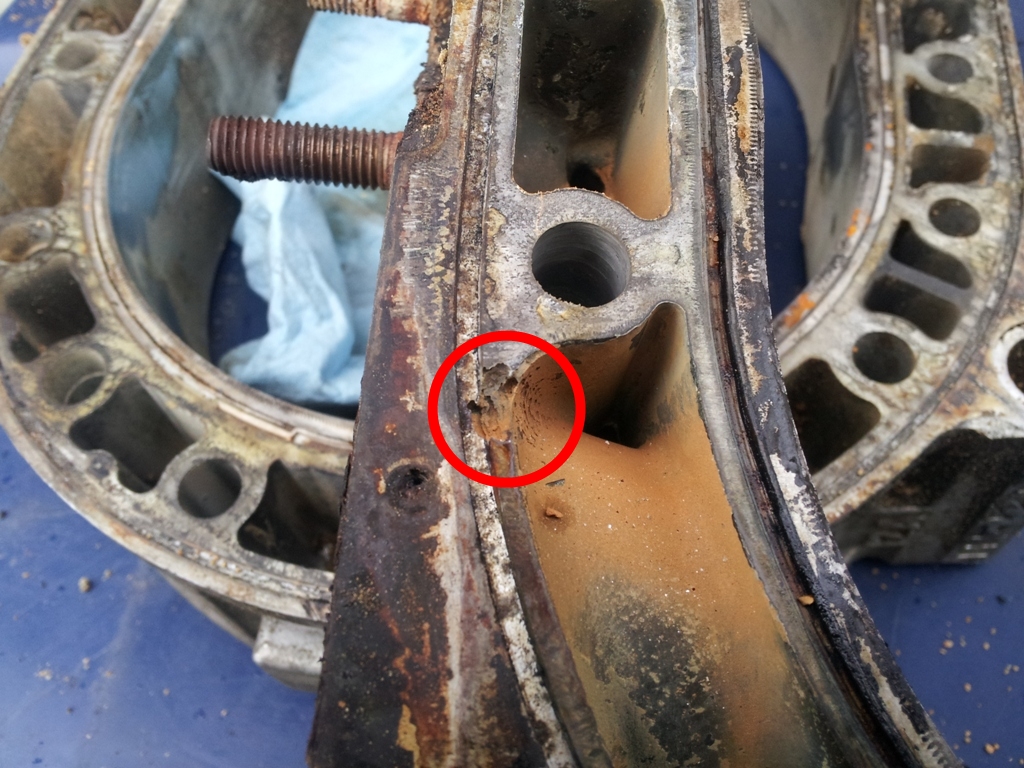
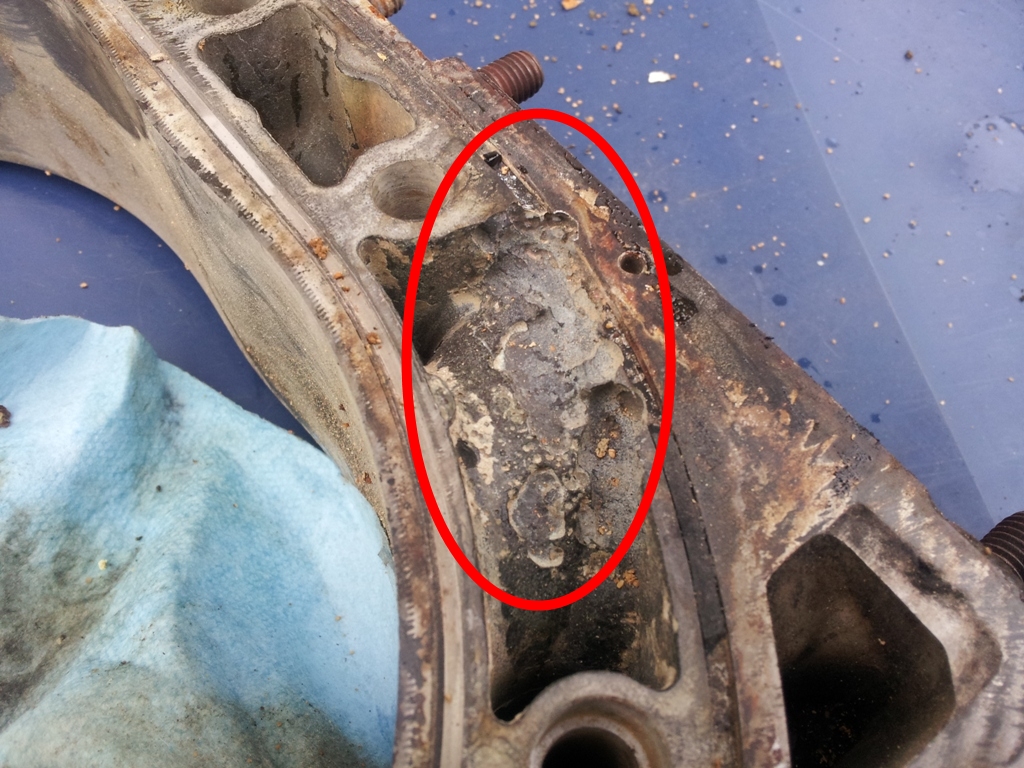
I began media-blasting the original engine components and made a sad discovery. Although this engine was running when we bought it, it's wonder it wasn't dripping coolant like crazy.
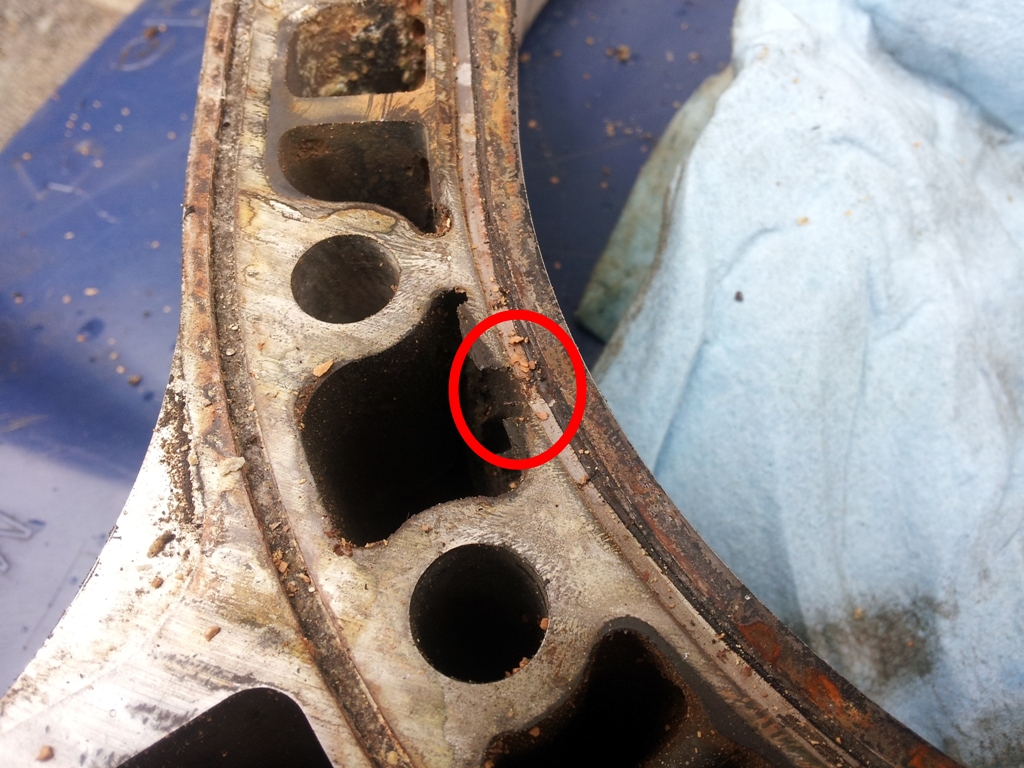
Sunday
This car was originally sold in California, and comes complete with all of the overkill emissions apparatus that was required on all cars in 1980. That included all manner of sensors, solenoids, smog pump, vacuum valves, hoses, wires, and an emissions control unit. I'm convinced that the sole purpose of the system was to sacrifice power to save the whales, or manatees, or whatever. Brand new, this car was supposed to put out around 100 hp. Over time, just due to the age of the internal components of the engine, carbon build-up, etc., this figure had to have diminished substantially. Add to that the power-robbing benefit of the California smog system, and we were probably down to a peppy 65 horses.
In the course of tearing the car apart, we removed all of the emissions crap. The only exception is the ECU, because I originally thought that it was required to trigger the igniter module to fire the leading and trailing spark plugs. Turns out the ECU is not needed, and that's a relief (one less thing to break).
That left us with only the igniter module, the two igniters, and the distributor. Seems simple, right? After 5 hours of trial and error, I can tell you that it was not as simple as we thought. Actually, we might have made it more difficult than it needed to be.
Sunday, we rolled the car out into the driveway. I suggested that we pull a plug wire and check to make sure we're getting spark, before we actually turn on the fuel and try to start the motor, and that's where it all started. We weren't getting any spark on the #1 leading plug. We double-checked our set-up (we kind of had things mocked up to make sure it would run, then we'd finish the ignition install after) and found a wire from the distributor that needed to be connected to 12 volts. After that was remedied, still no spark. We then embarked on a 5-hour journey of mickey mouse jury-rigging, half-assed tests from the marginally useful Haynes manual, and trying every combination of wiring to try to get some fire to the plugs; all with no success.
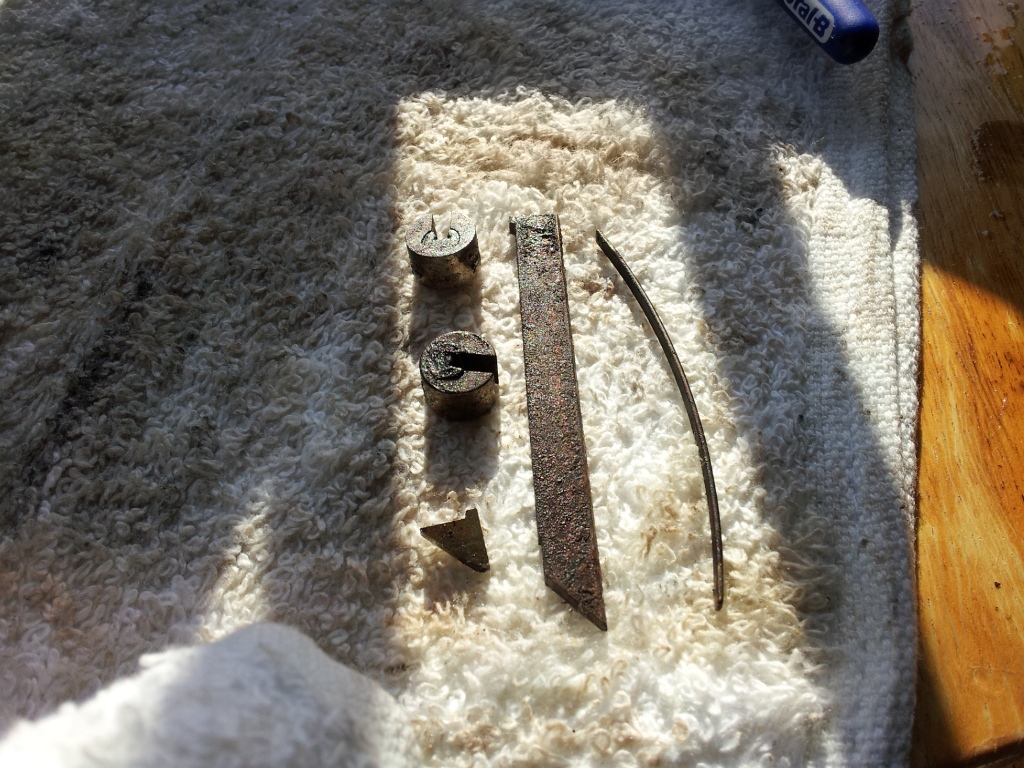
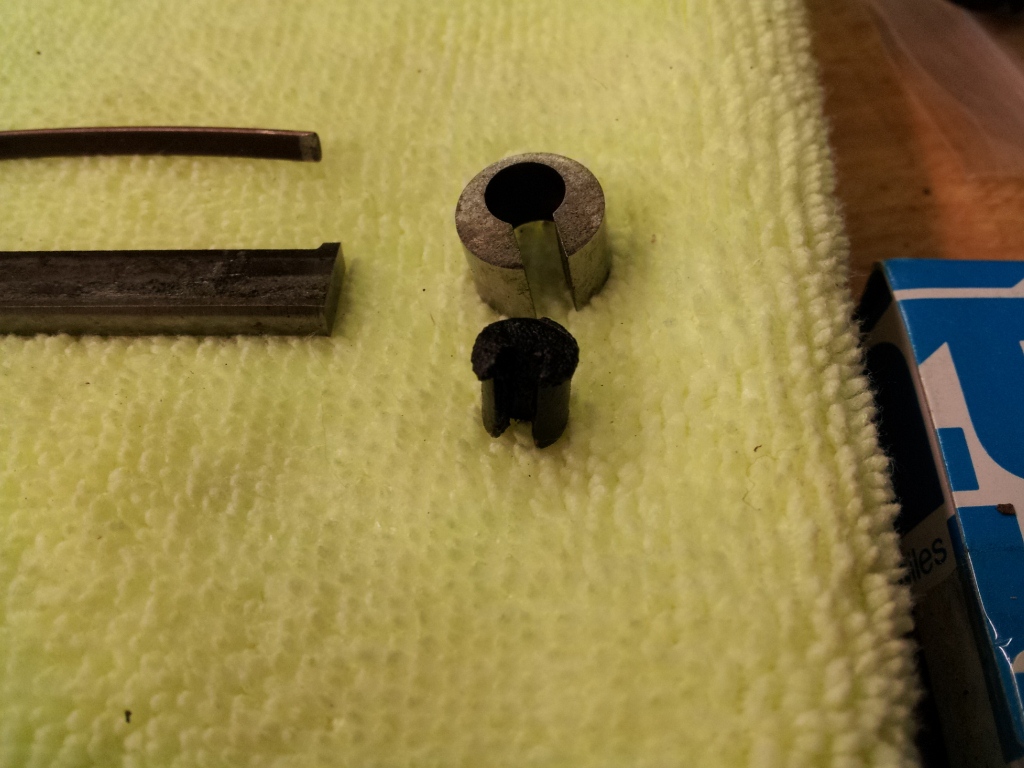
We swapped out one of the igniters; no luck. We removed the igniter box and pried the cover off to see what's inside this magic box. We found the design of the thing to be kind of odd, and without a schematic of the circuits, we could only guess as to what it was doing. Most of the components inside were pretty standard: resistors, diodes, transistors. But there were two odd-looking components that neither of us had seen before, which Van appropriately dubbed Thing 1 and Thing 2. They had some manufacturer's markings on them, but we were unable to find anything useful on the interwebz. We knew the car ran when we bought it, and we hadn't done anything that could have reasonably resulted in damage. We had to assume we just had it connected wrong.
We re-installed it in the car and tried again with the same results. After another hour of standing around in the cold staring at it, trying different connections, discussing the possibility of modifying it to a direct fire system or performing the MSD6 mod, we decided to bag it for the day and spend some time researching the problem.
About a half hour later, I receive a text:
Van: I'm wondering if that connector with 2 leads that we jumpered to 12V was actually supposed to have voltage on it.
Me: Voltage out? Instead of in? Not sure which ones you mean.
Van: Or nothing at all. I'm not sure what connector that is, but the ignitor already has 12V from the coil hot side. I mean the connector that was also supposed to fire the trailing plugs.
Me: So the ones in the igniter test (GO & BR)?
Van: Yes, those ones.
I scurry off to the garage, simply remove the aligator clip from the ONE wire that we never thought to change during the 5 hours of trial and error, and gave it a try. Two things became immediately apparent:
- If you're going to push the start button, you'd better make sure the car is not in gear (or at least that there's nothing of value in front of the car).
- We now have spark!
Monday, we try again. Hopefully she rumbles to life.