I finally got to the point where I could get my garage set up to make a little work area for myself and start looking at getting this motor apart. I had already found the 2 1/8" socket needed to get the flywheel nut off, but I didn't have a wheel puller wide enough to pull the flywheel off the eccentric shaft.
One trip to Harbor Freight Tools later, I now had a wheel puller set that could handle the job. (Side note: Harbor Freight is great for tools you don't plan to use professionally or very often, because they're CHEAP!)
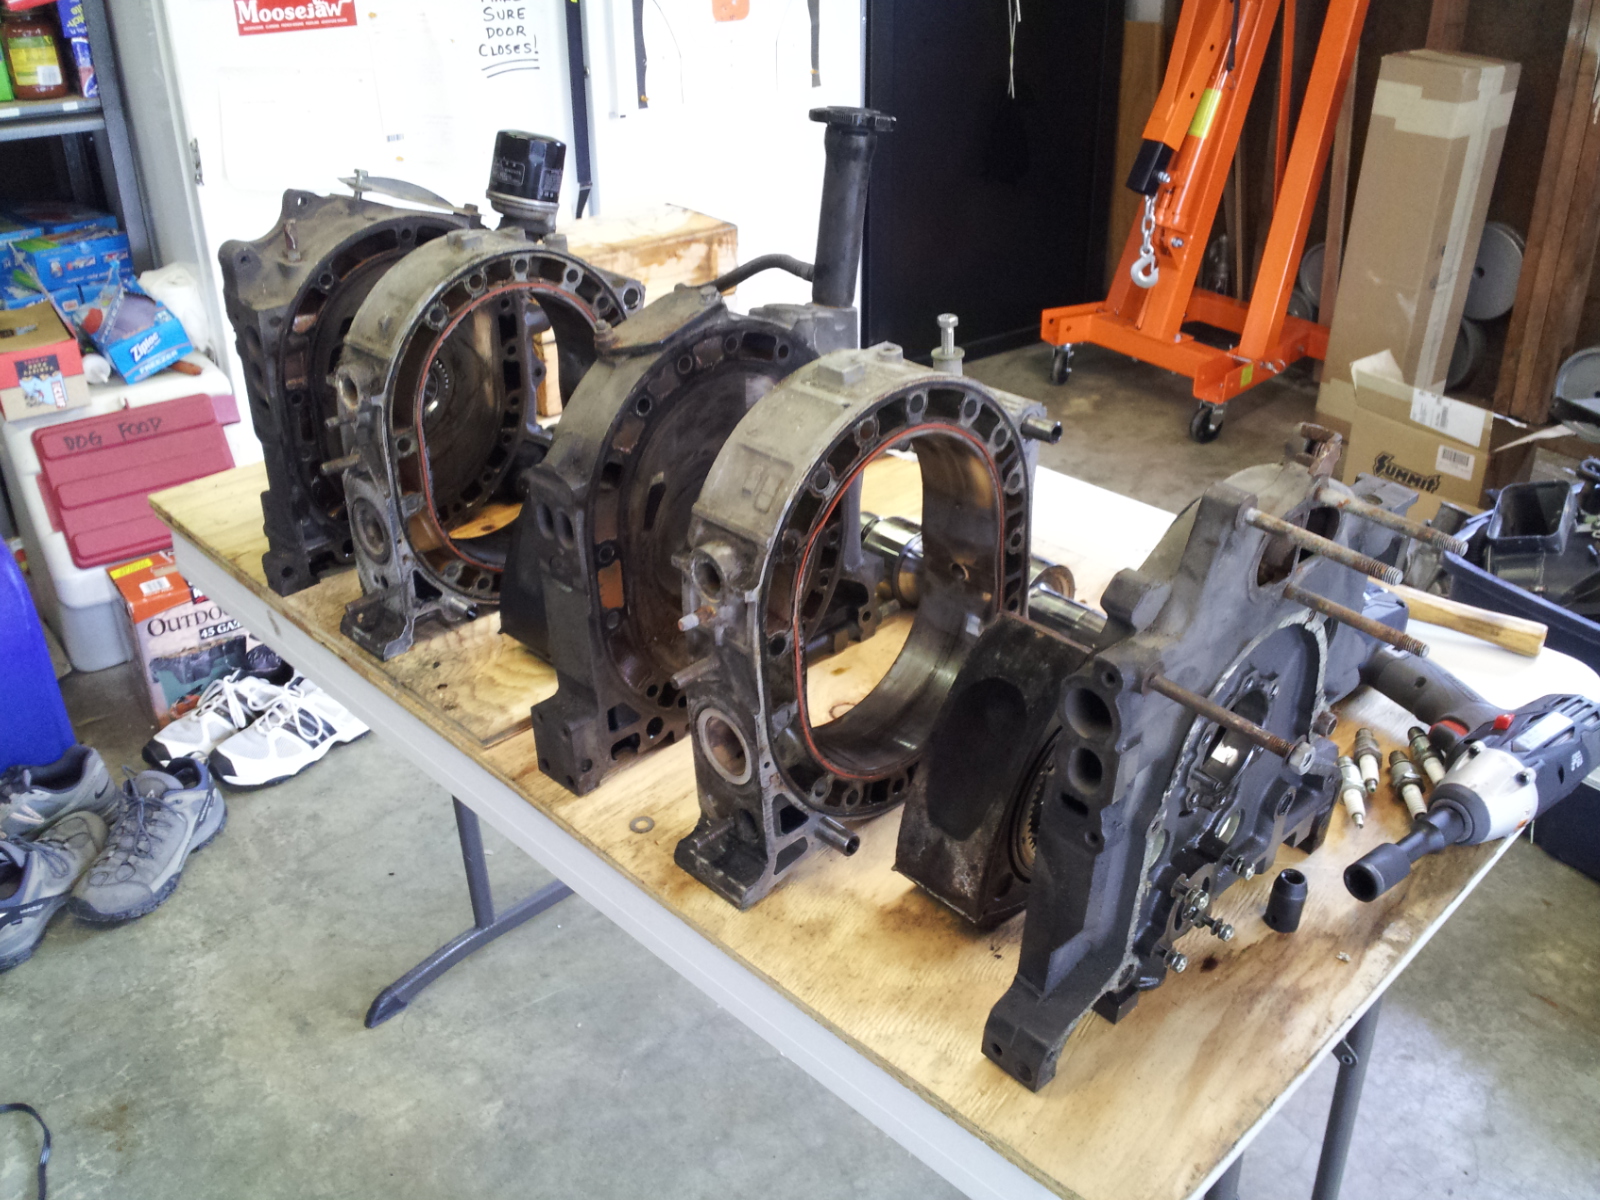
I got the flywheel off, and removed the 18 binding bolts holding all the plates/chambers together. Viola!

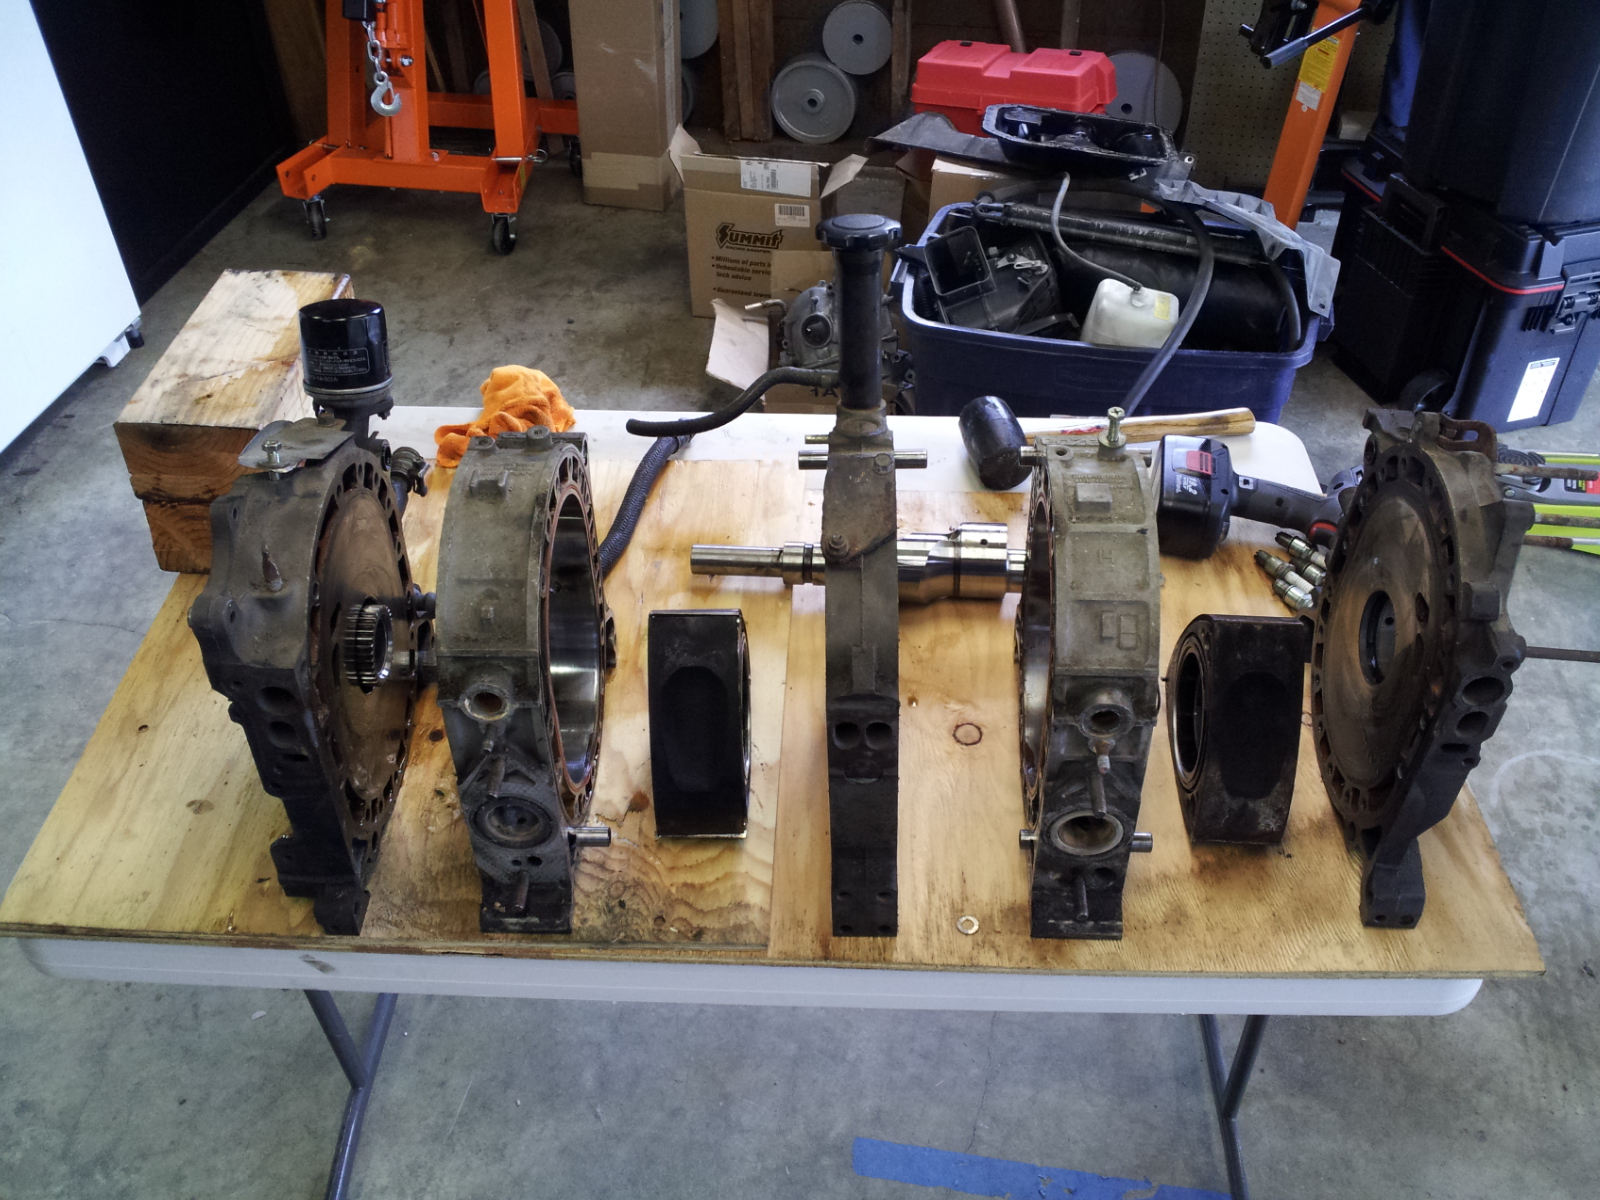
As you can see, rotary engines are a little bizarre. If you don't know anything about the inner workings of an engine, it's probably not that big of an issue, but for those of us who have only worked with piston engines, this is a whole different animal. If you'd like to learn more, check out this Wikipedia page on the Wankel Engine.
The only moving parts are the eccentric shaft (same as a crank shaft in a piston engine) and two rotors (front and rear). Here's an animation of how the thing works (courtesy of Wikipedia).

Once you get outside the engine case, it works the same as a piston engine, with an intake system (either carbureted or fuel-injected), ignition system, and an exhaust system.
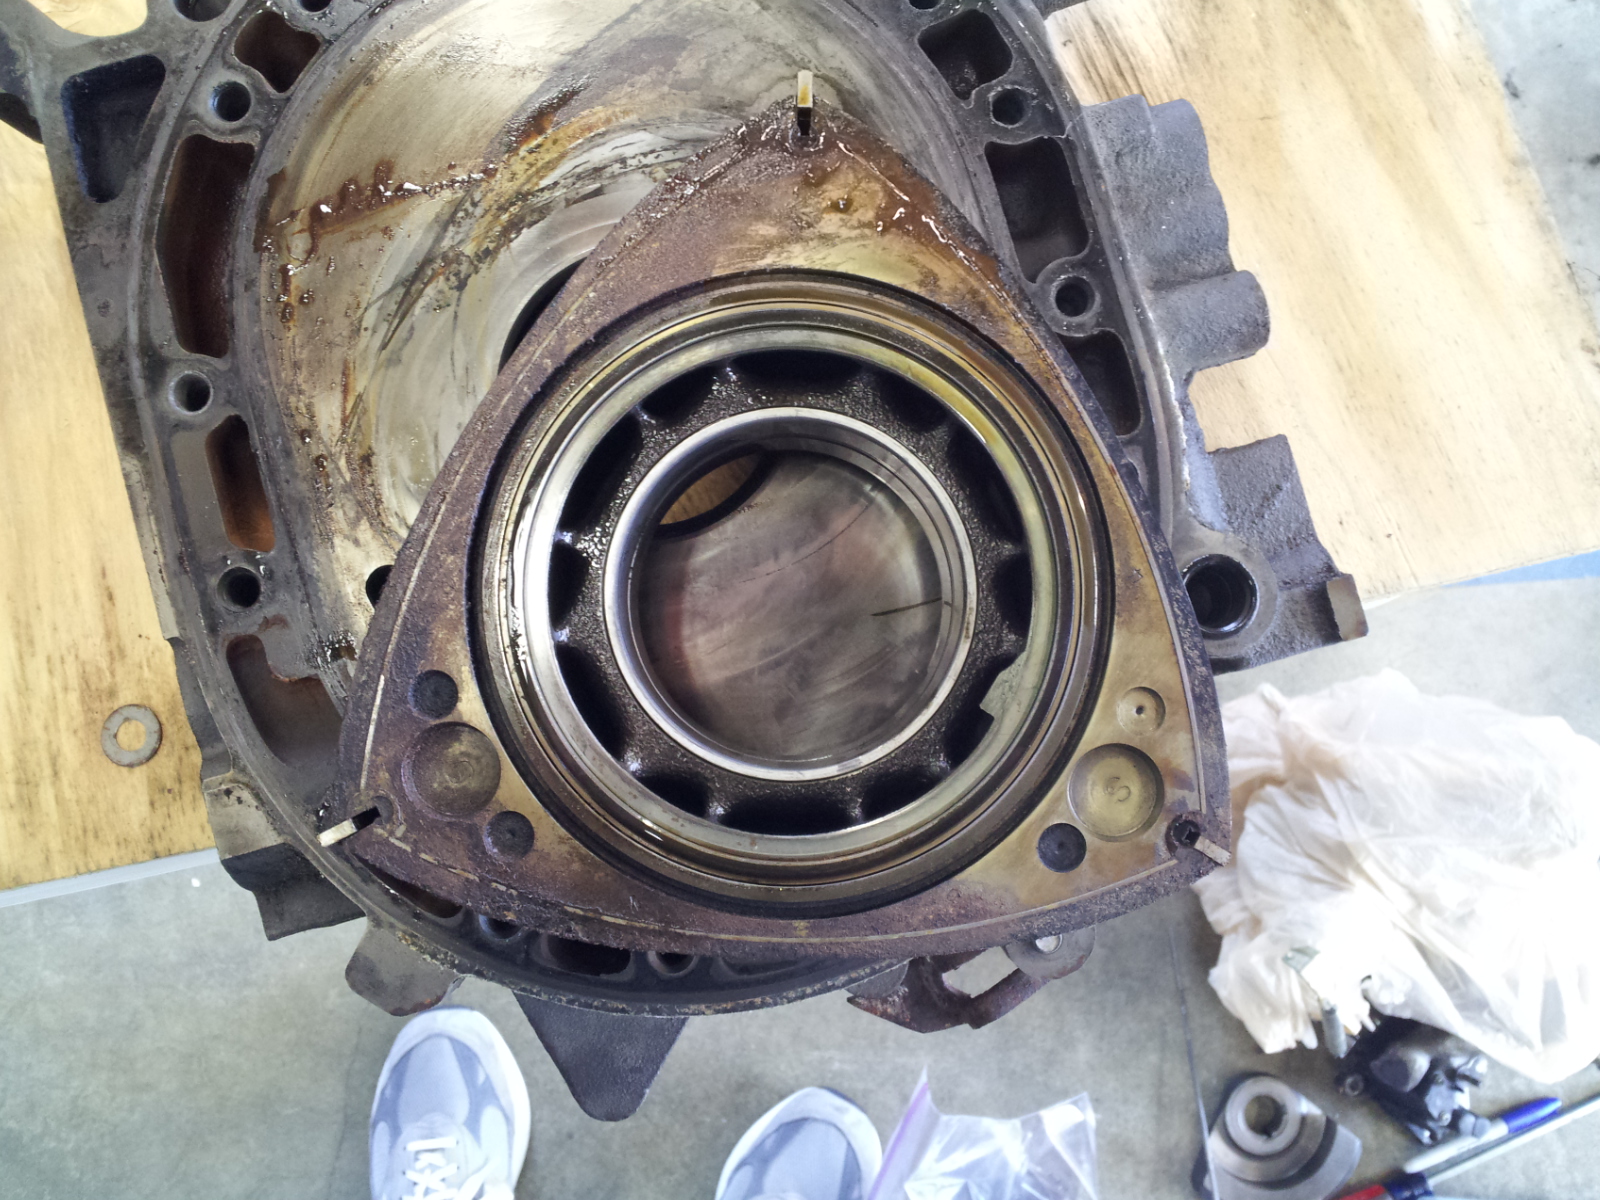
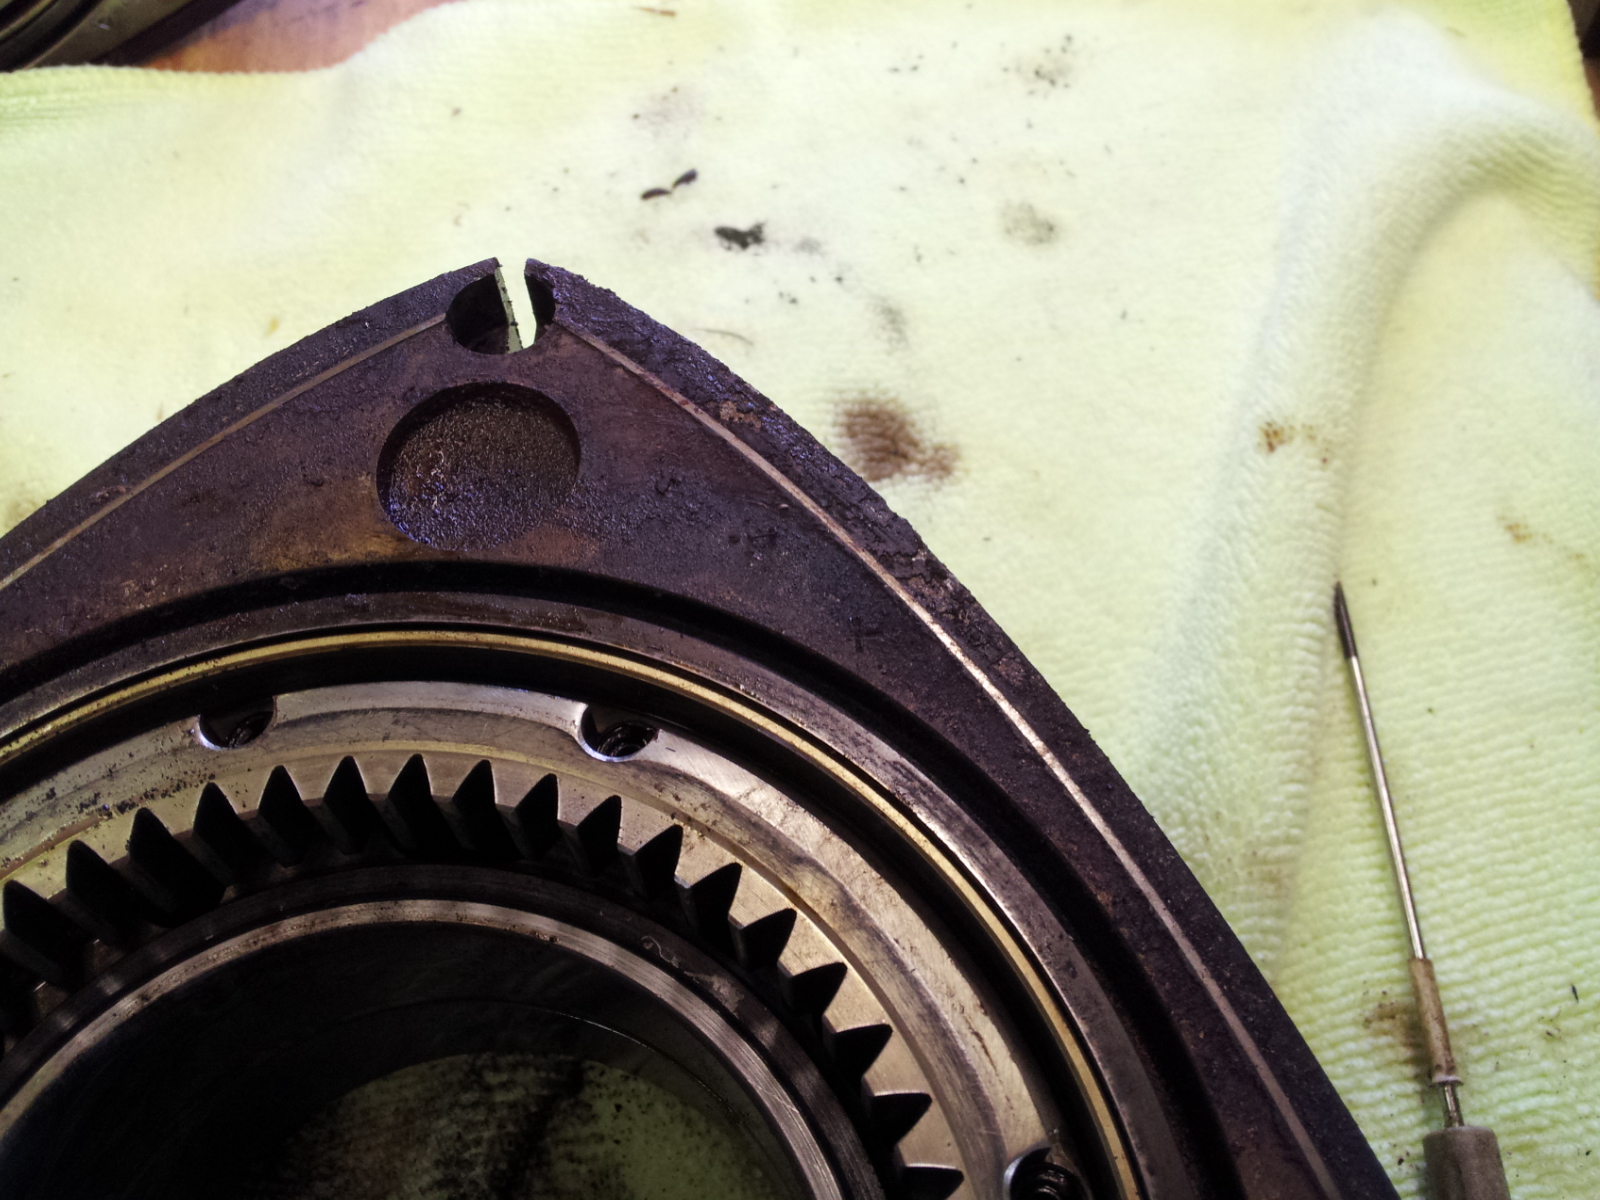
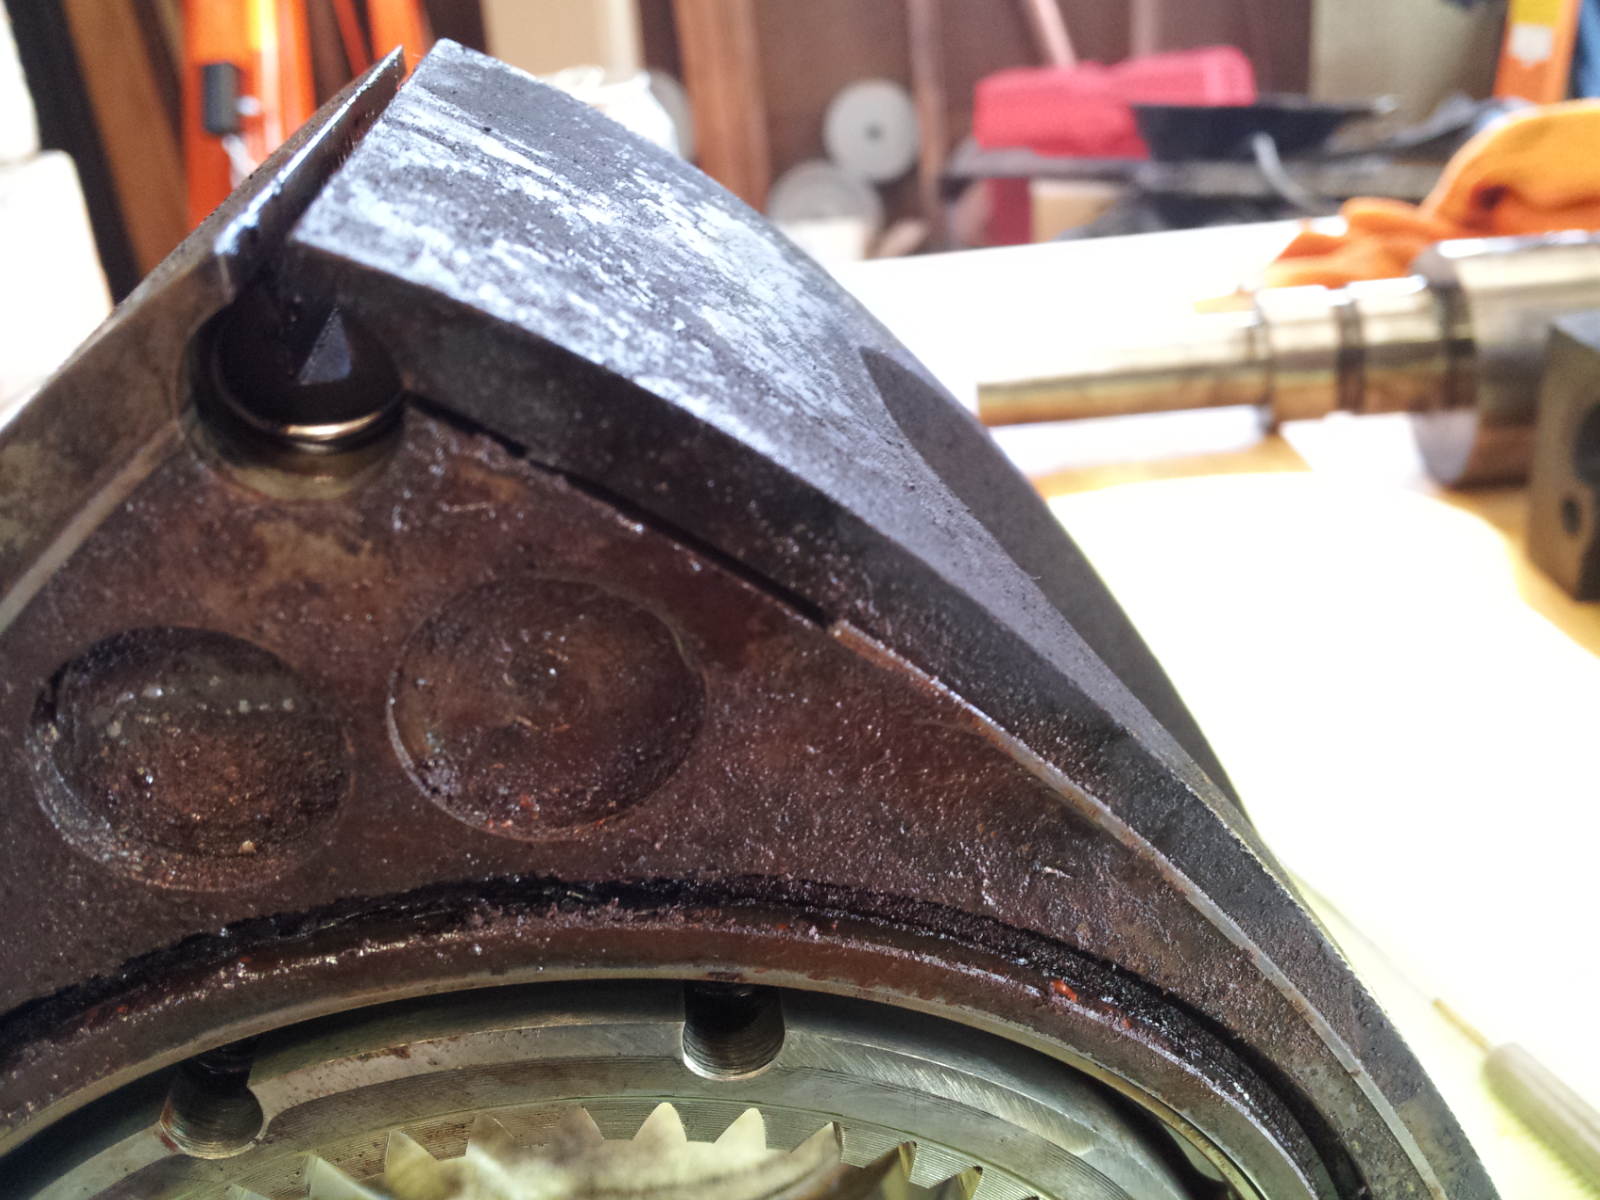
Unfortunately, it looks like there was quite a bit of moisture in the chambers; there's a good deal of corrosion on these rotors...

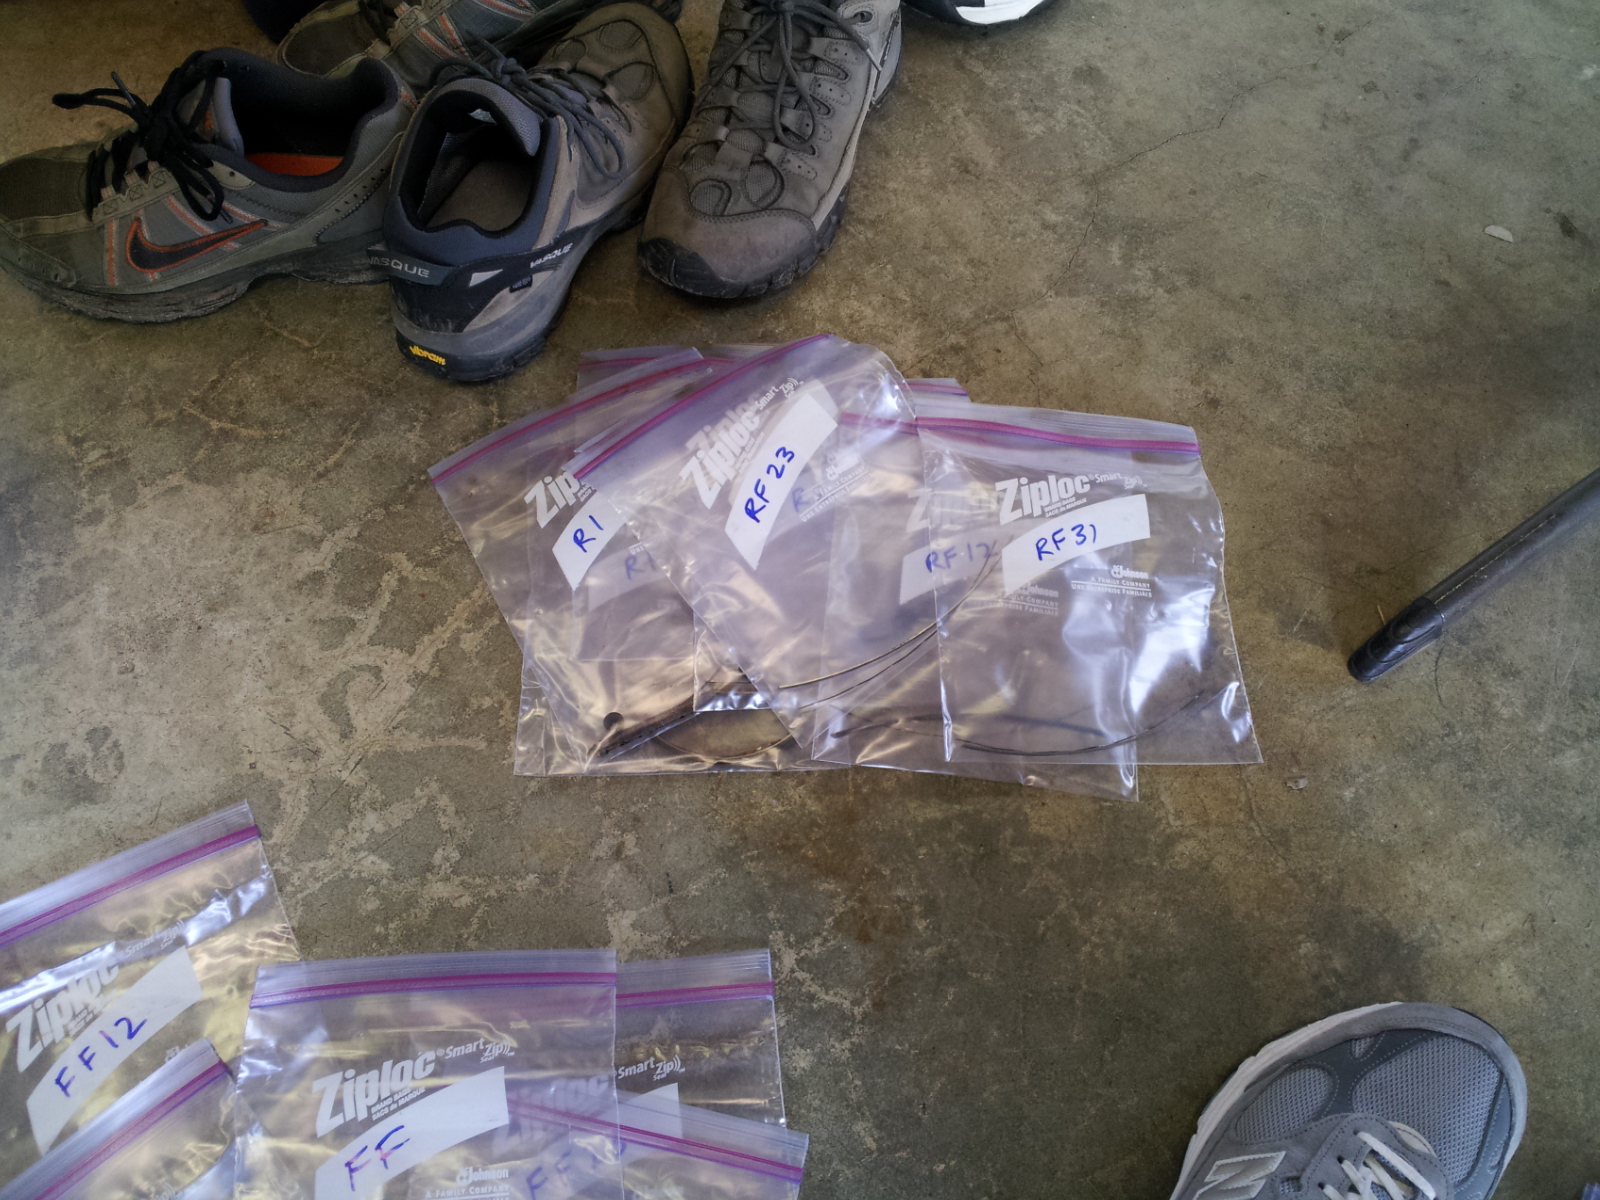
The manual is pretty specific about keeping track of where each of the parts came from. It also said that the rotors were well-marked as far as front & rear, front face & rear face of each, and the apexes. That's true if you read Japanese. I don't.
So I started taking notes on each rotor, where the balancing drill holes were and their sizes, and I made some sketches of each to aid in identifying where each of the 31 parts from each rotor came from...
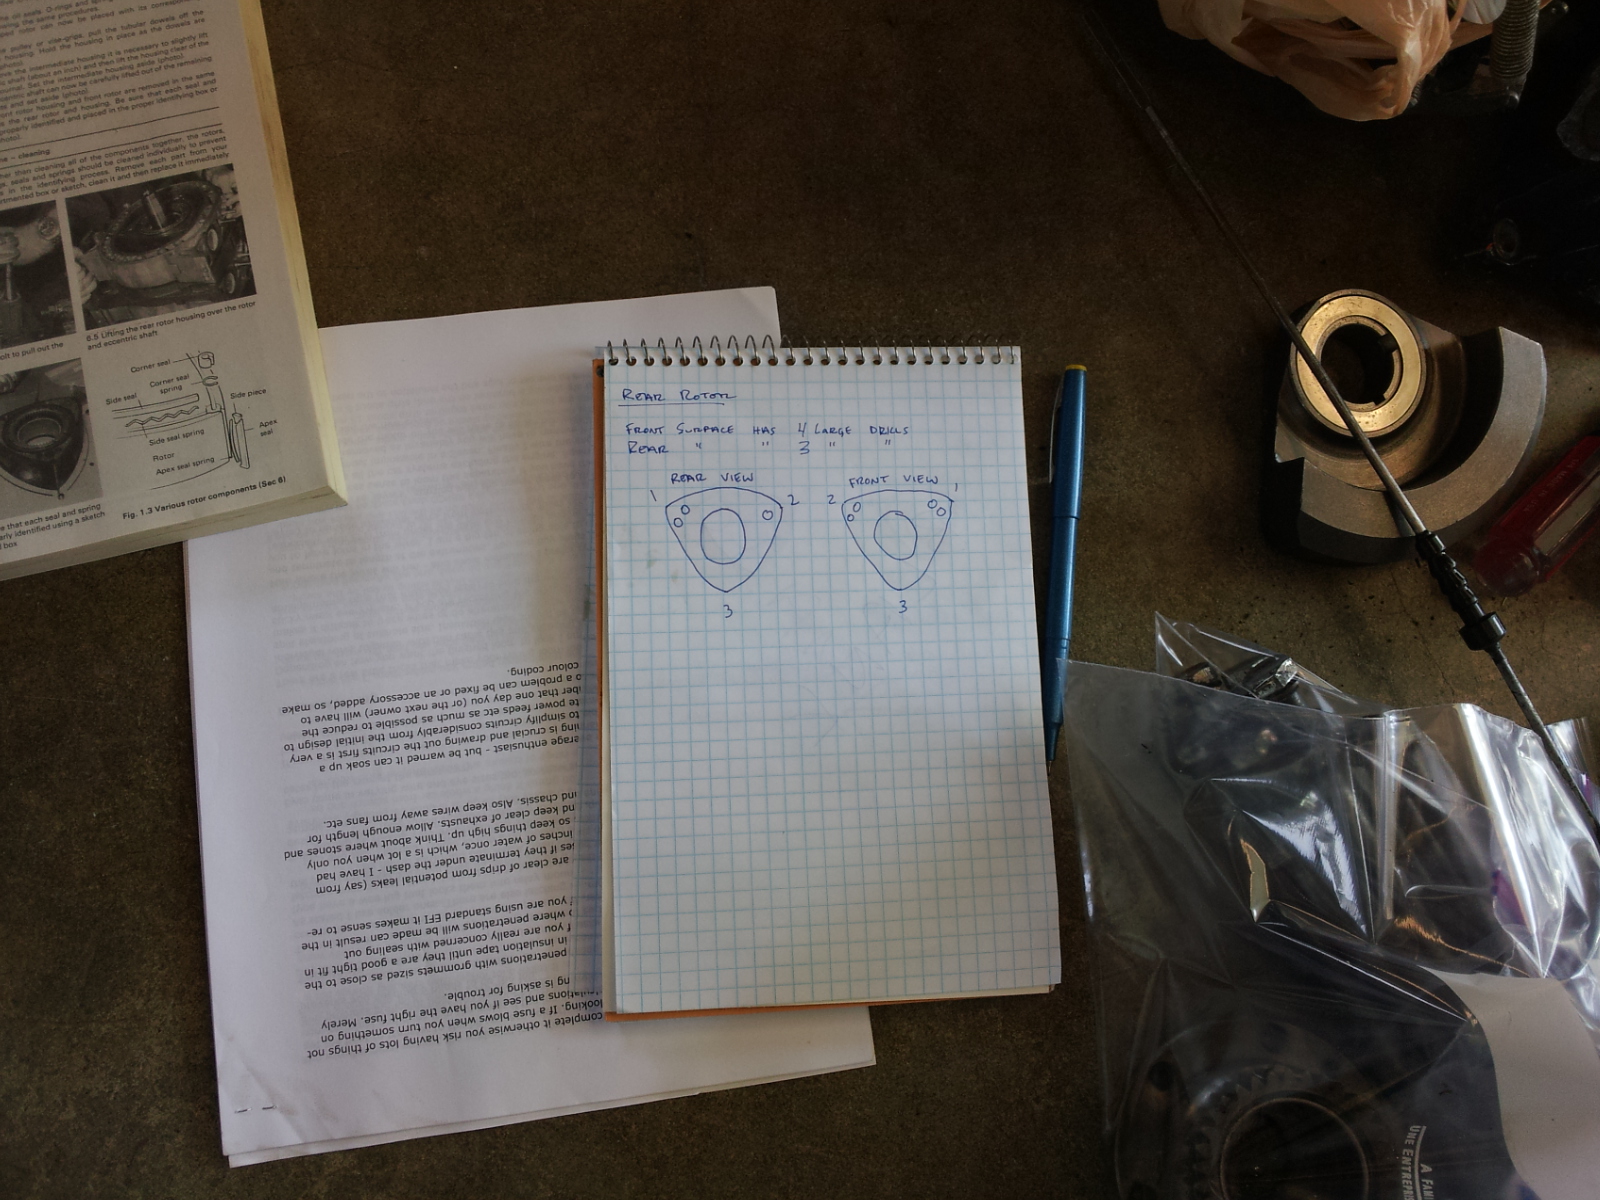
I then labelled 11 zip-top bags for each rotor and started removing parts.
Everything was going swell until I hit the side seals that had suffered the most corrosion. There's already a very tight tolerance on the slots that the seals and springs are seated in, and with the corrosion, some of the seals have proven difficult to remove.
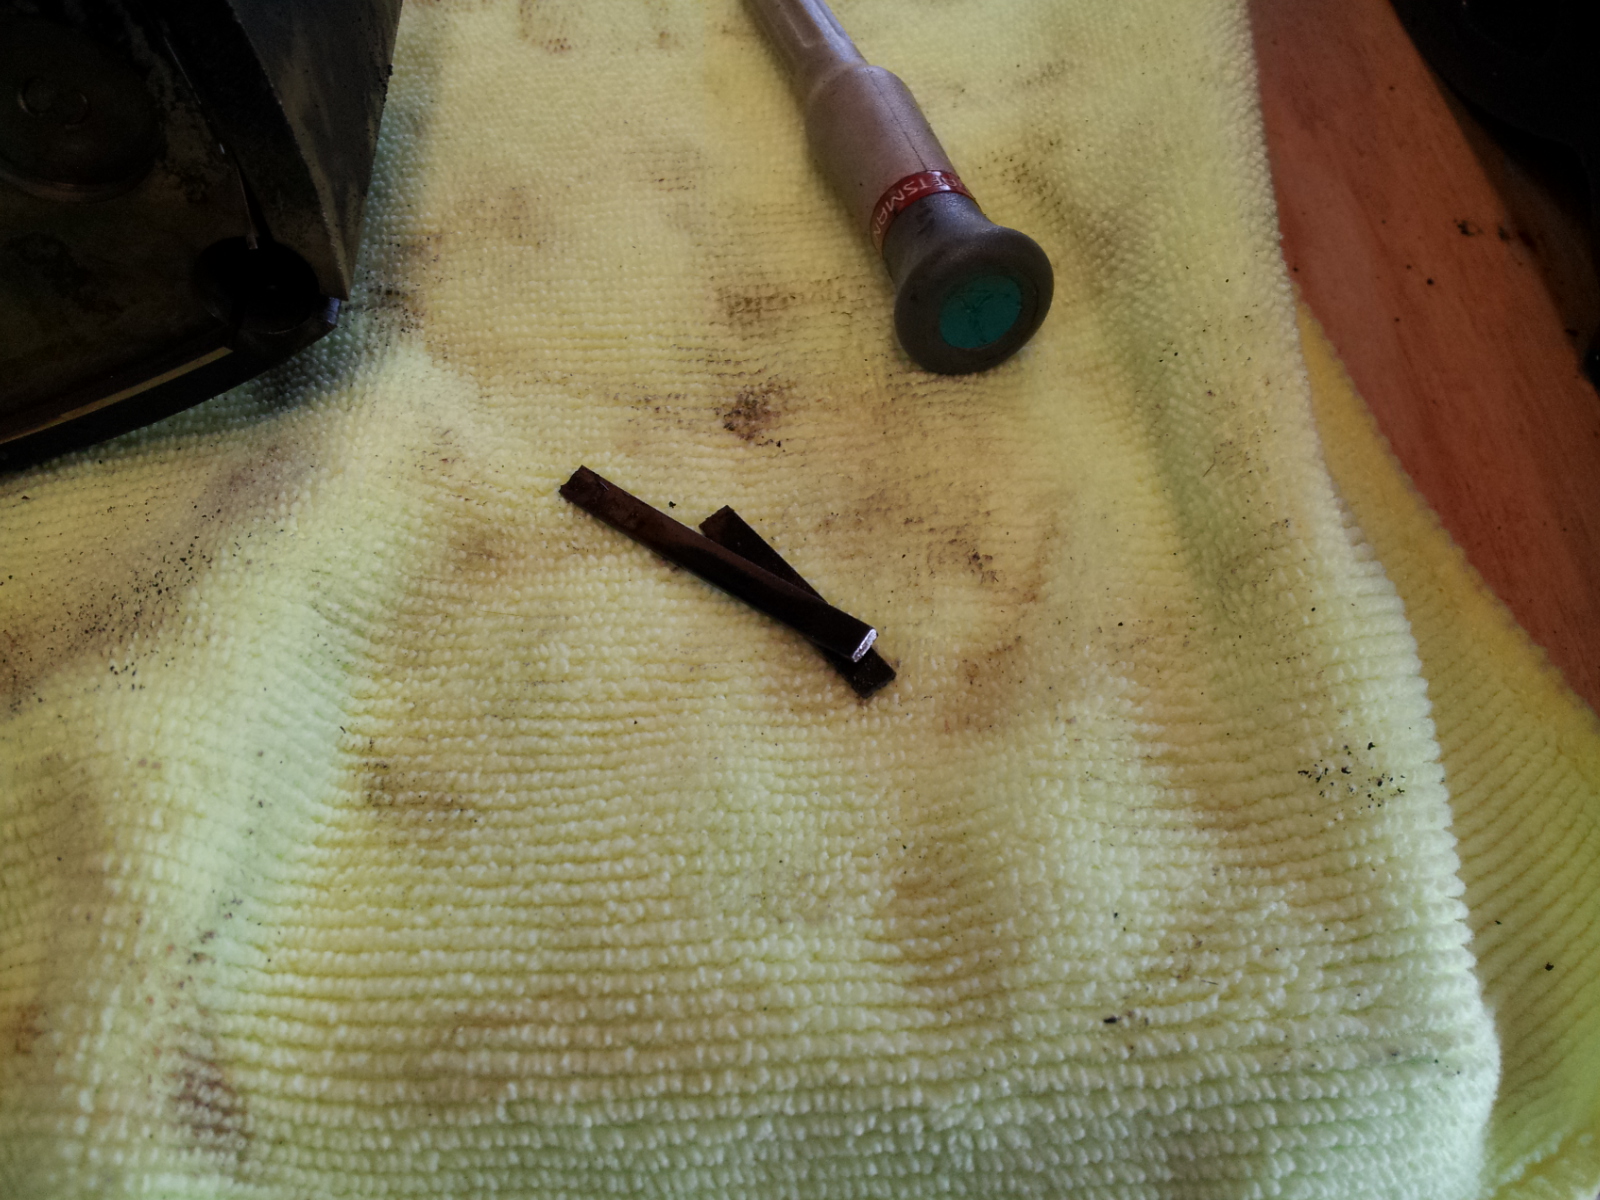
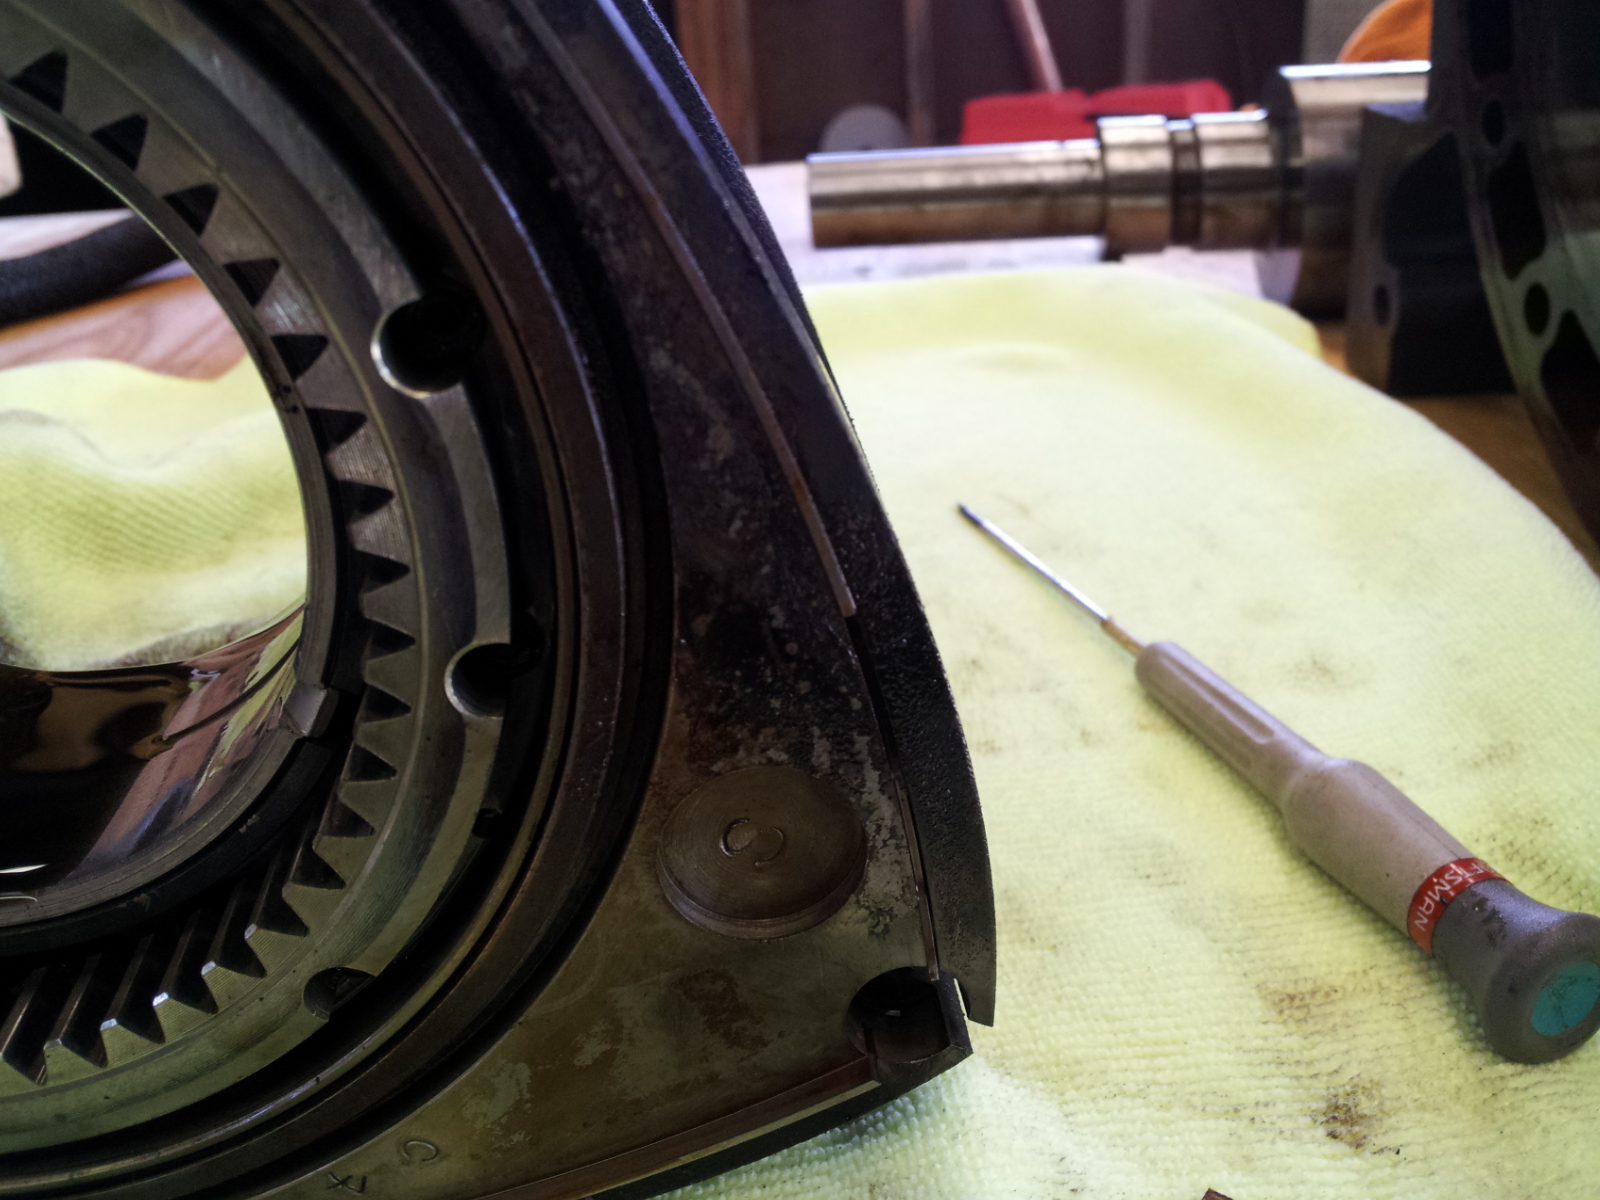
I'm still not sure how I'm going to get these out without damaging the rotor.
Next, I need to clean up all the parts and find out what needs to be replaced (besides all the broken side seals...).
No comments:
Post a Comment