Thursday, October 27, 2011

Part 9

We were finally able to get all the stuck side seals out of the rotors, so we could start a serious cleaning up the engine.  The only solvent that didn't cost an arm and a leg for the quantity that we needed was diesel and it seems to work pretty well.  It was pretty messy, and I had gloves on so there aren't any pics; sorry.  Just imagin a parts cleaning tub full of diesel and dirty car parts and you get the idea.

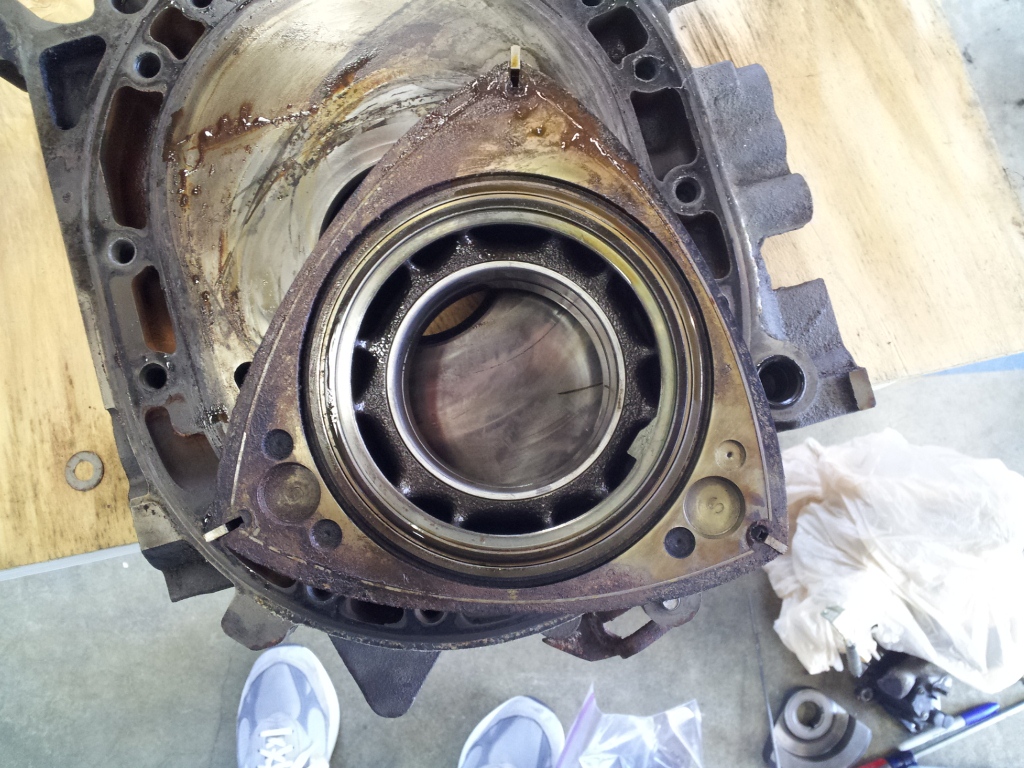
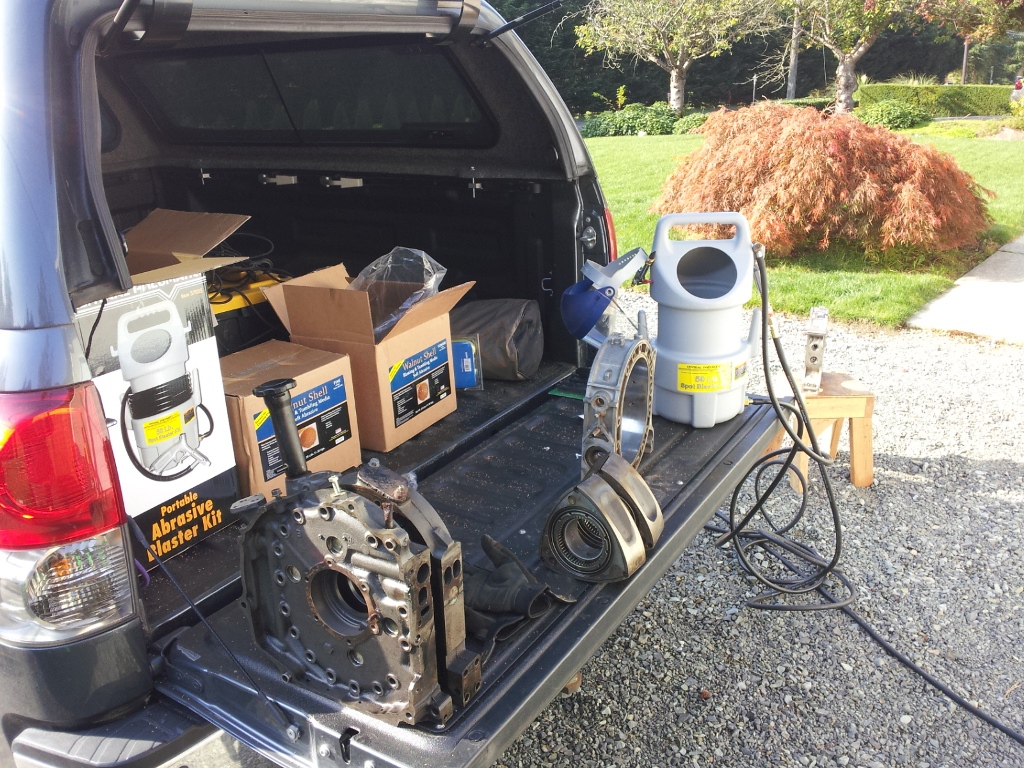
We found that the last cooling system that this thing was attached to appears to have suffered from a severe internal corrosion issue, which left sizeable deposits of rust and debris in the water jacket channels.  There was really no easy way to clean them all out by hand, save a million cotton swabs and just as many minutes.  Harbor Freight to the rescue yet again...


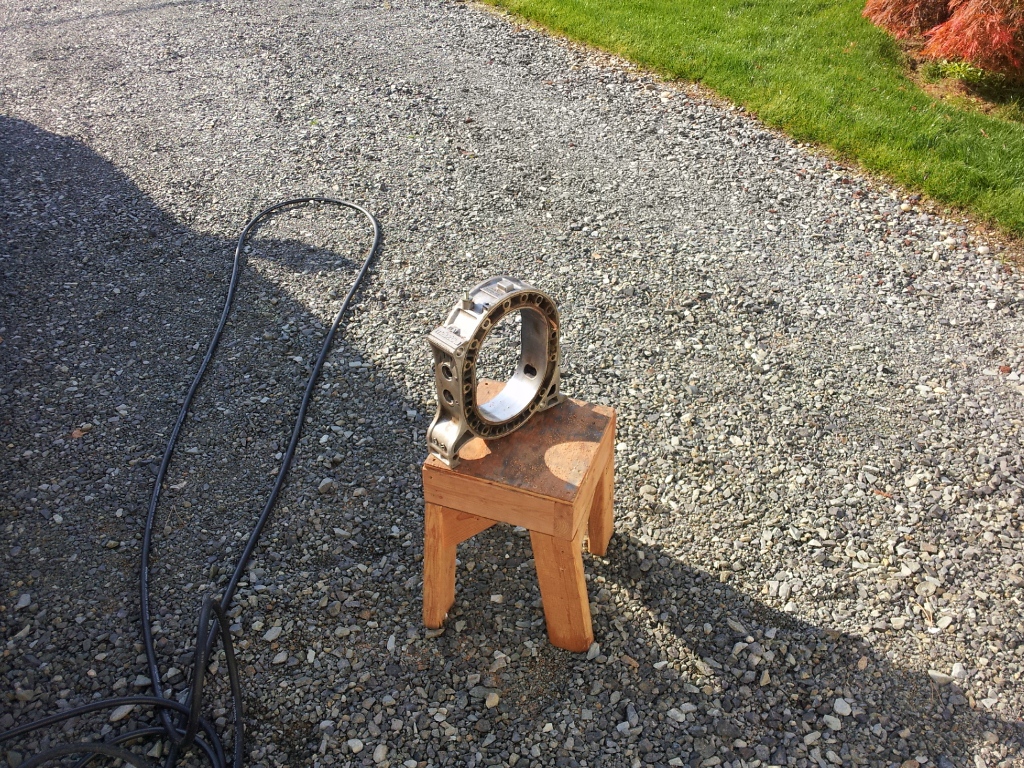
Less than $75 will get you a media blaster and 25# of walnut shell, perfect for blasting just about anything off or out of an engine without harming the metal.  Something not to be overlooked when using one of these is eye protection.  I would also recommend not wearing shorts, as the ricochets don't feel the best.  And don't do this in your garage, or close to it with the door open; this stuff goes everywhere.

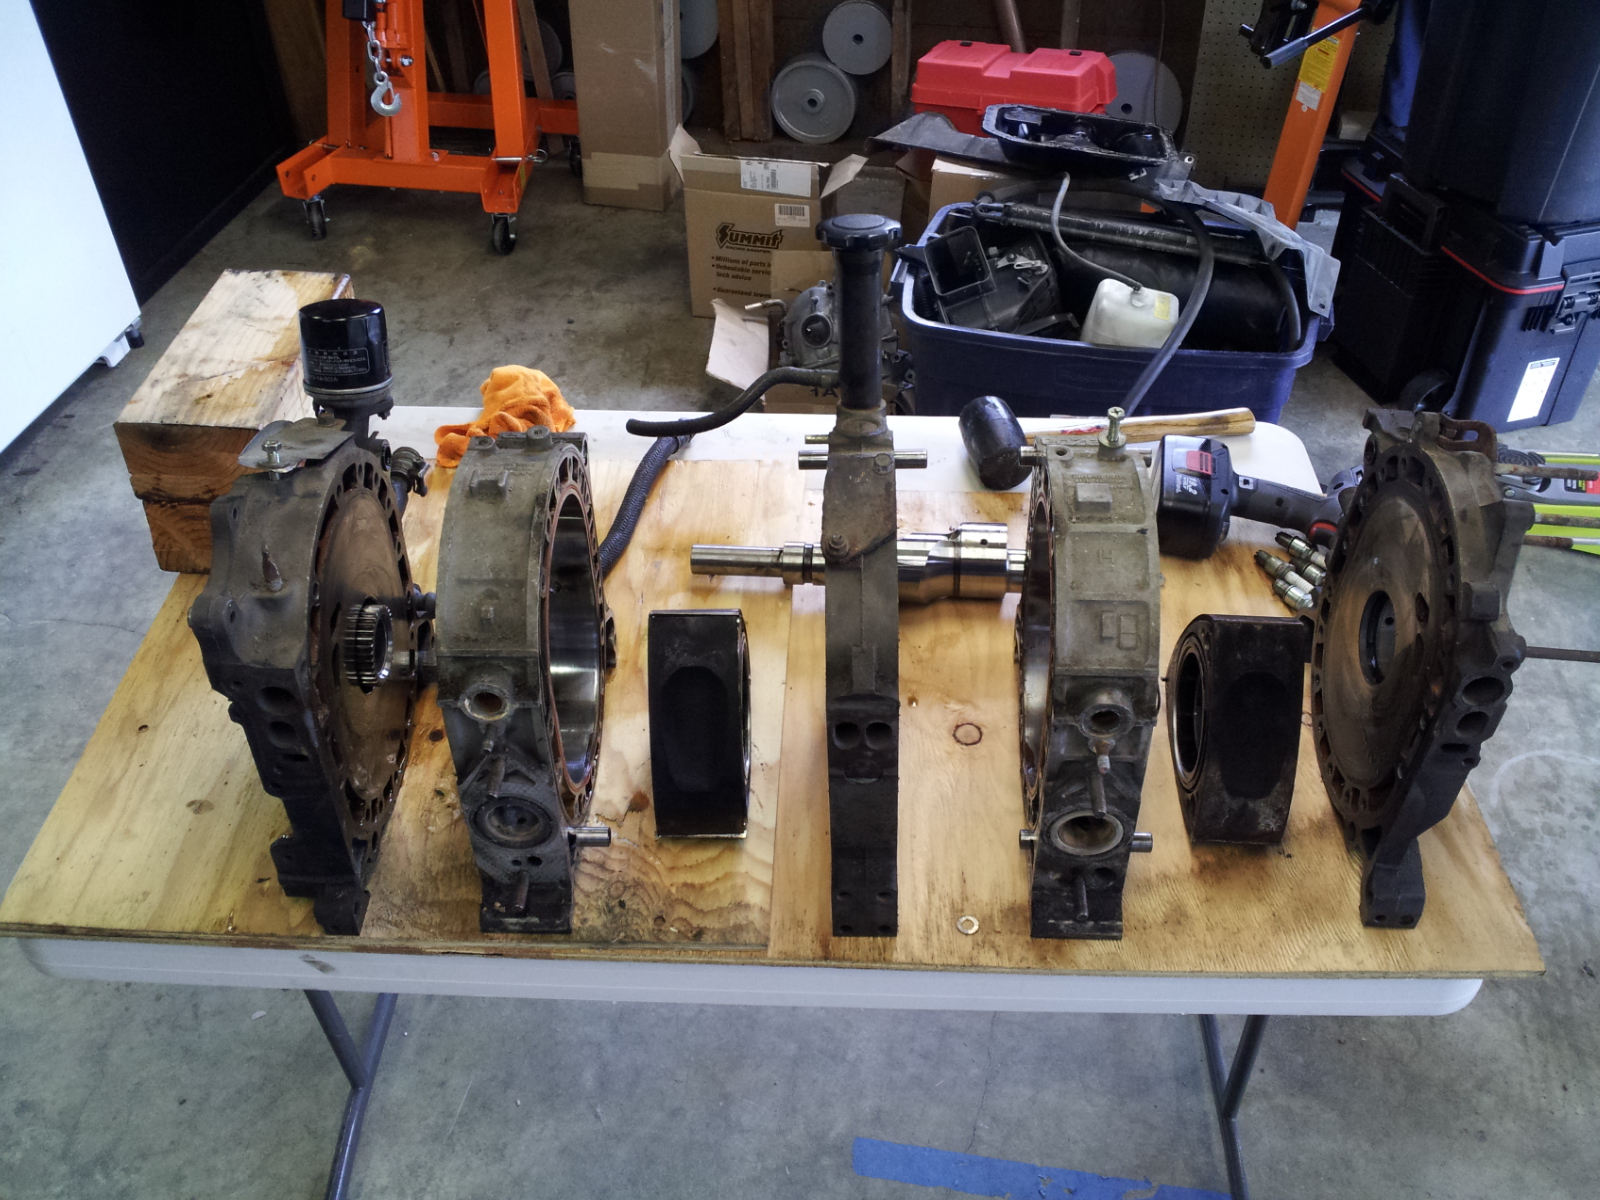
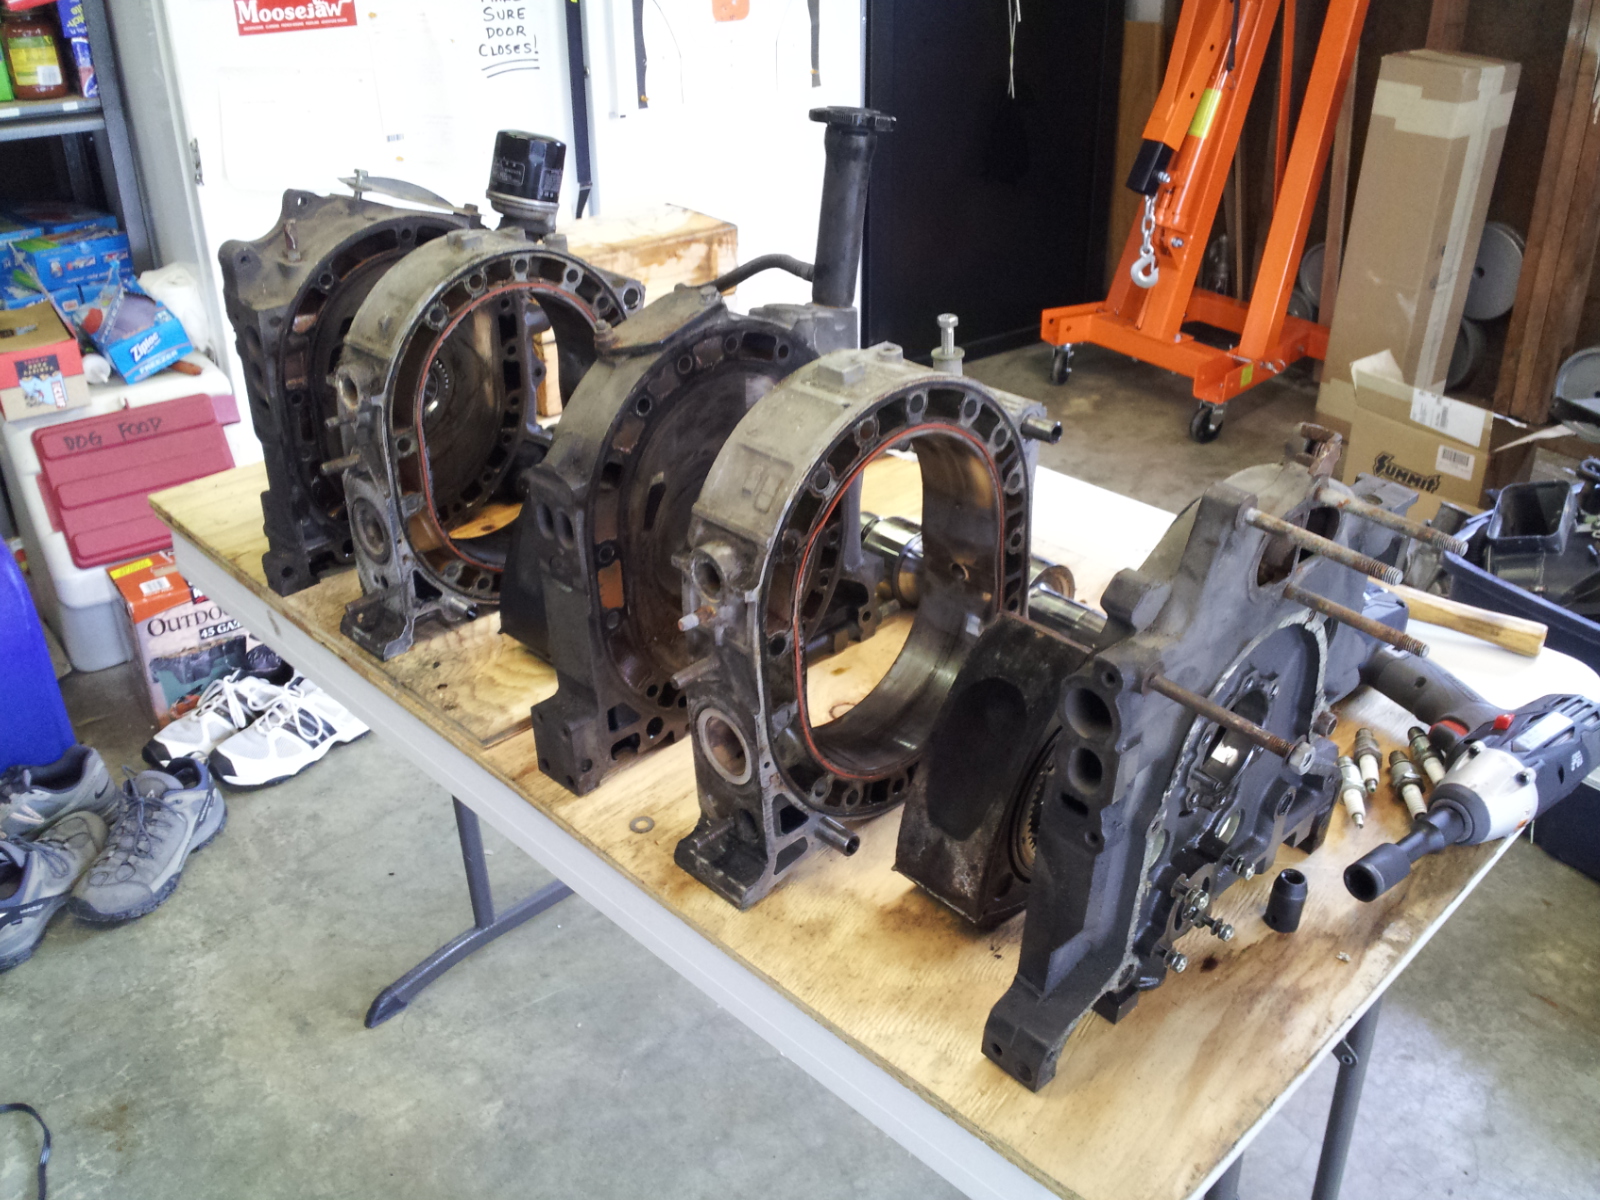
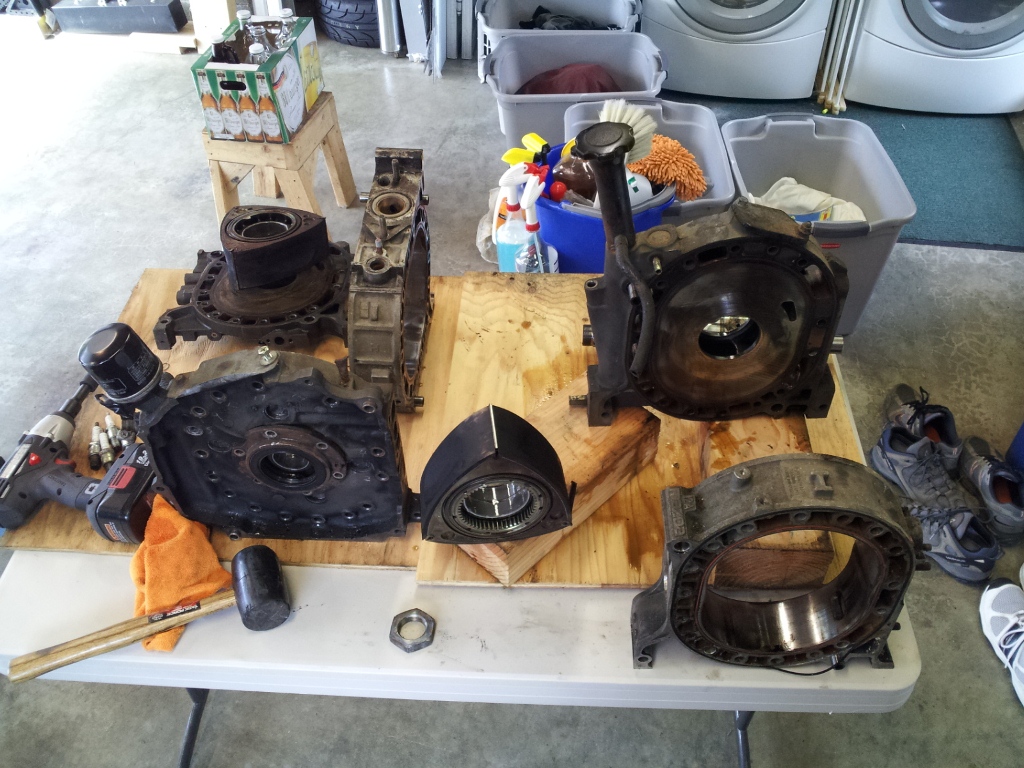
After an hour or so, we had all 5 sections of the motor cleaned out.


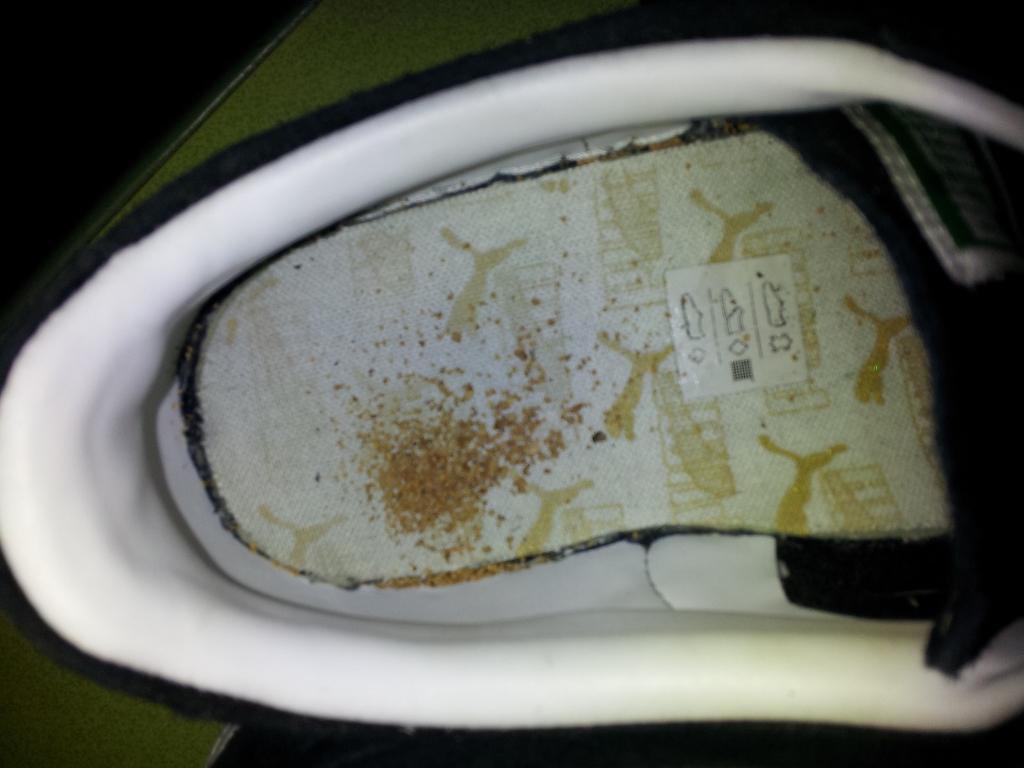
And this stuff does get just about everywhere.
With the main parts of the engine cleaned out, we set our attention on the bits and pieces. 


Once we had finally managed to remove all the side seals (intact or not), we ordered new seals and springs, thinking this would be all that was needed.  I wish I'd waited until after cleaning all of the parts...

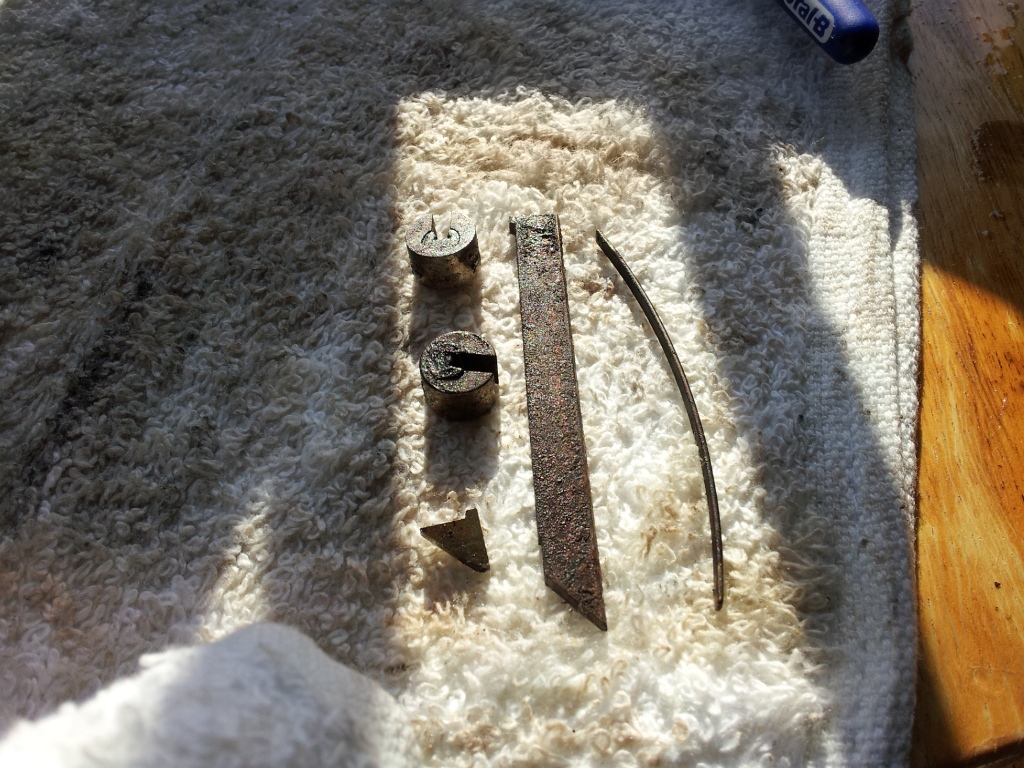
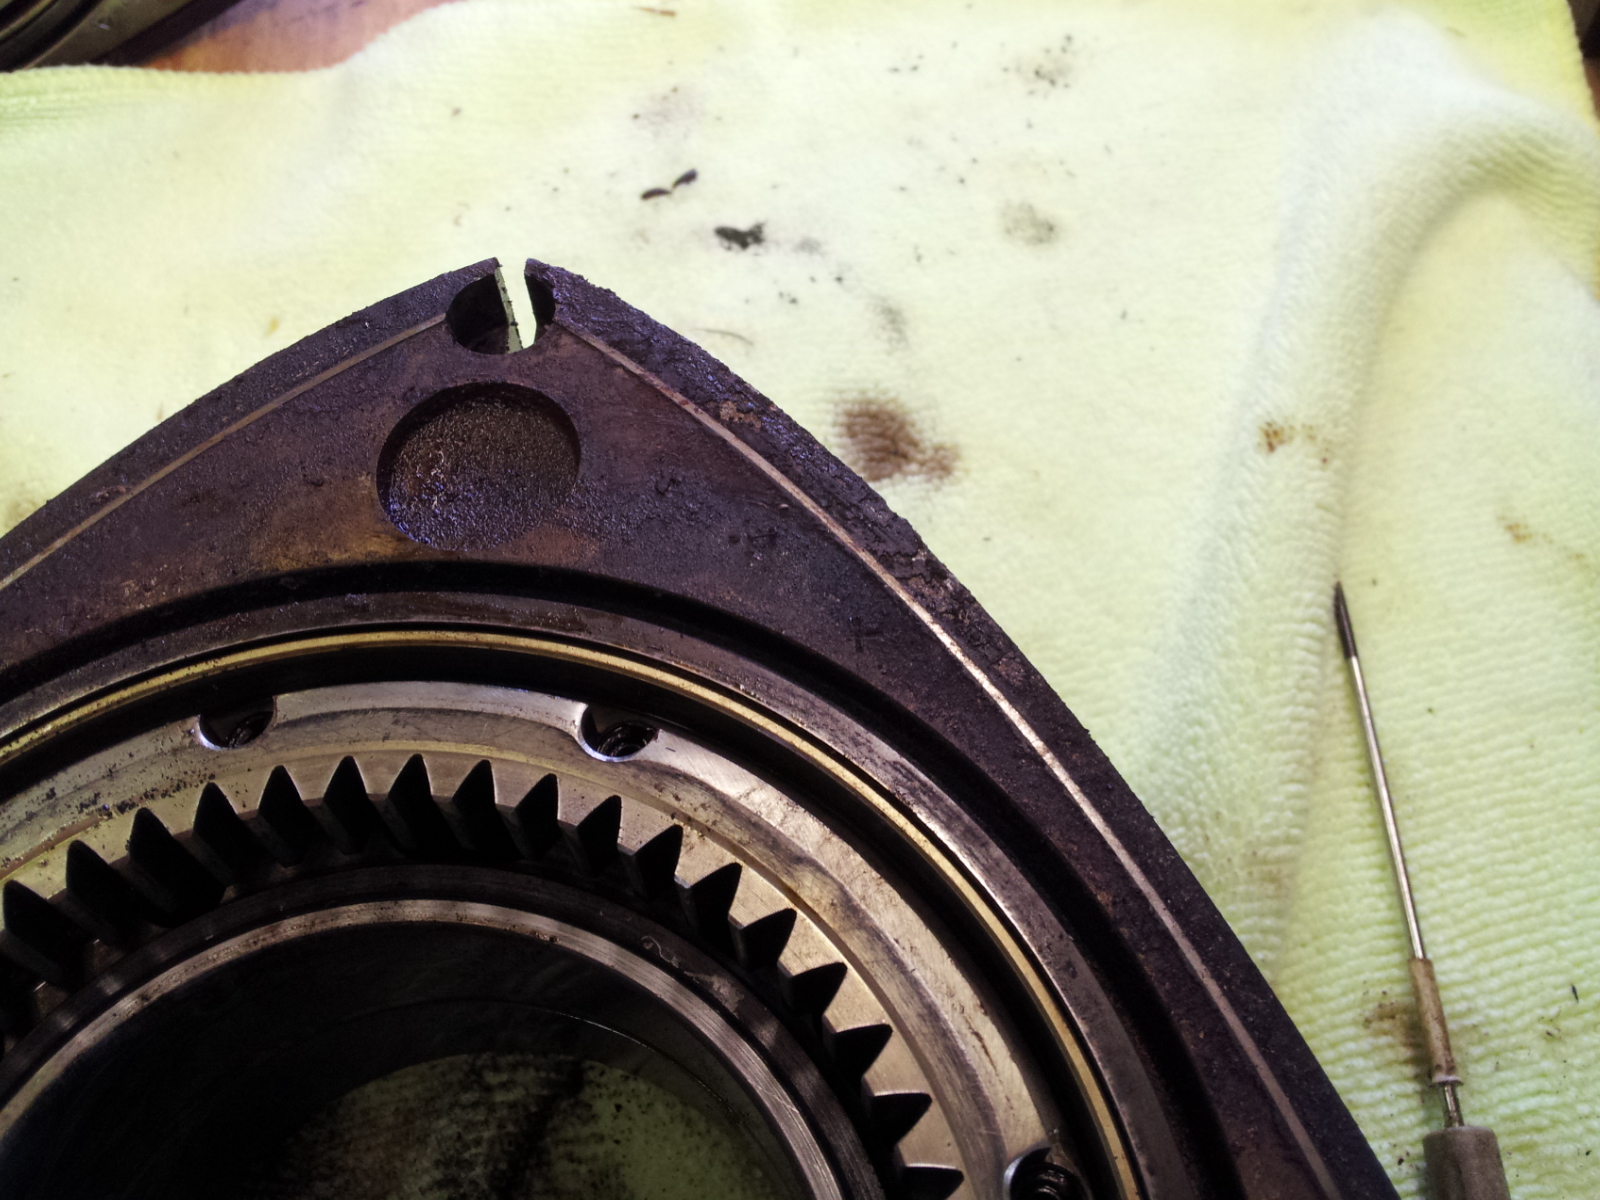
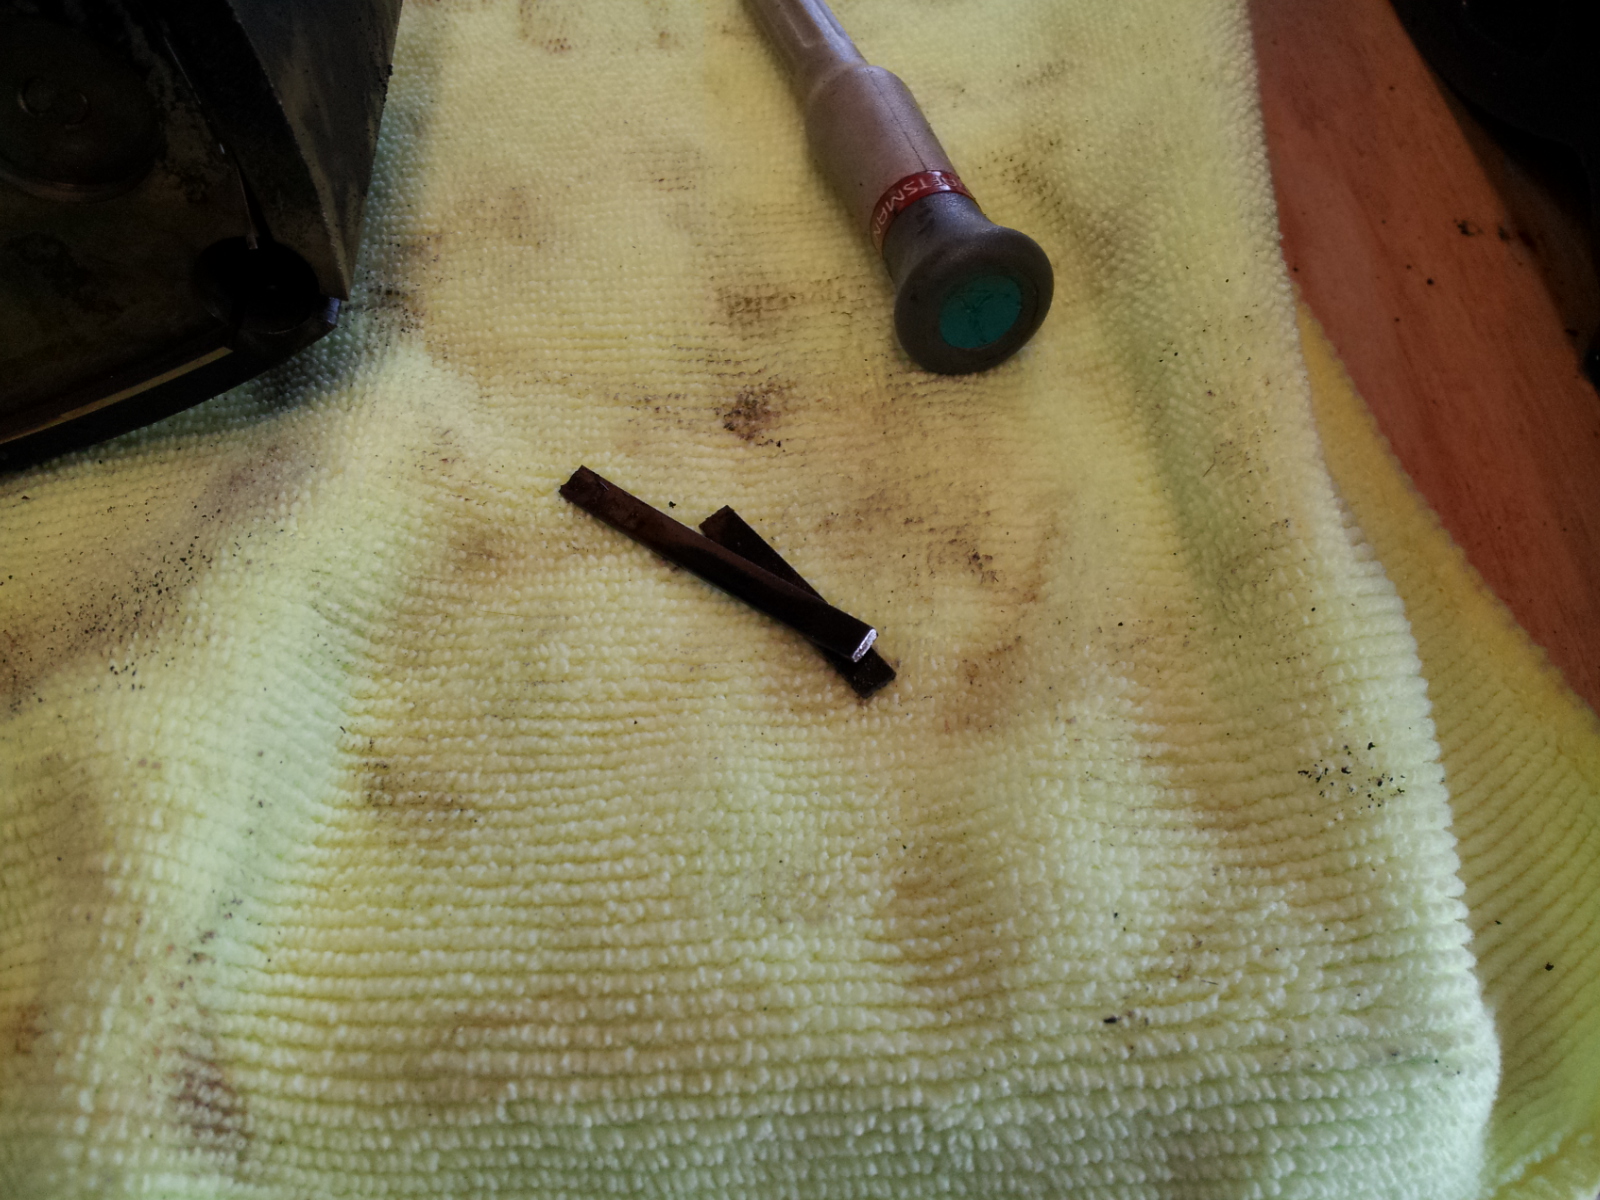
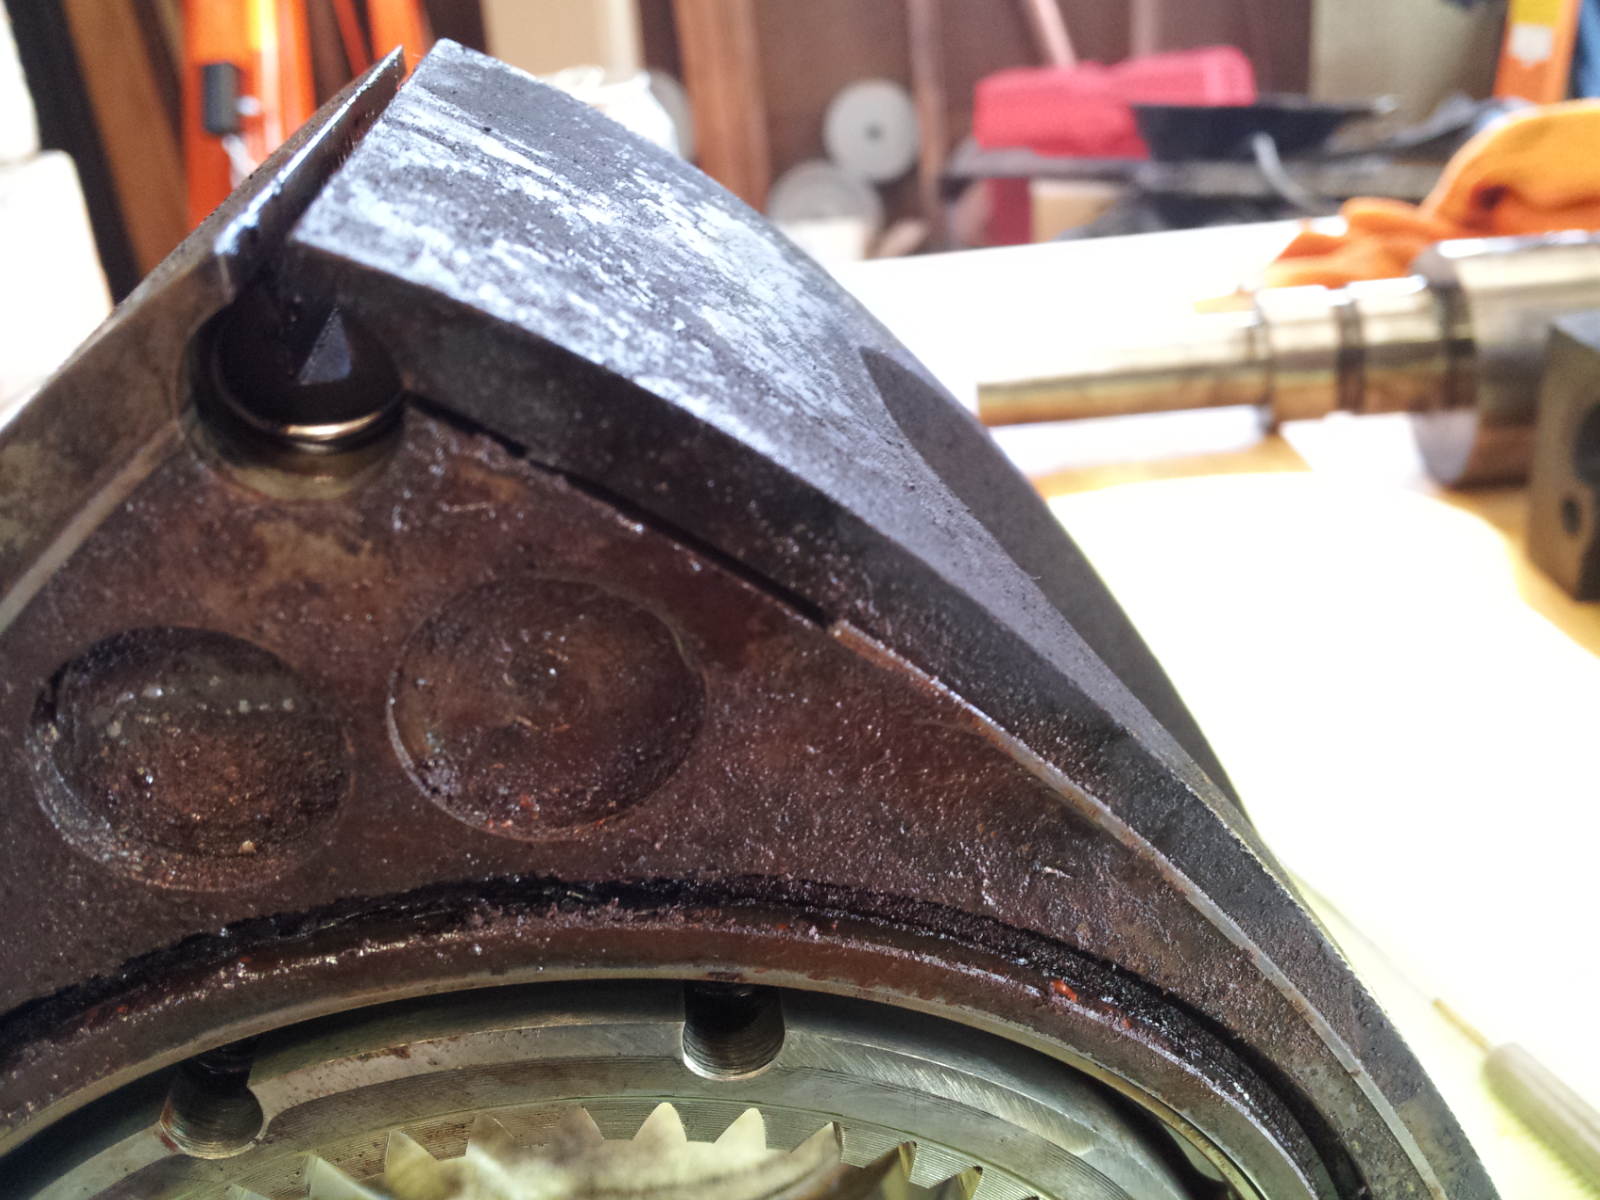
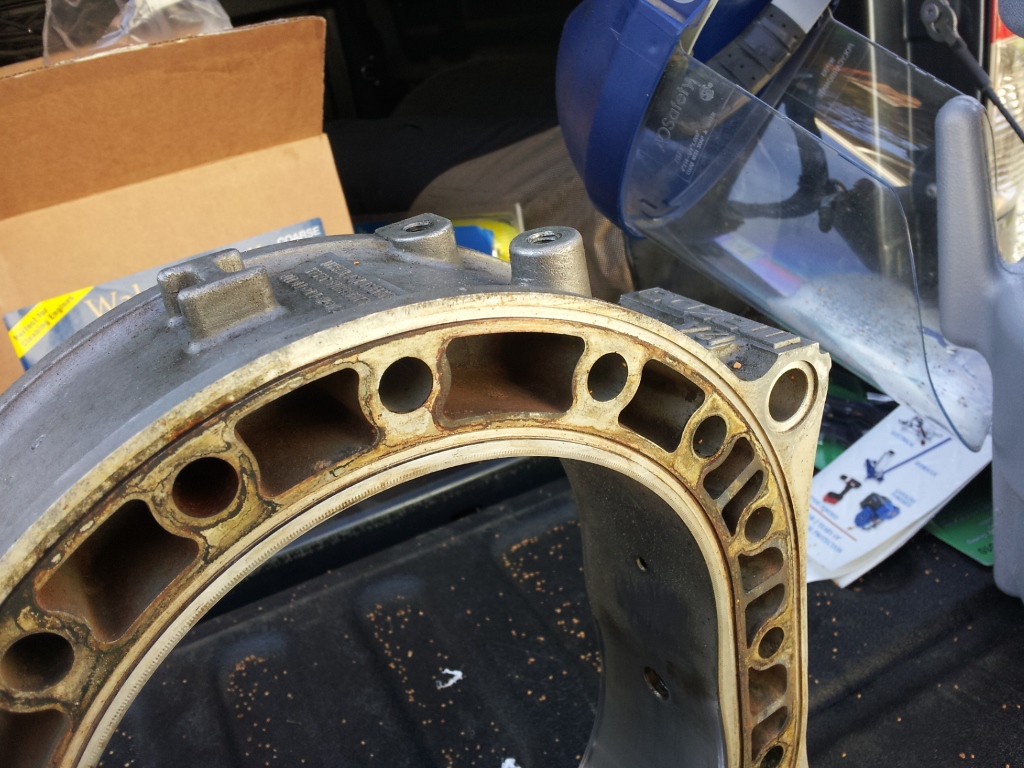
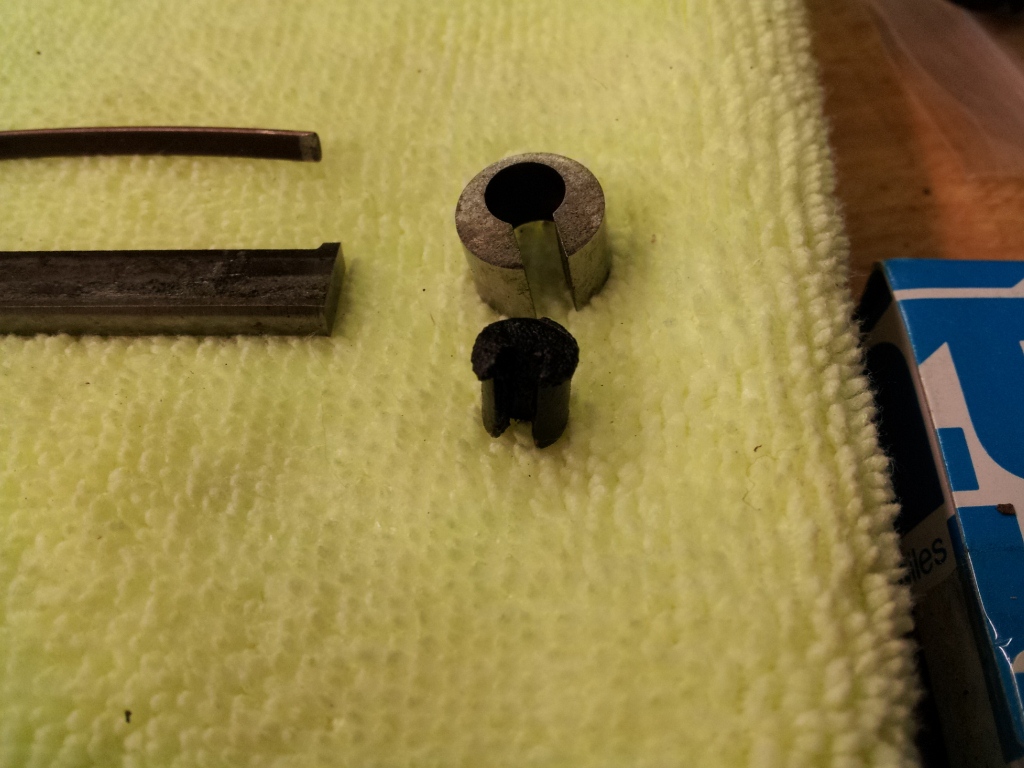
While cleaning the corner seals, it became apparent that they're probably going to need replacement, too; they're in pretty sad shape.

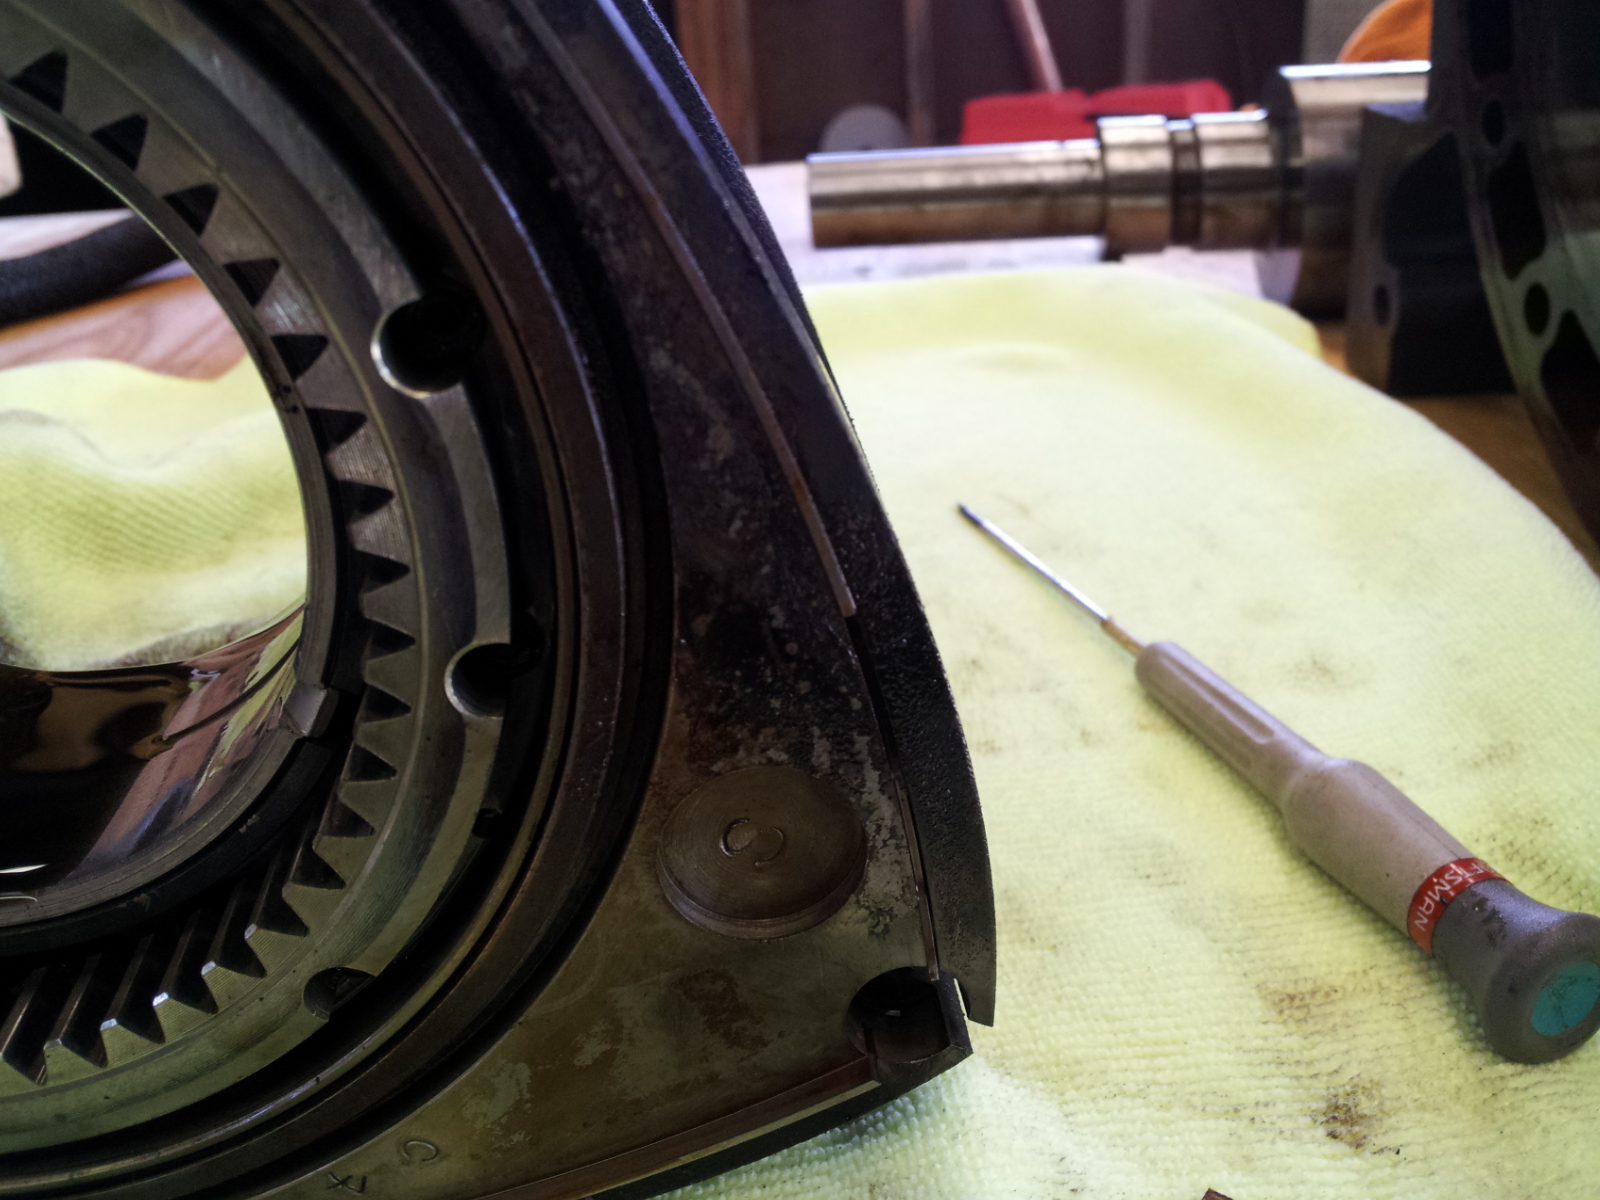
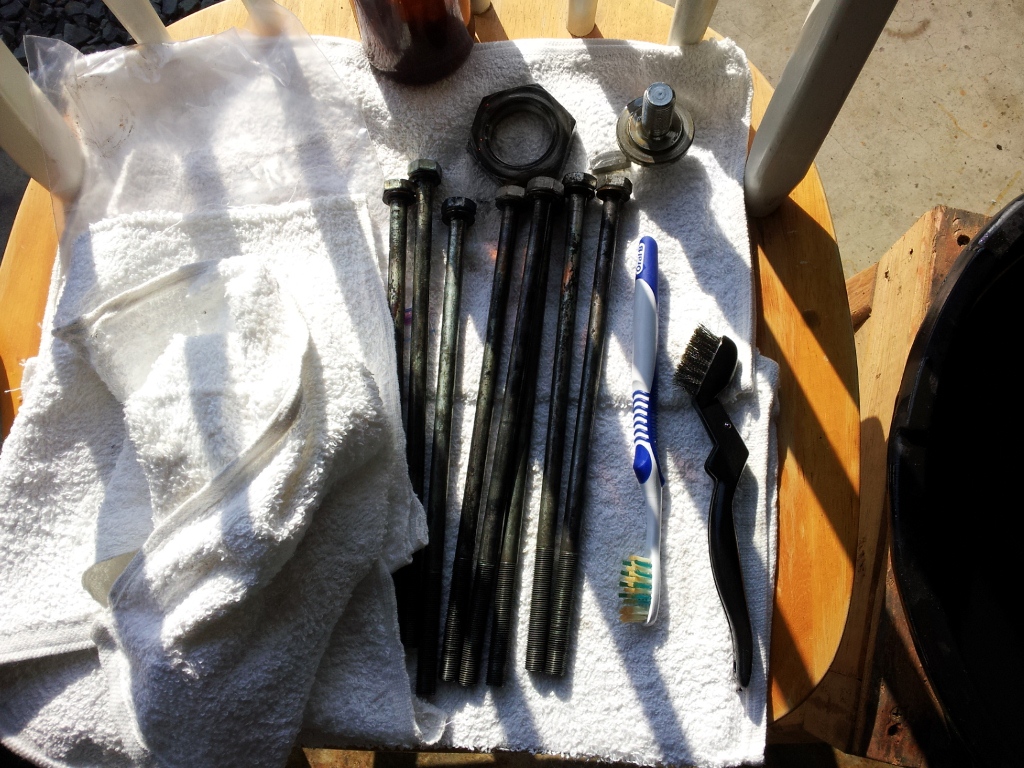
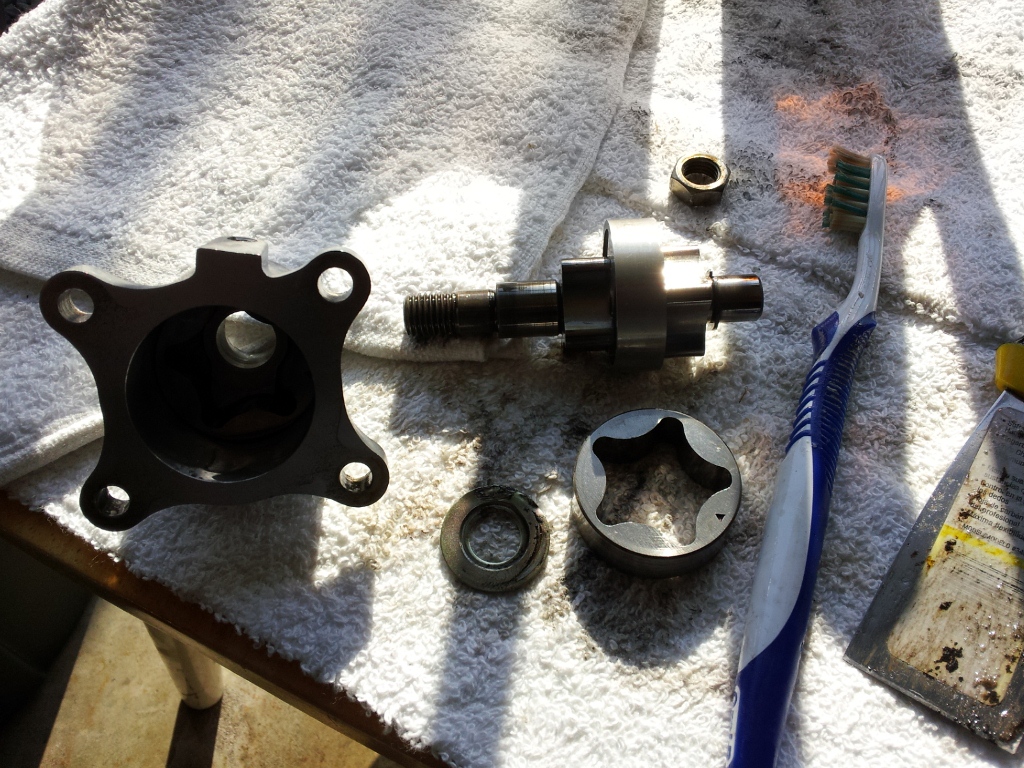
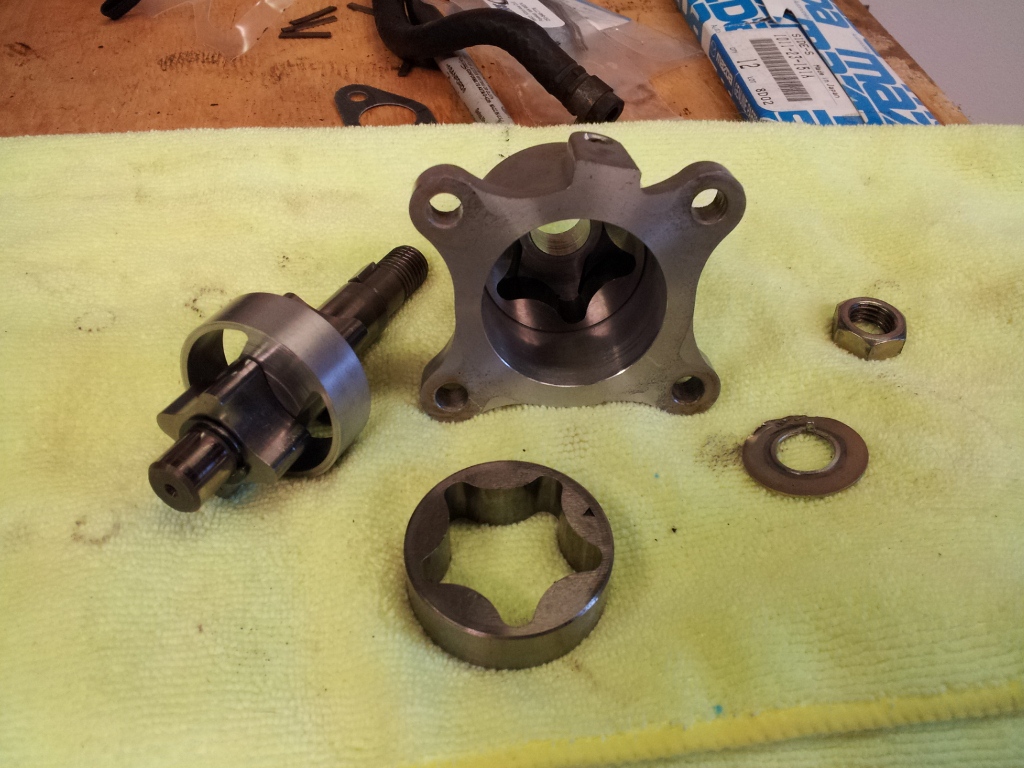
The apex seals, springs, oil seals, and all the gears, wheels, oil pump chain, etc., cleaned up well, though.

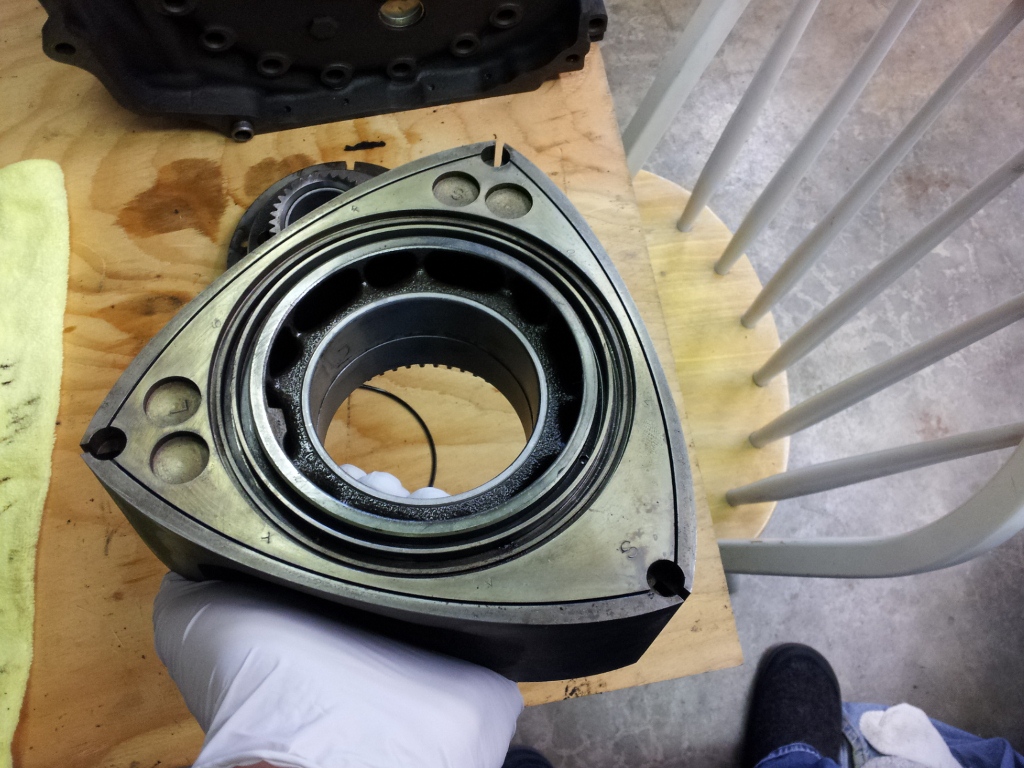
Here's a before and after of one of the rotors.  They cleaned up pretty nicely.


 Now to decide if we need to order new corner seals, or just go with these one.  Then we start putting it all back together...

Friday, October 14, 2011

Part 8

Roll Cage Fabrication

Doug Chase has been making steady progress on the roll cage for our LeMons crap can.  I have to say that we're very impressed with the quality of work and attention to detail!  Here are some pics...


The tentative plan is to pick up the car around the first week of November, then we can get started on electrical.  Oh, and we still don't have any brakes...

Edit: Here are some new pics.


Still working on some seat clearance issues, but we're hoping to pick the car up on 5-November.

Wednesday, October 5, 2011

Part 7

Lump Disassembly

I finally got to the point where I could get my garage set up to make a little work area for myself and start looking at getting this motor apart.  I had already found the 2 1/8" socket needed to get the flywheel nut off, but I didn't have a wheel puller wide enough to pull the flywheel off the eccentric shaft.

One trip to Harbor Freight Tools later, I now had a wheel puller set that could handle the job.  (Side note: Harbor Freight is great for tools you don't plan to use professionally or very often, because they're CHEAP!) 

I got the flywheel off, and removed the 18 binding bolts holding all the plates/chambers together.  Viola!


As you can see, rotary engines are a little bizarre.  If you don't know anything about the inner workings of an engine, it's probably not that big of an issue, but for those of us who have only worked with piston engines, this is a whole different animal.  If you'd like to learn more, check out this Wikipedia page on the Wankel Engine.

The only moving parts are the eccentric shaft (same as a crank shaft in a piston engine) and two rotors (front and rear).  Here's an animation of how the thing works (courtesy of Wikipedia).
  
Once you get outside the engine case, it works the same as a piston engine, with an intake system (either carbureted or fuel-injected), ignition system, and an exhaust system. 

Unfortunately, it looks like there was quite a bit of moisture in the chambers; there's a good deal of corrosion on these rotors...


The manual is pretty specific about keeping track of where each of the parts came from.  It also said that the rotors were well-marked as far as front & rear, front face & rear face of each, and the apexes.  That's true if you read Japanese.  I don't.

So I started taking notes on each rotor, where the balancing drill holes were and their sizes, and I made some sketches of each to aid in identifying where each of the 31 parts from each rotor came from...


I then labelled 11 zip-top bags for each rotor and started removing parts. 

Everything was going swell until I hit the side seals that had suffered the most corrosion.  There's already a very tight tolerance on the slots that the seals and springs are seated in, and with the corrosion, some of the seals have proven difficult to remove.


I'm still not sure how I'm going to get these out without damaging the rotor.

Next, I need to clean up all the parts and find out what needs to be replaced (besides all the broken side seals...).