Friday, September 23, 2011

American Le Mans Series at Mazda Raceway

We're fresh off the heels of our annual trip down to Monterey for the ALMS race. It was a great trip, arguably the best of the three years we've been doing it. All of the support races were good, too.  Here are a few pics and a video.

The Beast.  36 feet of land yacht fun.  Time to weigh anchor and set sail for sunny Monterey, CA!


On the road.  2,000 miles of driving in four days is quite a lot.  We broke it up into three driver stints per day, but even that was tiring.


First night's accomodations in Redding, CA.  The casinos sure are nice to let us park for free.


At the track.  We had a kick-ass camp spot, close to the showers and only a 10-minute walk to the track.


1990 Mazda 787.  We got to see a couple exhibition laps with the RX7 racecar behind it, too.


 One of two 1967 Cosmo Sports exported to the US.  Very cool old Mazda.


 The new Ferrari 458 Italia racecar.  Better than the F430, I think.


The hillside overlooking T2.  It's a great place to see the start of the race.


Exit of the famous Corkscrew.


The Corkscrew Pub, where we spent many a dollar keeping ourselves hydrated.


The guys. 


Here's a video of the cars making their way onto the grid.

And here's a video of some ALMS action at the Corkscrew.

Sadly, if this LeMons thing really takes off, we're probably going to have to cancel the ALMS trips; there's just not enough money in the coffers or vacation time on the books to do everything...

Part 6

We busted our asses every Monday plus some Saturdays and Sundays all summer long to get to this point.  We wanted to get to the cage builder before the weather turned to crap because we have no glass except a windshield. 

So we set an appointment with Doug Chase to trailer the car over to his shop for the cage fab and install.  We got seat re-installed after paint, installed the new wheels, and pulled it off the jack stands. 


It's starting to come together!  We loaded it up on the trailer and off it went.


And now we wait.  We're supposed to get the car back around late September or so. 

Ok, we're basically caught up as far as the car's concerned.  I'm sure I missed some details, but they've escaped over time.  I'll try to post in a more timely manner going forward.

Part 5b

As mentioned earlier, we needed to replace our rear brake line for reasons that I will not mention again.  We also rebuilt our master cylinder and all the calipers. 

When we went to reassemble the brake system, we quickly realized that we had an issue: the threads on the new brake line did not match the master cylinder.  AND the threads on new flexible brake lines did not match the front calipers.

I think we ordered adapters online something like three times, and each time they were either the wrong thread count, or the male/female threads were the reverse of what we needed.

We tried to cap off the rear port on the master cylinder and just get the front brakes working, but it just wasn't happening.  We thought maybe I had rebuilt the cylinder incorrectly (because the manual is SO clear on the subject...), but no matter what we tried we couldn't get any pressure in the system.

In the end, because the master cylinder has to be bled through to get all the brakes to work, we were only able to get the front right brake to work.

Oh well.  Better than NO brakes.

Part 5

A wiring harness isn't easy to deal with. A thousand plugs that came from a thousand places, all of which are unknown now. We didn't intend to keep the original harness, so this is no big deal, but we did want to re-use some of the wire and connectors, so we did not want to trash it taking it out.

As seen in previous pics, the harness was pretty heavily integrated between the engine compartment and the dash area (as most are).  There was no main connector to separate the two, so everything had to be carefully strung through the small opening in the firewall, from the engine compartment into the cabin.

Finally, after a couple hours of painstaking pulling and pushing, shoving and swearing, all of the wires are out.   We're at the point of no return now. We MUST learn, and learn to love, the less-than-stellar schematics in our factory service manual and Haynes manual. We will have to build our electrical system from the ground up.

Part 4

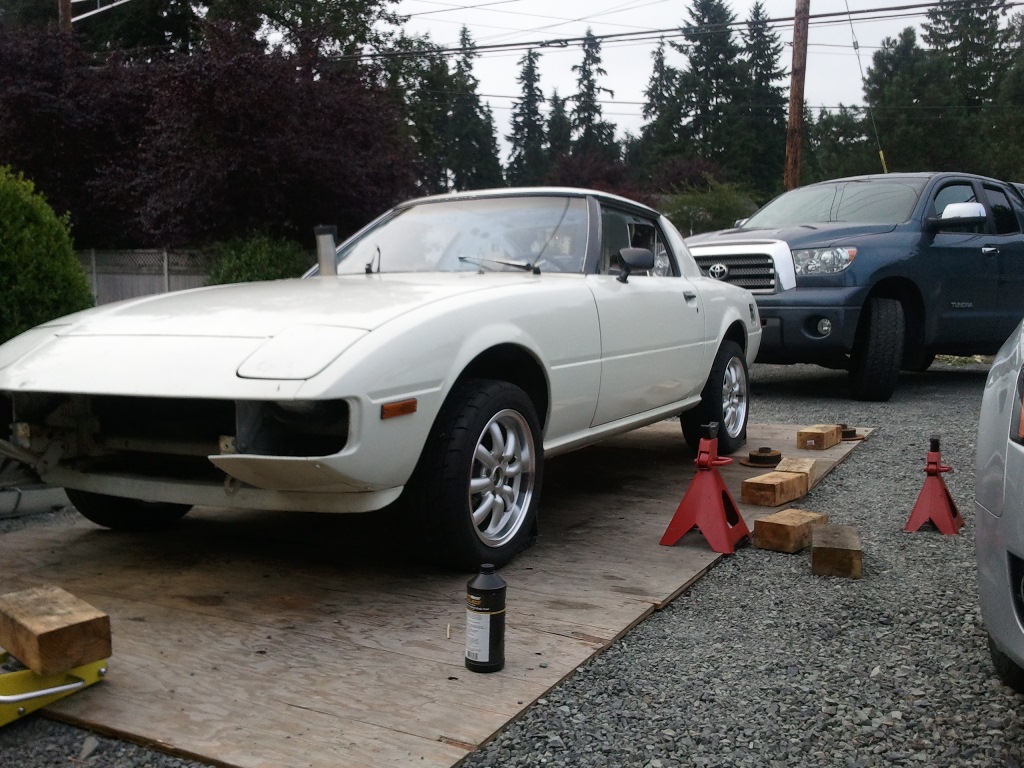
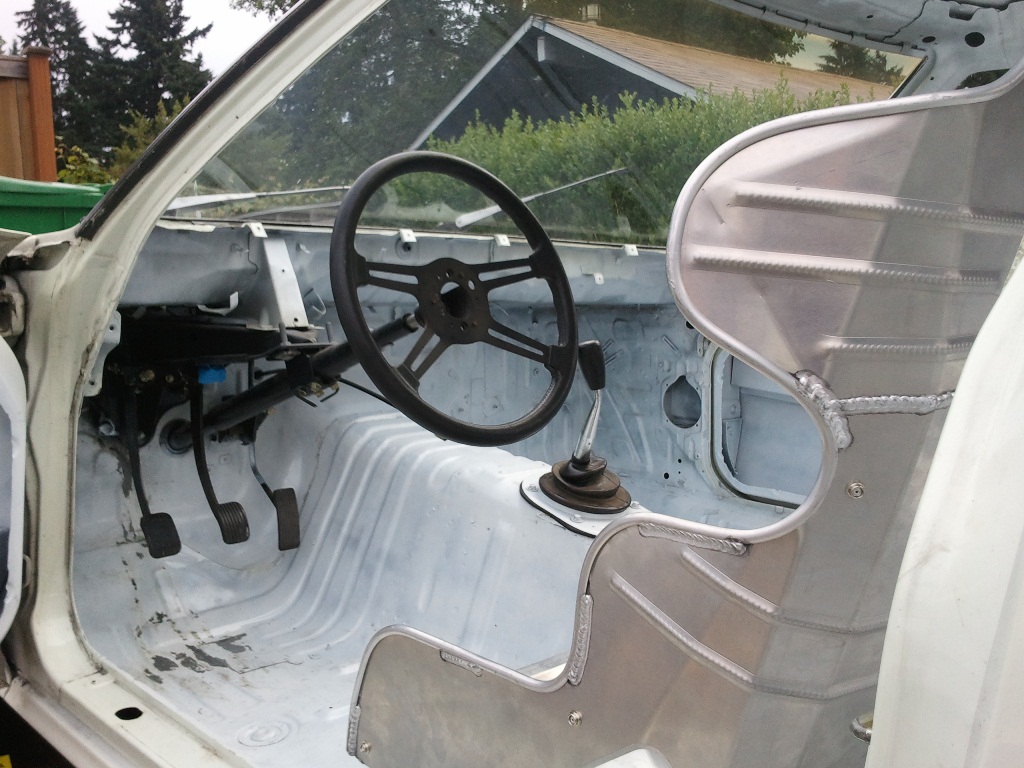
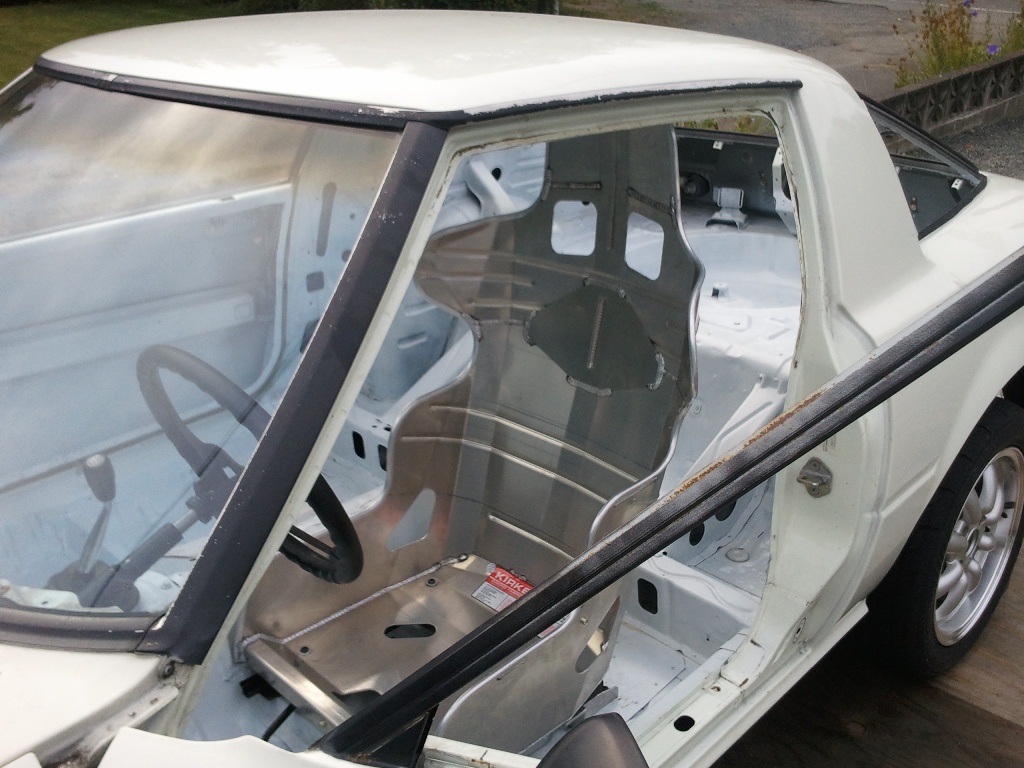
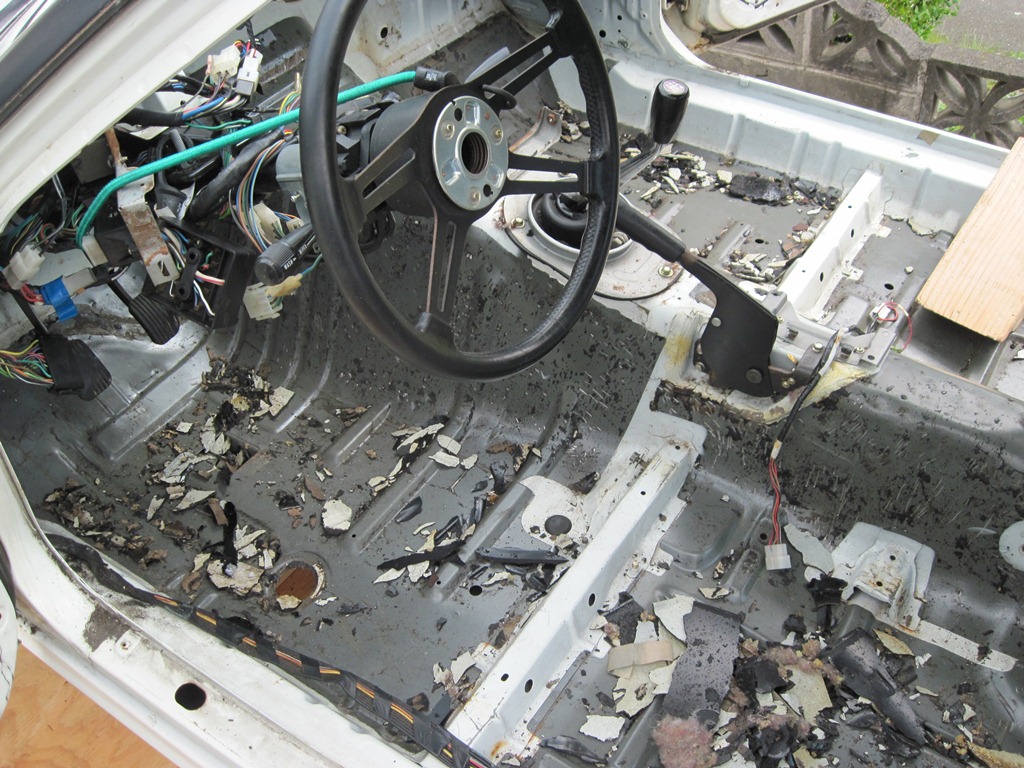
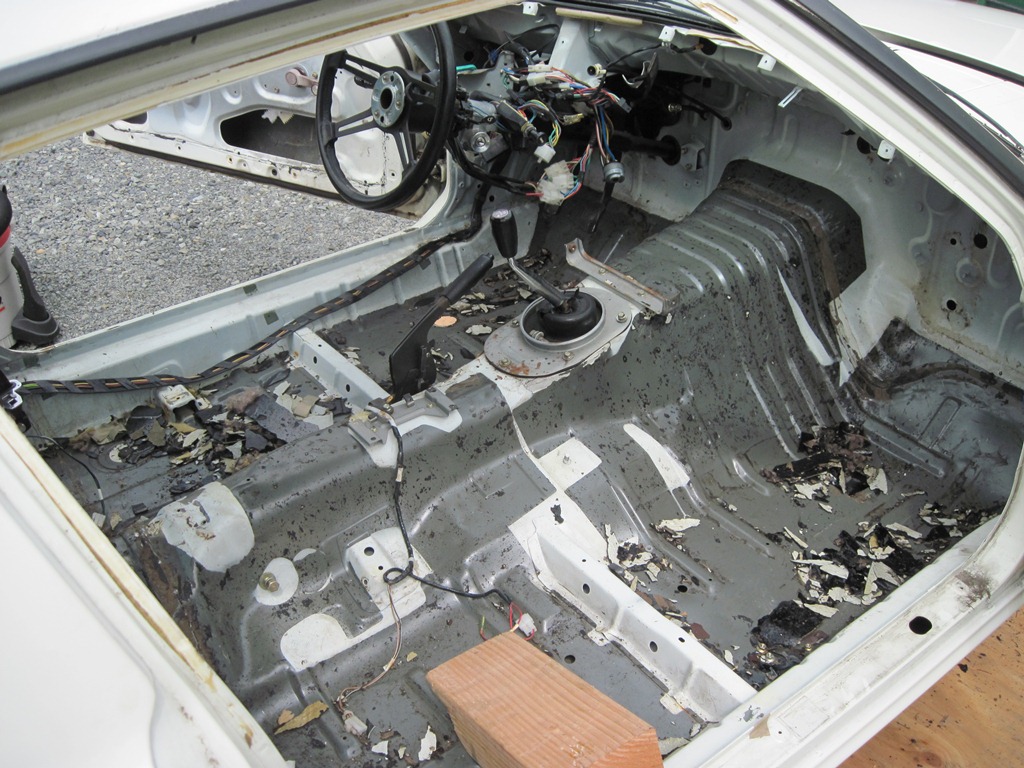
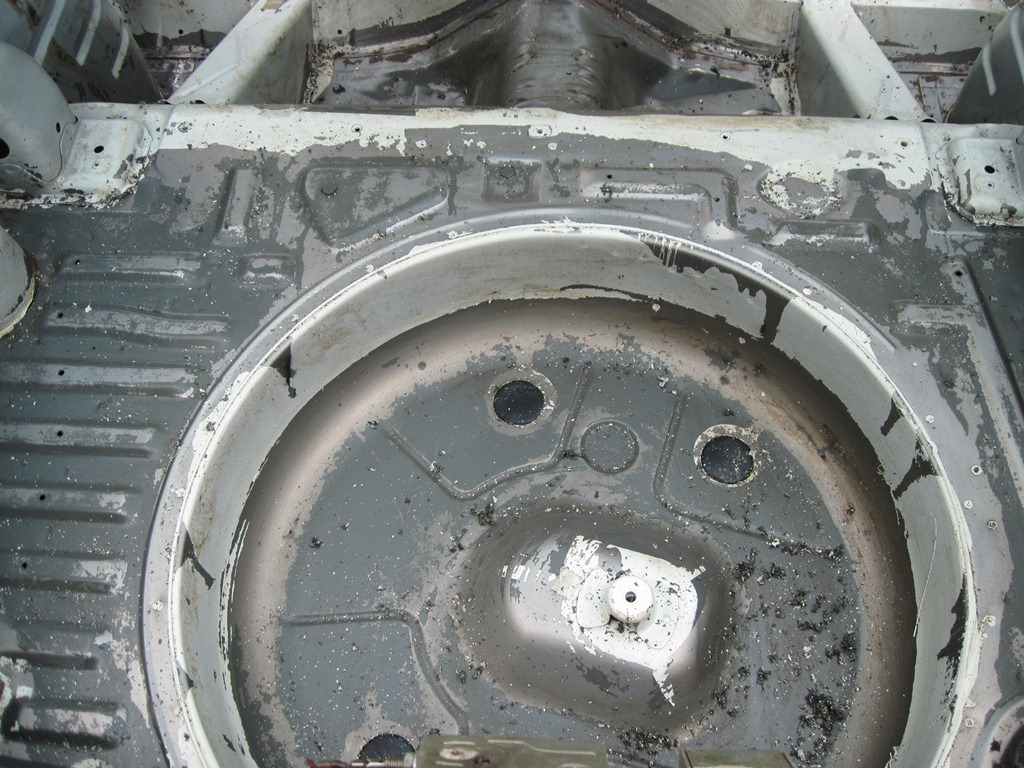
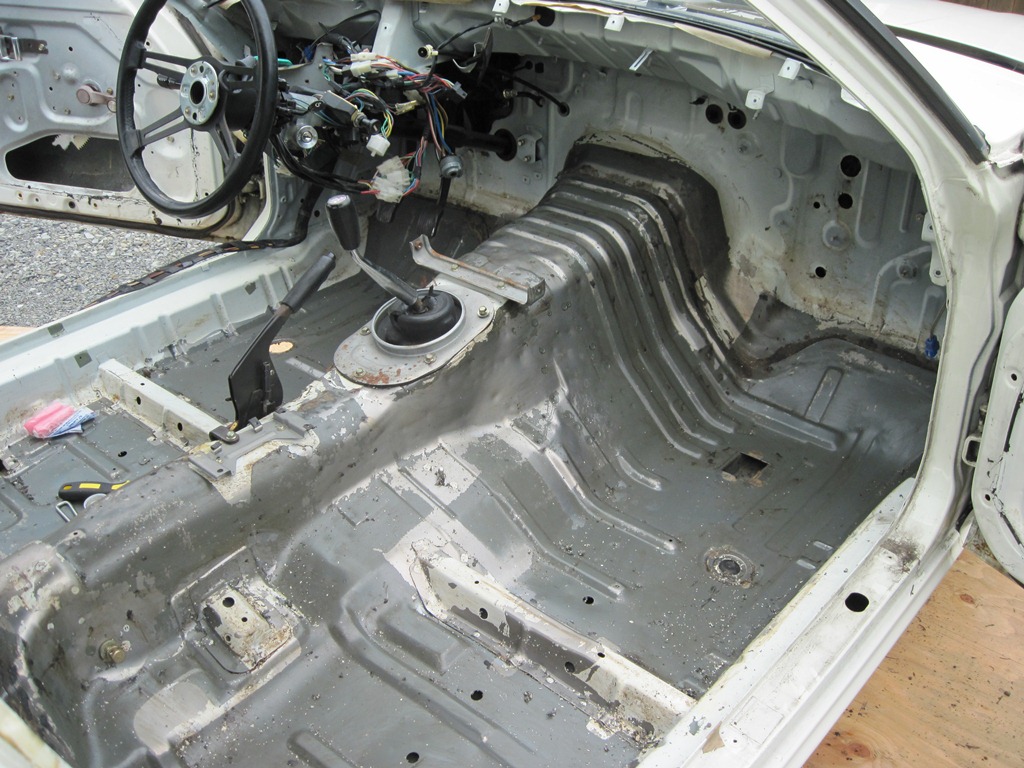
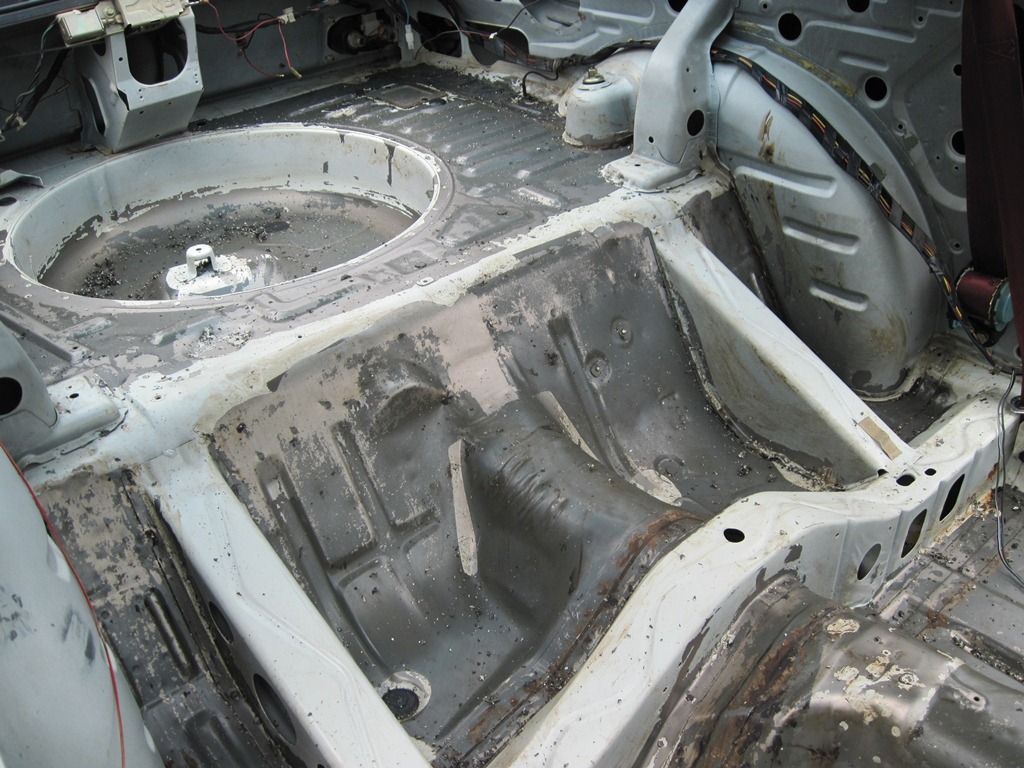
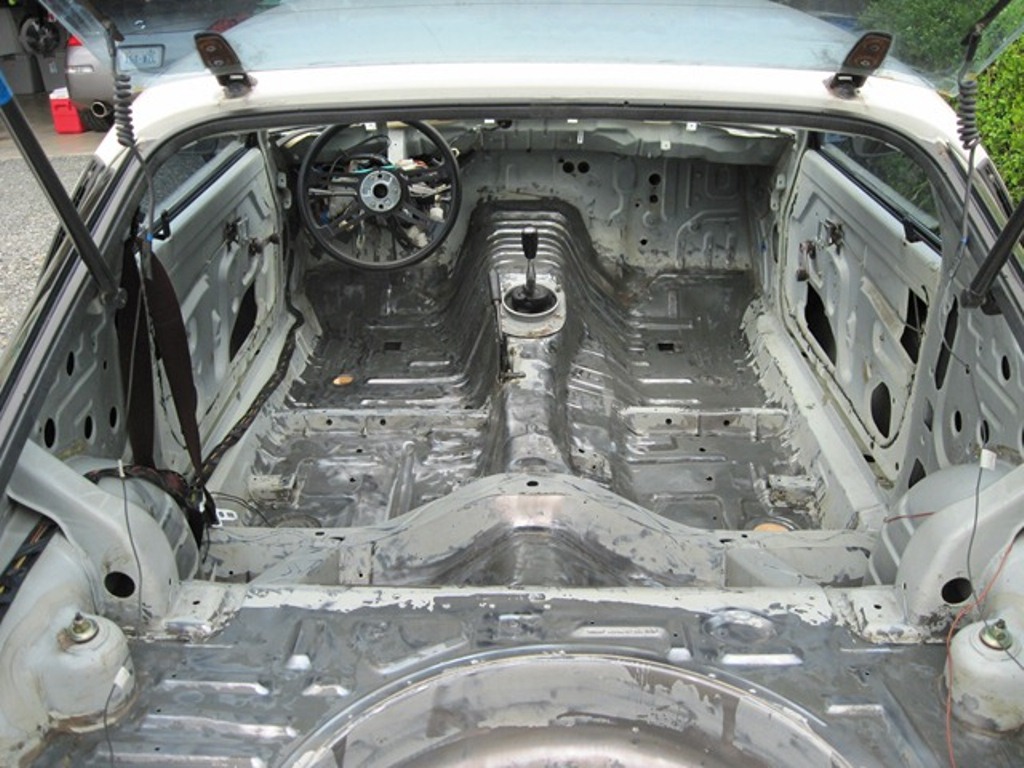
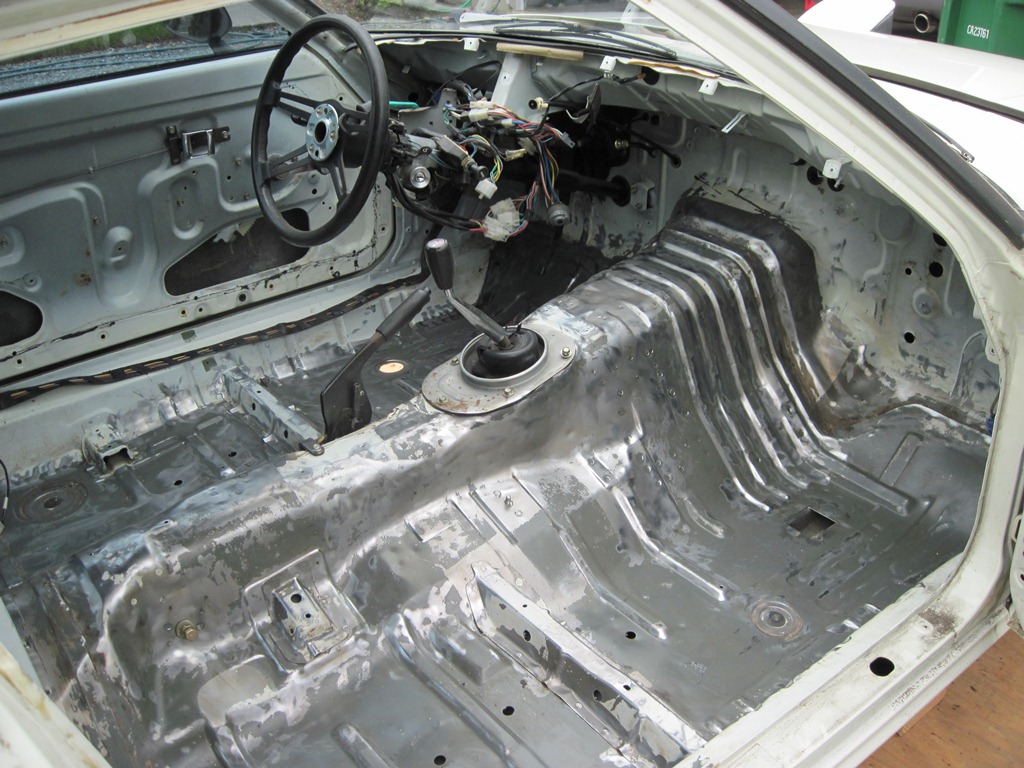
When we finally had all the interior stripped out of the car, we started researching ways to get the sound-deadening material out of the floor boards.  Why not try to shave a few more pounds?  Besides, I assume it's a hassle to try to install a roll cage with this crap still in the car.

I saw some post on the web about burning it out, but that was mainly on bare chassis and the results were never spectacular.  That and I didn't feel like burning my house down.  Or my neighbor's.  There was also the brute force route: hammer, chisel, etc., but that seemed like a lot of work and the weather was hot as hell.

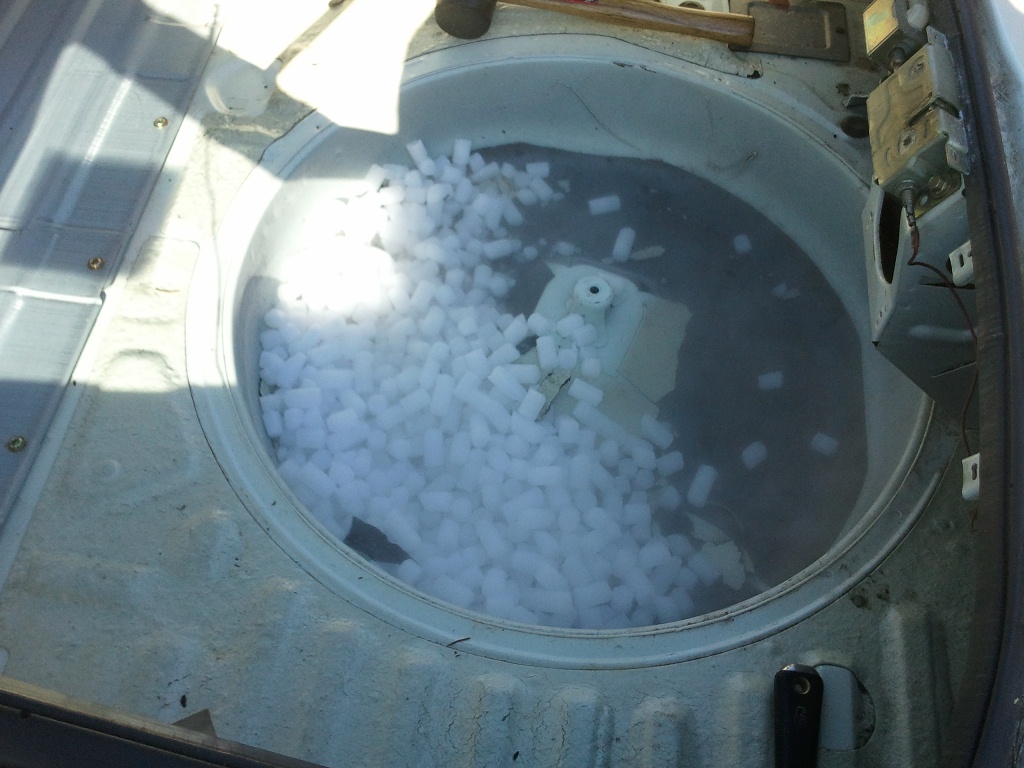
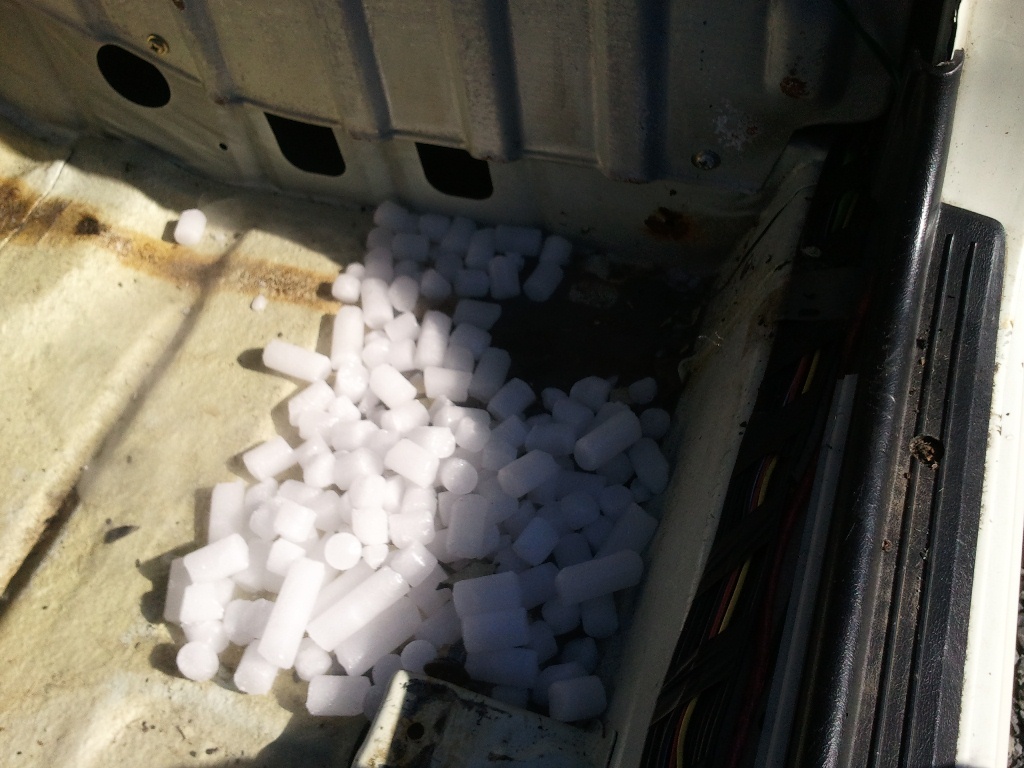
Finally, I stumbled across a web page describing the use of dry ice.  Basically, you pour it in the floor boards, wait a little while, then smack it with a mallet.  Sounds reasonable.

So we stopped by the local welding supply hours and picked up a cooler full of the stuff.  It's not terribly expensive, but it is certainly heavy.  I didn't specify any particular weight, so when the guy asked me if 50 lbs was enough I kinda freaked out a little, thinking this was going to get expensive.  It wasn't bad, but that cooler was heavy.


We started out by just dumping in bowls of the stuff. 


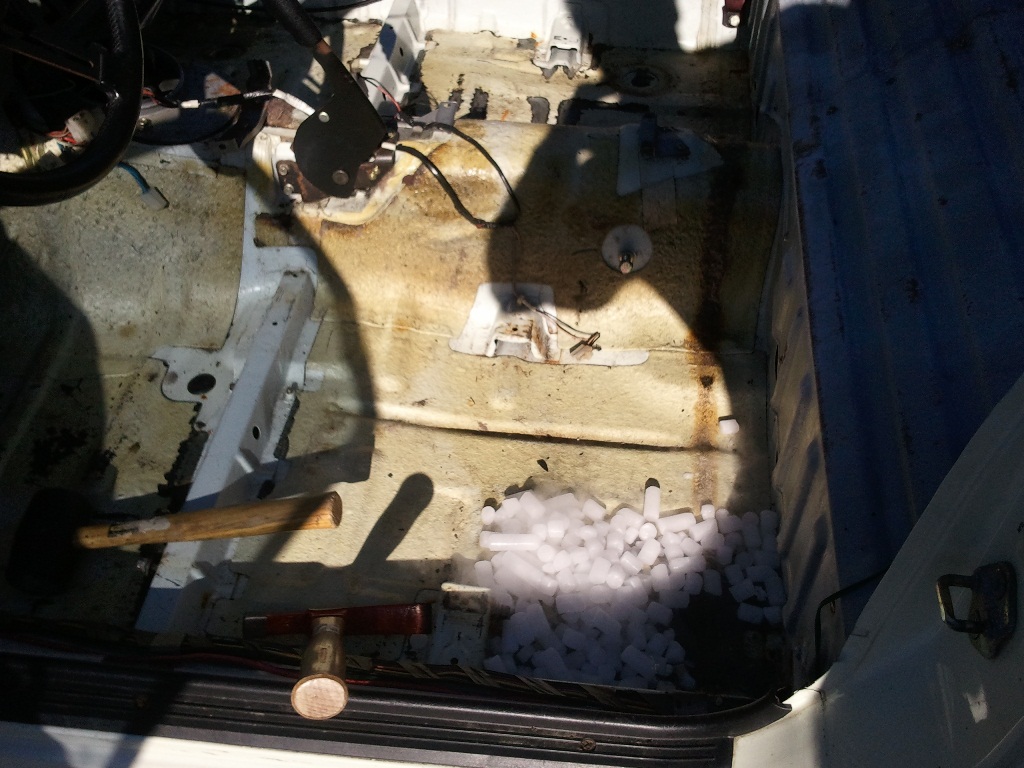
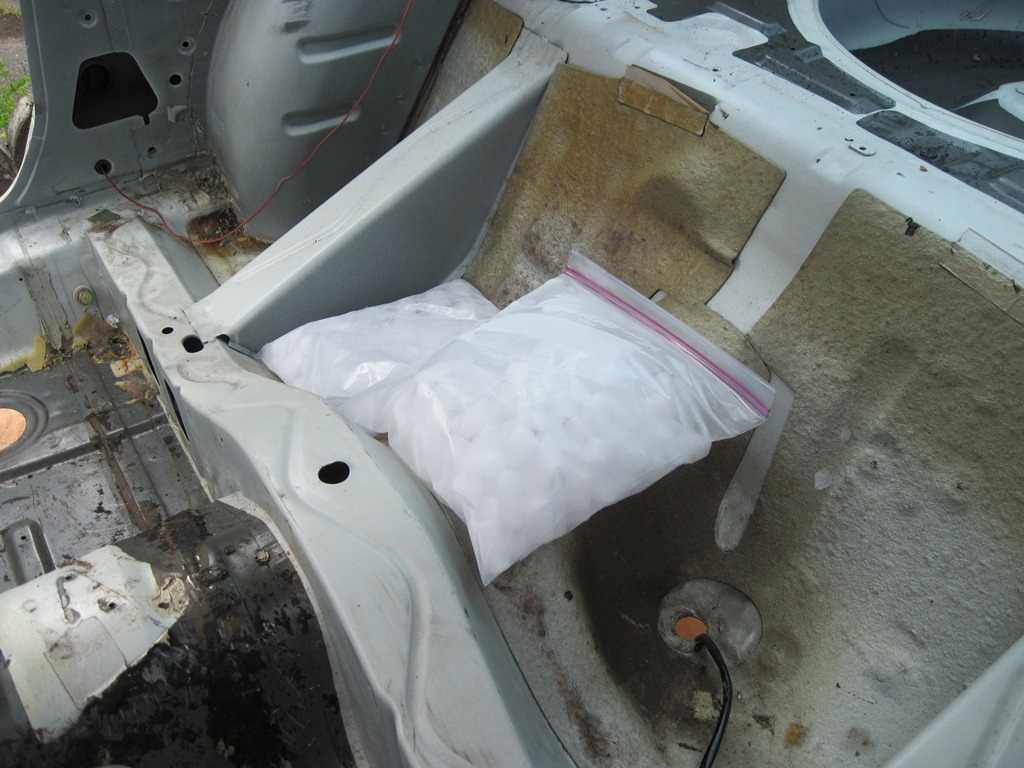
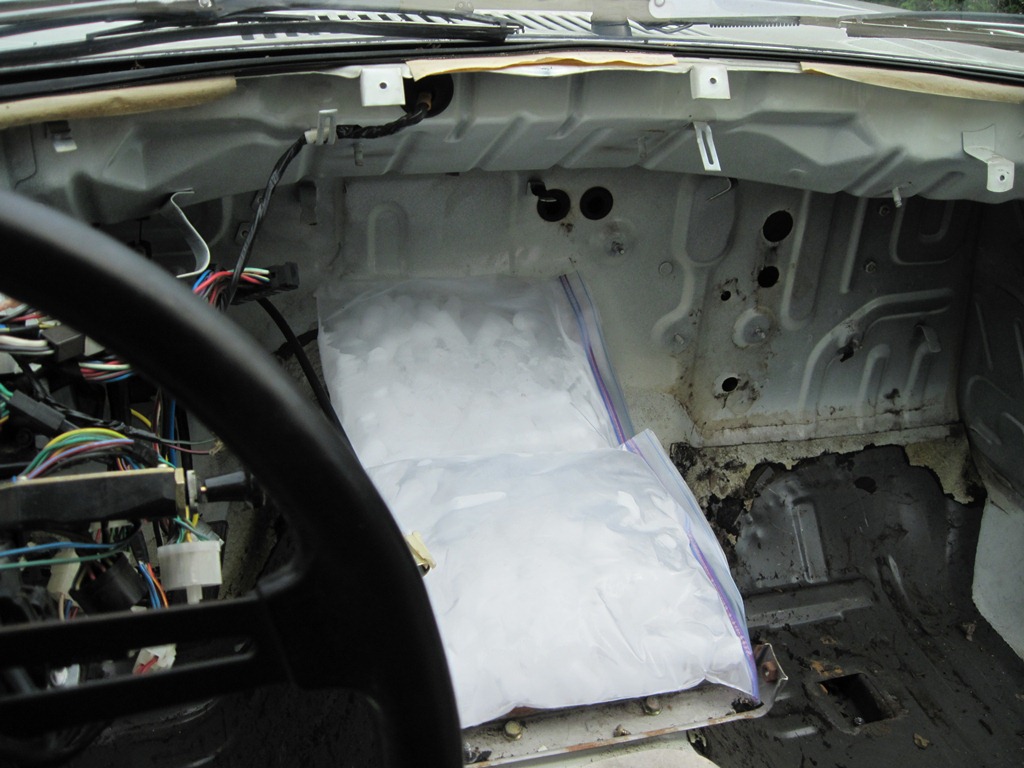
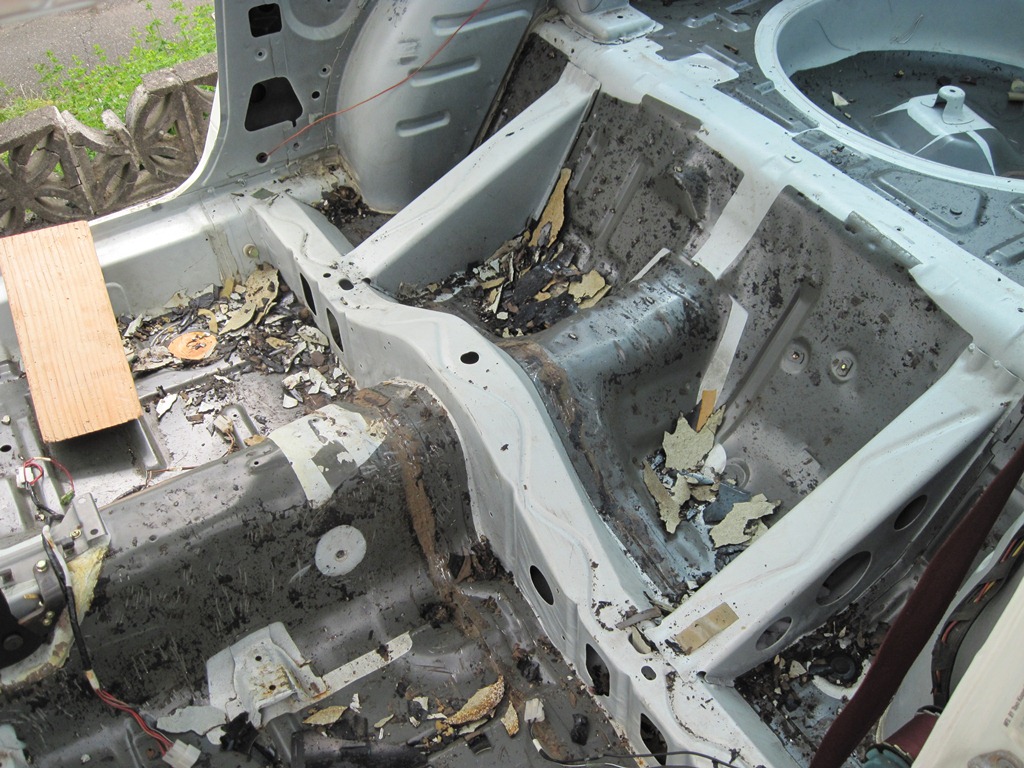
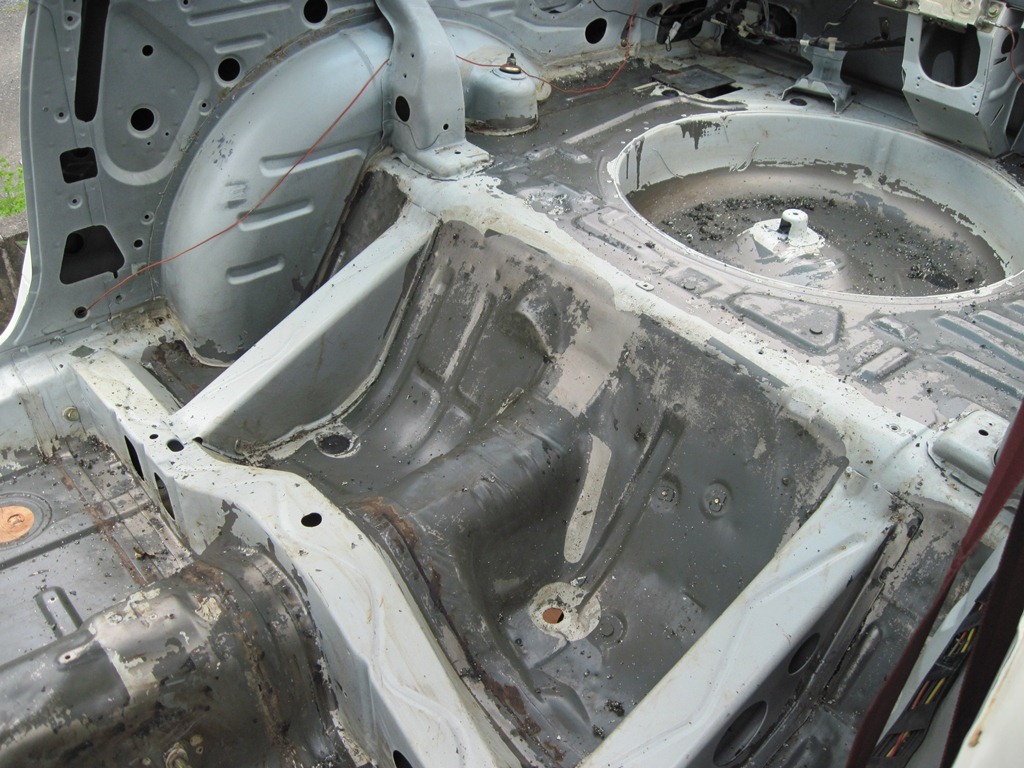
We let it sit for a few then pushed it aside and smacked the floor with a mallet.  Viola!  The chips were flying!  That worked pretty well on the flat surfaces, but for the angles and transmission tunnel, it wasn't going to work.  So we loaded dry ice into gallon zipper bags and piled them up.


This worked well enough, and before too long we had the majority of the material loosened up.


We pulled out the chunks then vacuumed it out.  It's looking pretty good now.


Next step: noxious chemicals and power tools...

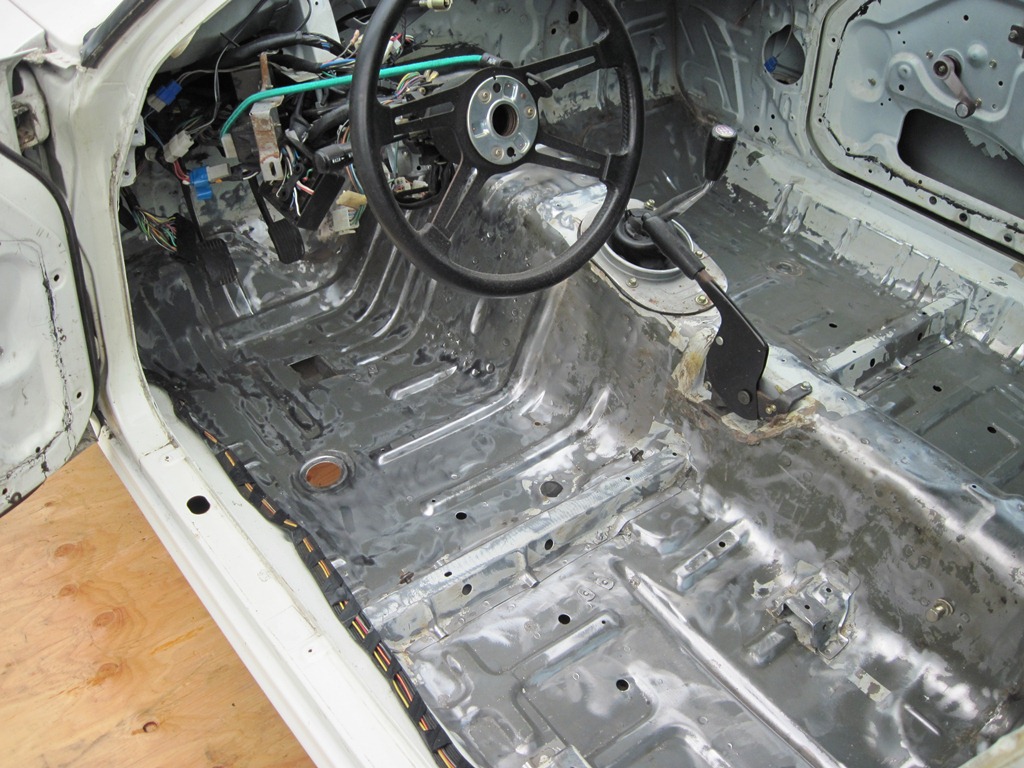
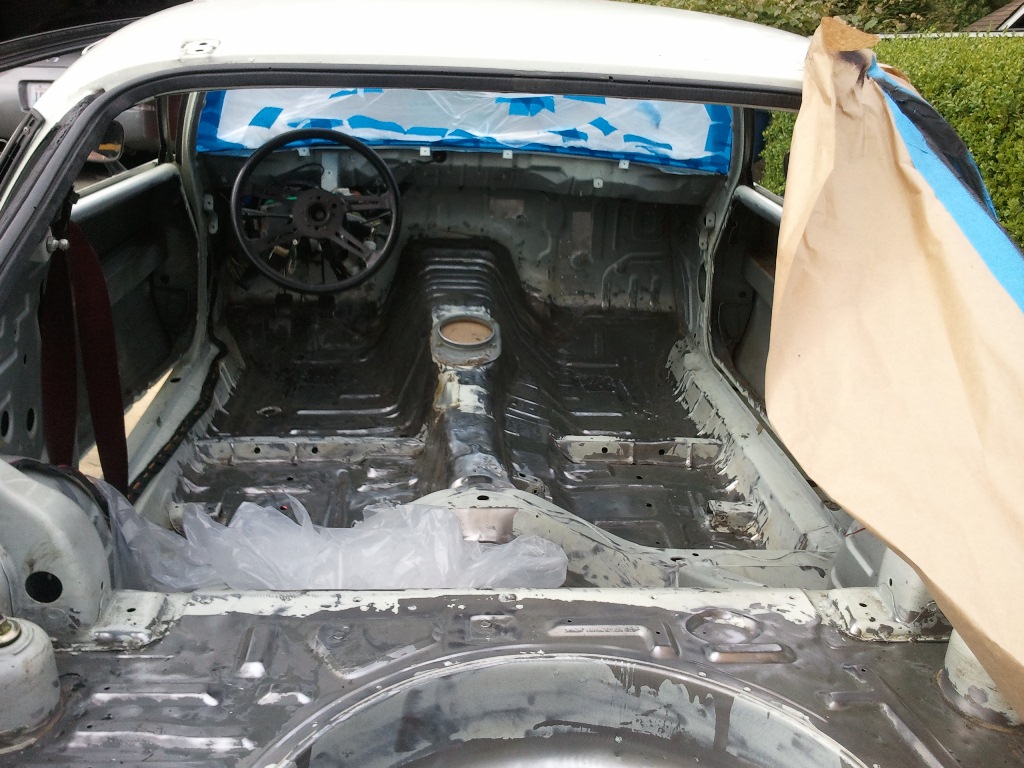
There was still some little bits of sound material in the car, and remnants of the adhesives used on the interior and headliner.  I stopped by the local hardware store to see what they had in the way of adhesive removers and found some stuff that's used for removing the glue left behind when removing vinyl tile.

A word of advice: if the instruction tell you to use chemical gloves and goggles, you probably ought to heed them...  In my first attempt at using this stripper, I tried nitrile gloves and a sponge paint applicator.  Bad plan.  Both lasted a total of about 4 and a half minutes.  And when that stuff gets on your skin it burns pretty nice.  So back to the store for elbow-length chem gloves and a better applicator. 

Second try was much better, and it only took a couple hours to get all of the leftover sound deadening material and adhesive out, plus a lot of paint (by accident).  I didn't get a lot of pics because I had the chem gloves on, so all you really get to see if the final product.  Hit it up with a wire wheel on the angle grinder and it didn't look too bad.  Well, it looked better, anyway.


Next step, final prep for paint.

Update...

Okay, okay; I know I've slacked off quite a bit already.  I'm working on creating the new posts, but there's so much info to capture and I'm trying to keep it coherent.  I will try to have some new posts this weekend.

Sorry for the delay (to the one or two peeps paying attention...).