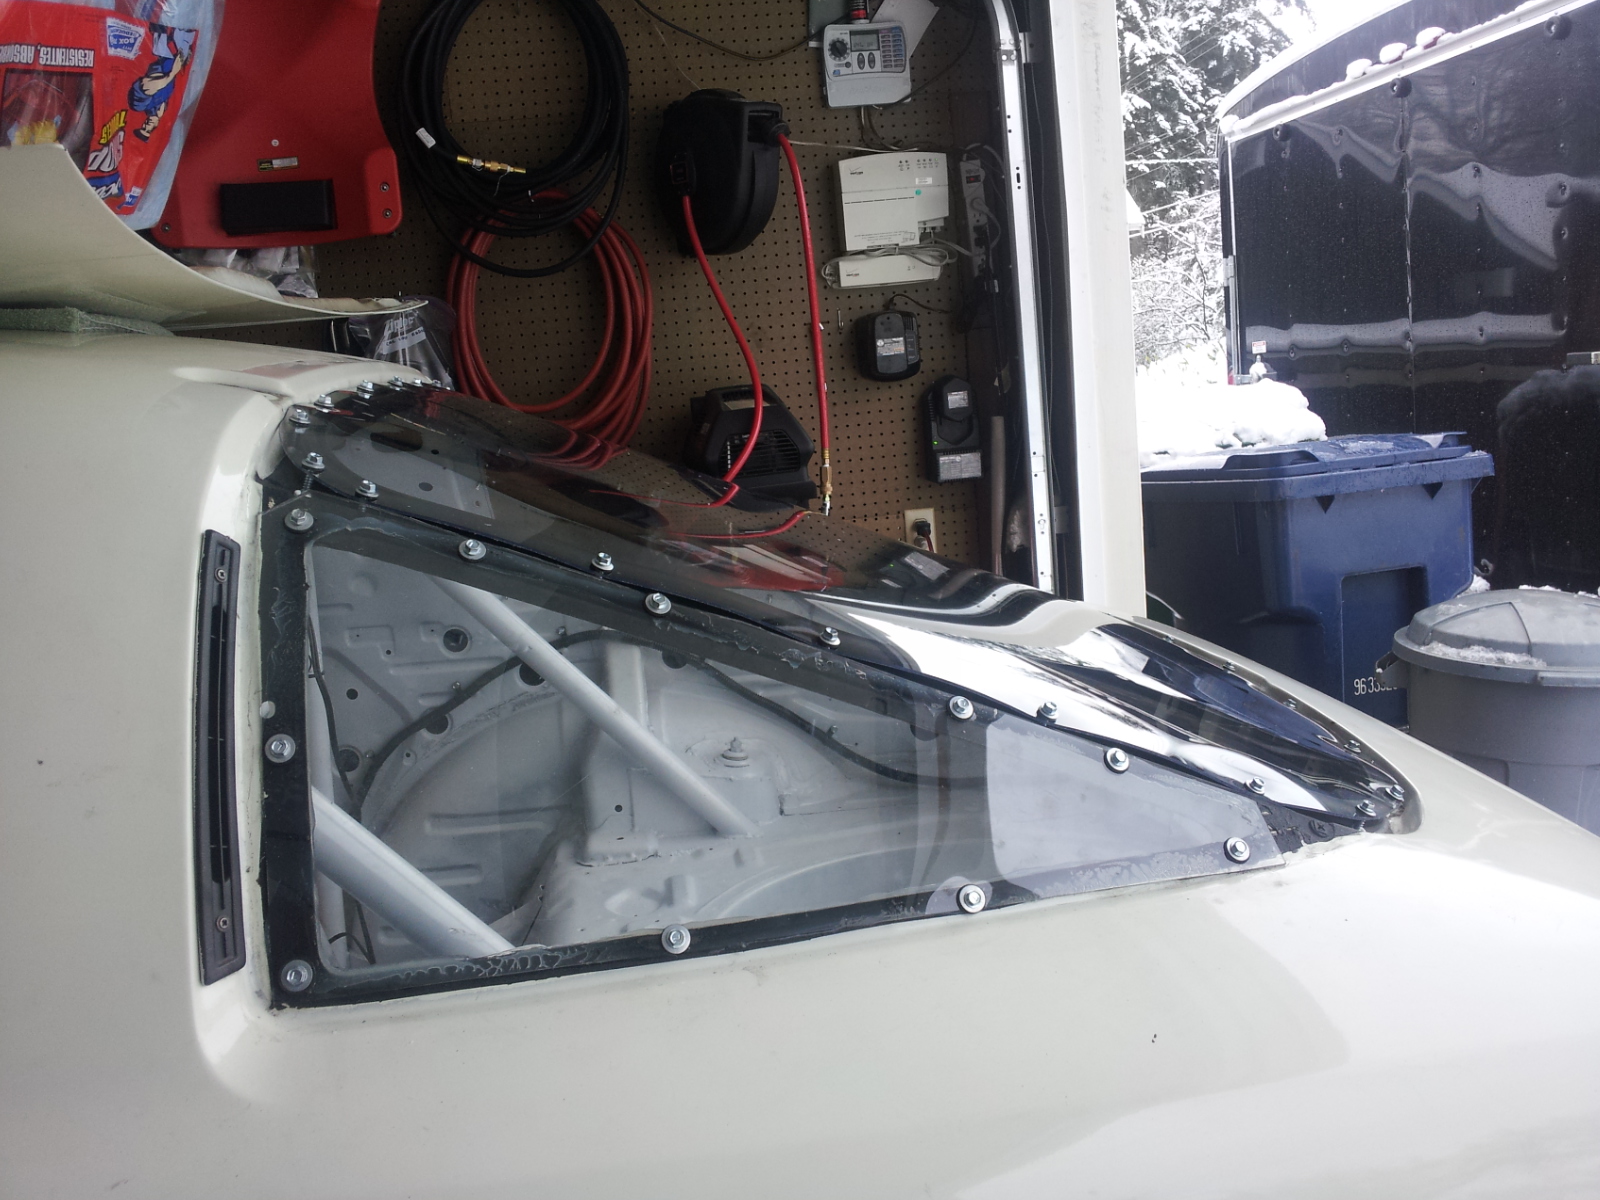
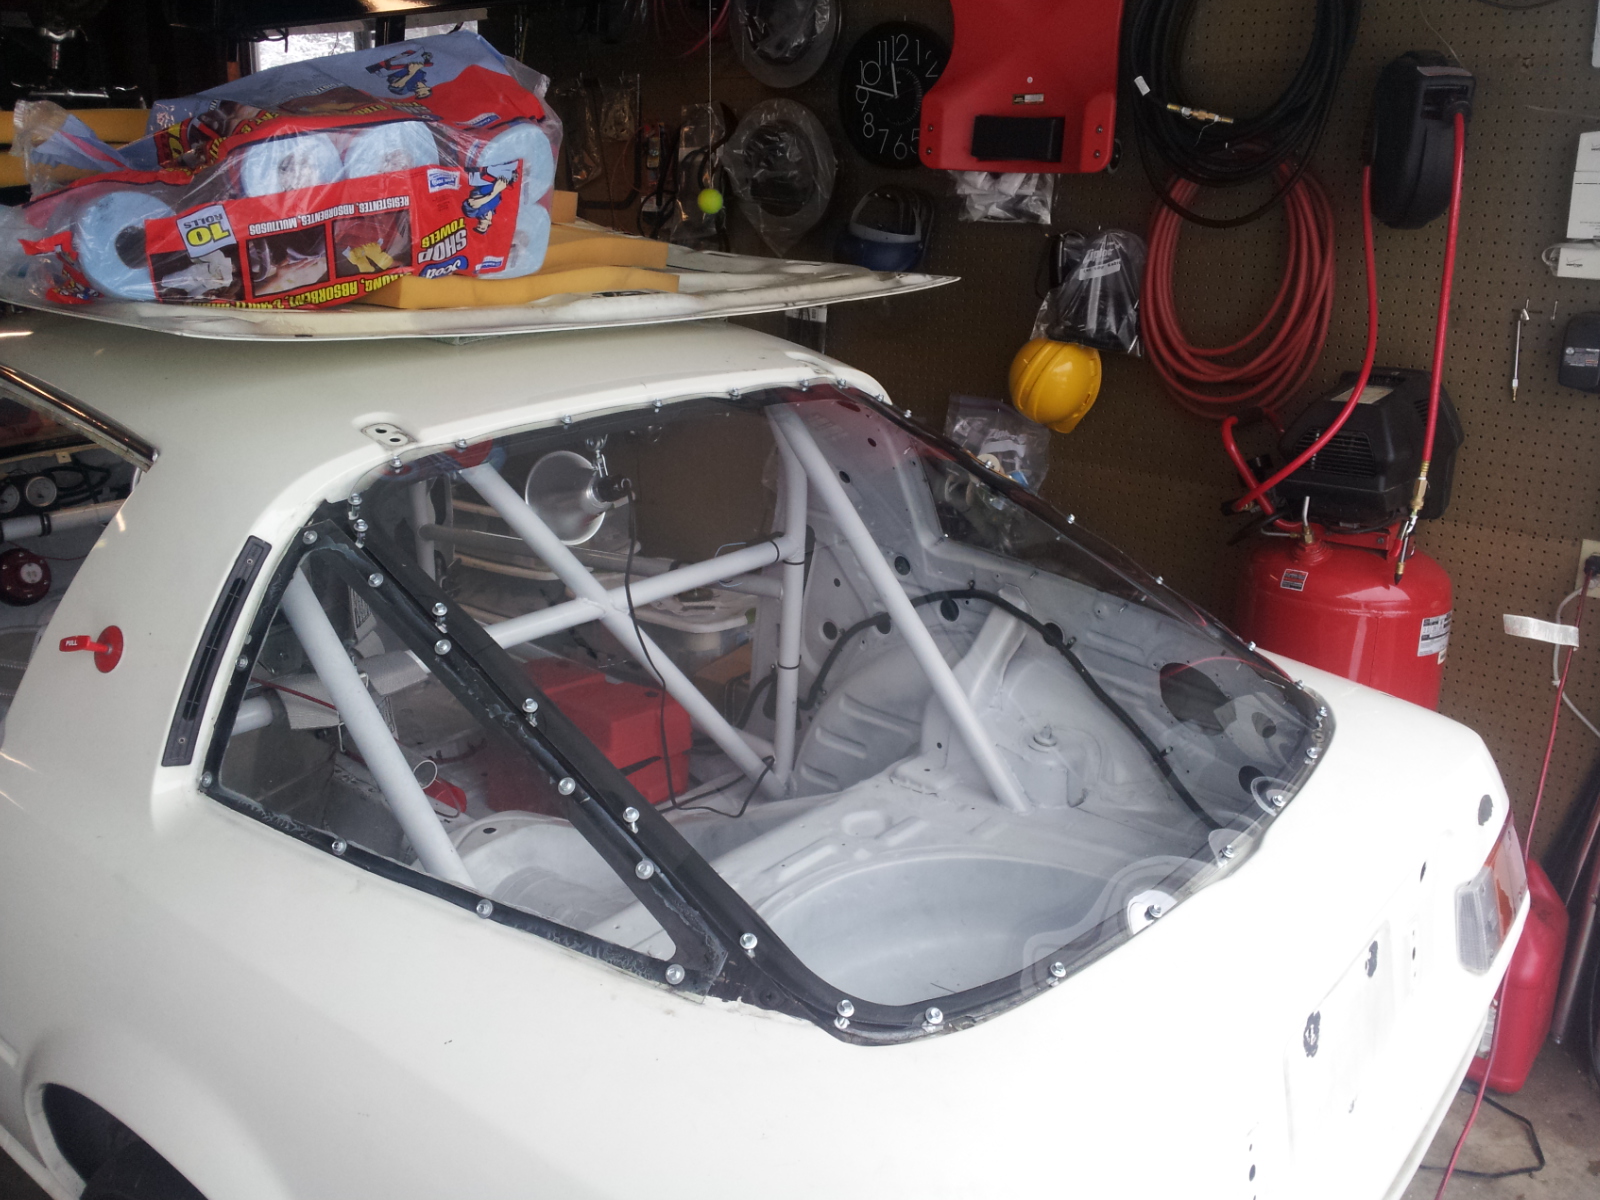
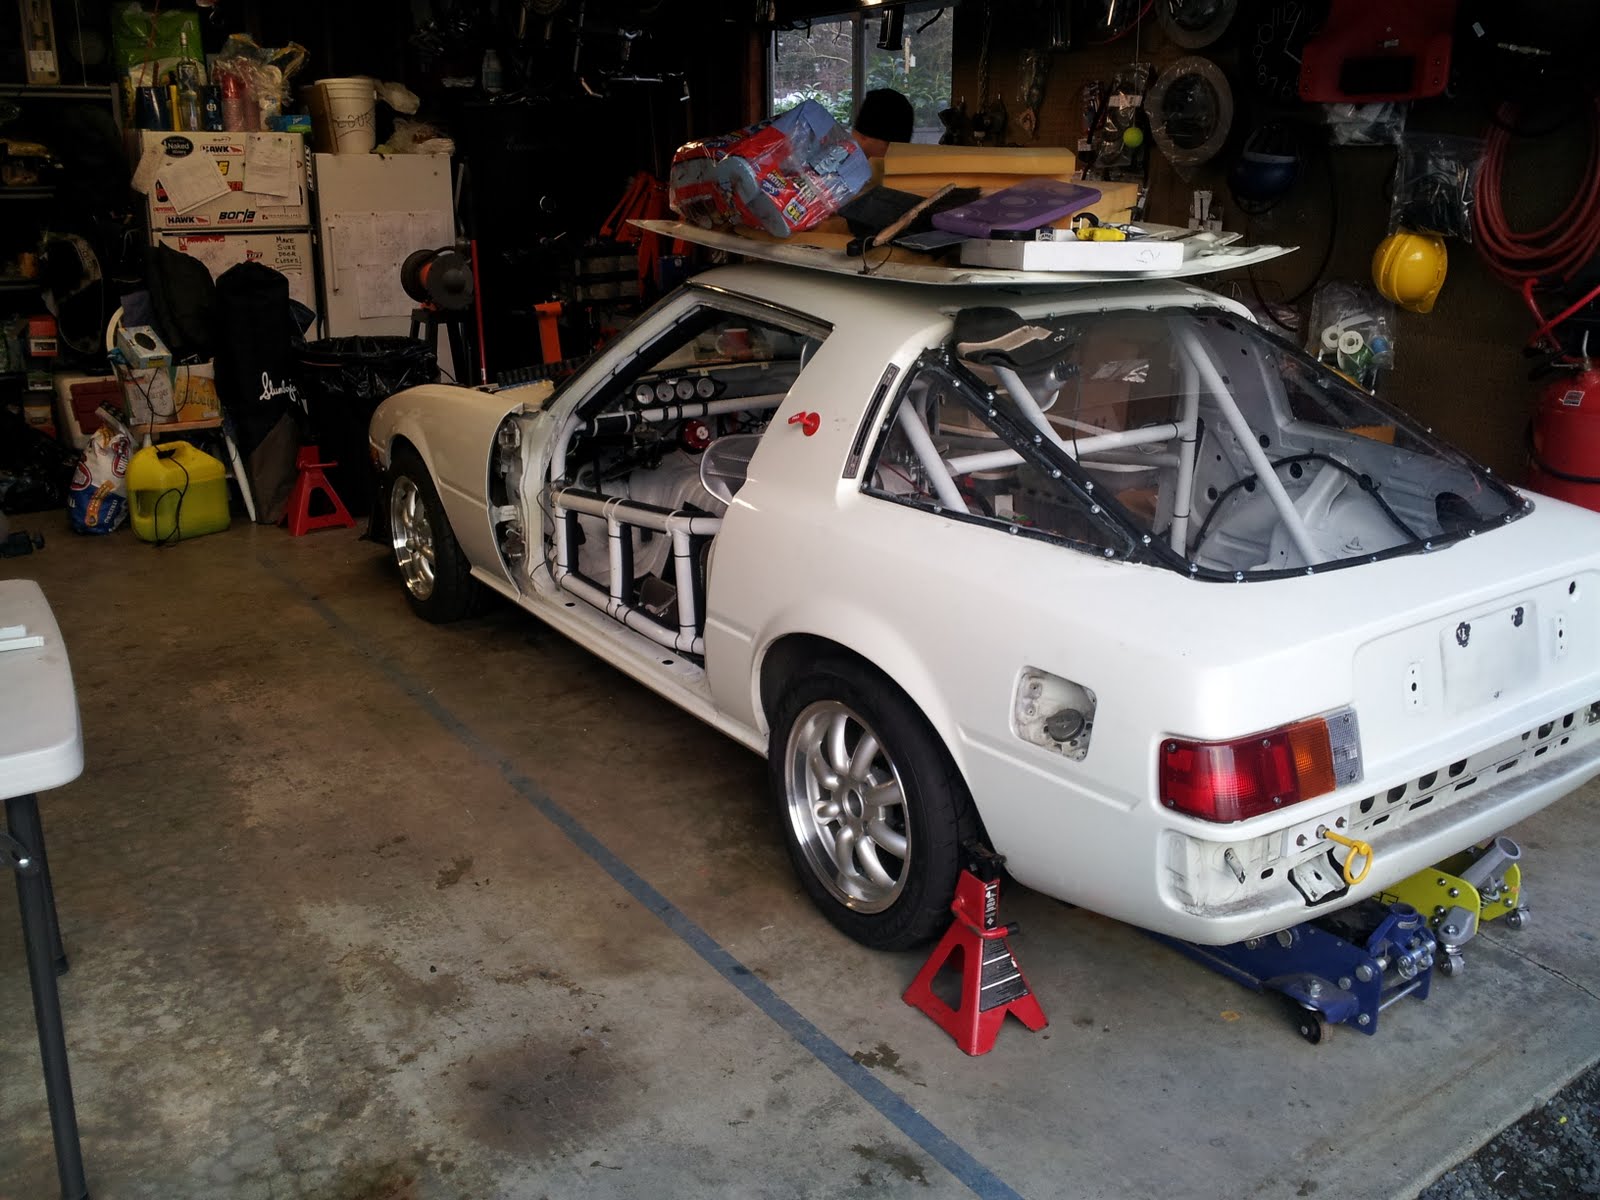
I know it's been a while since the last post, so here's a general update on what's been going on. I got the rear window cut and installed. Turned out better than I thought it would...
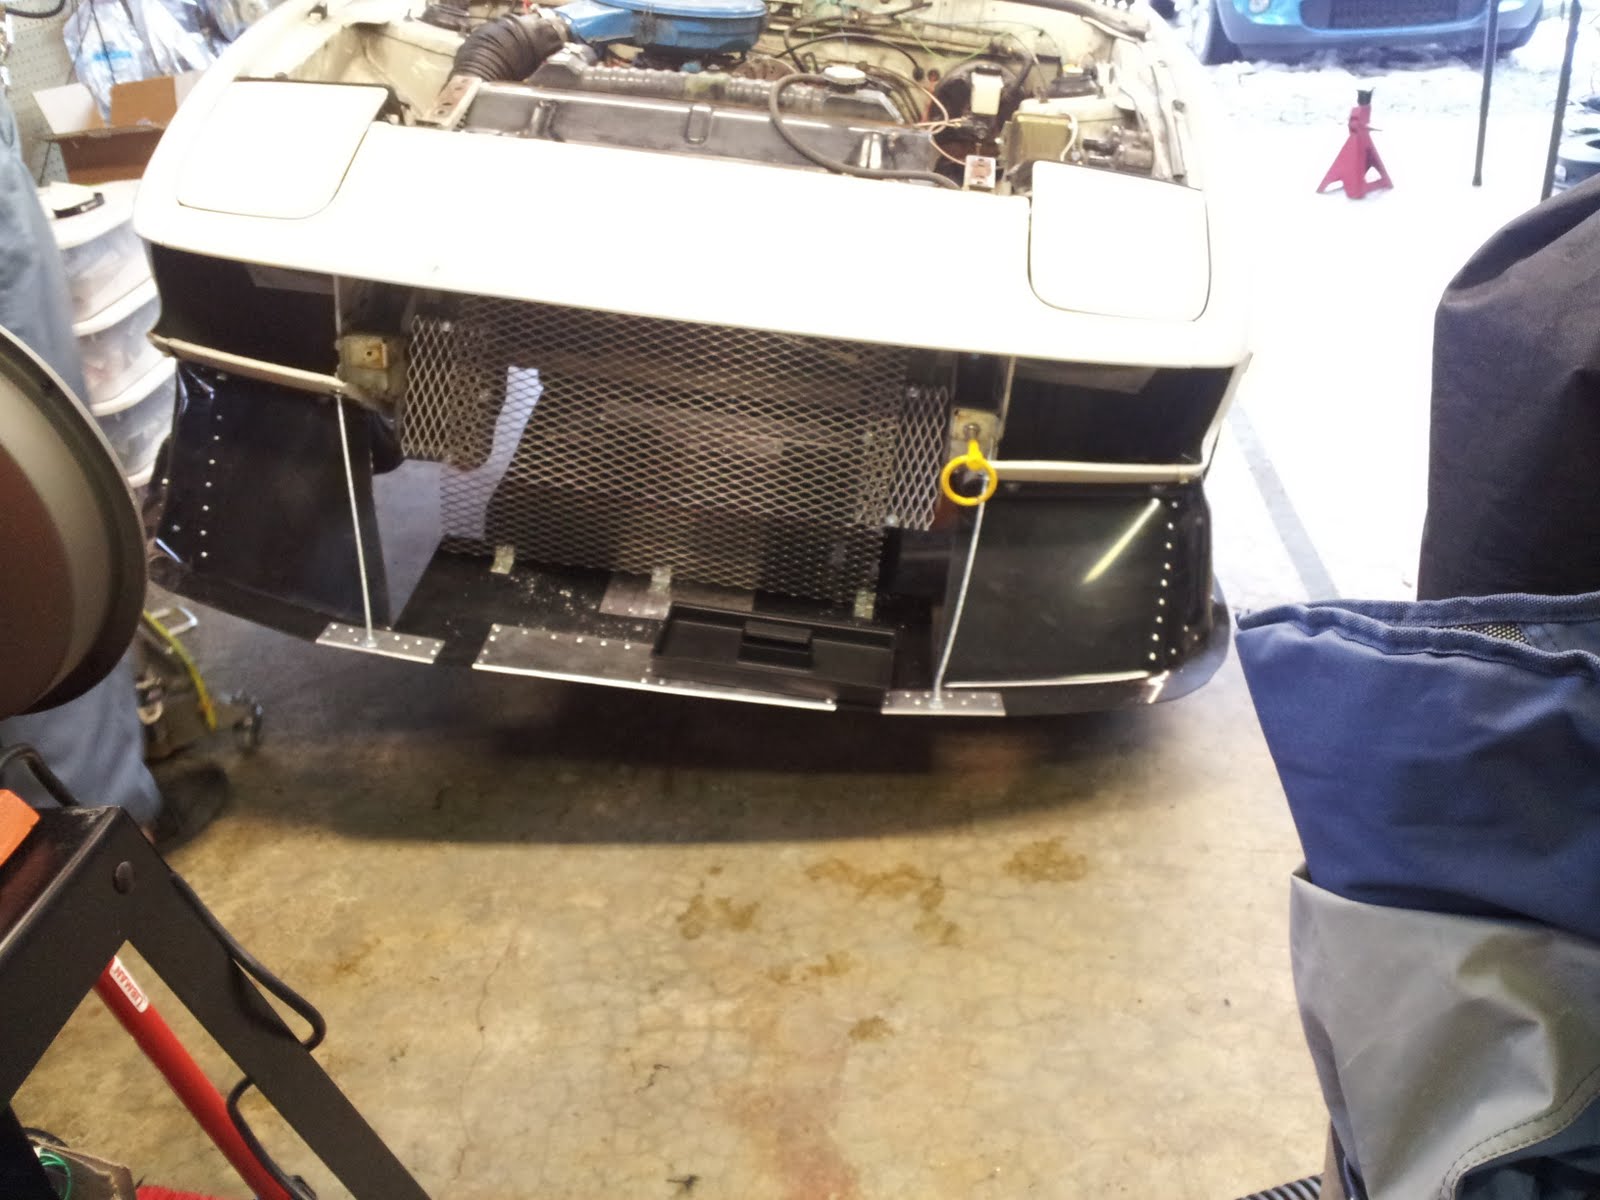
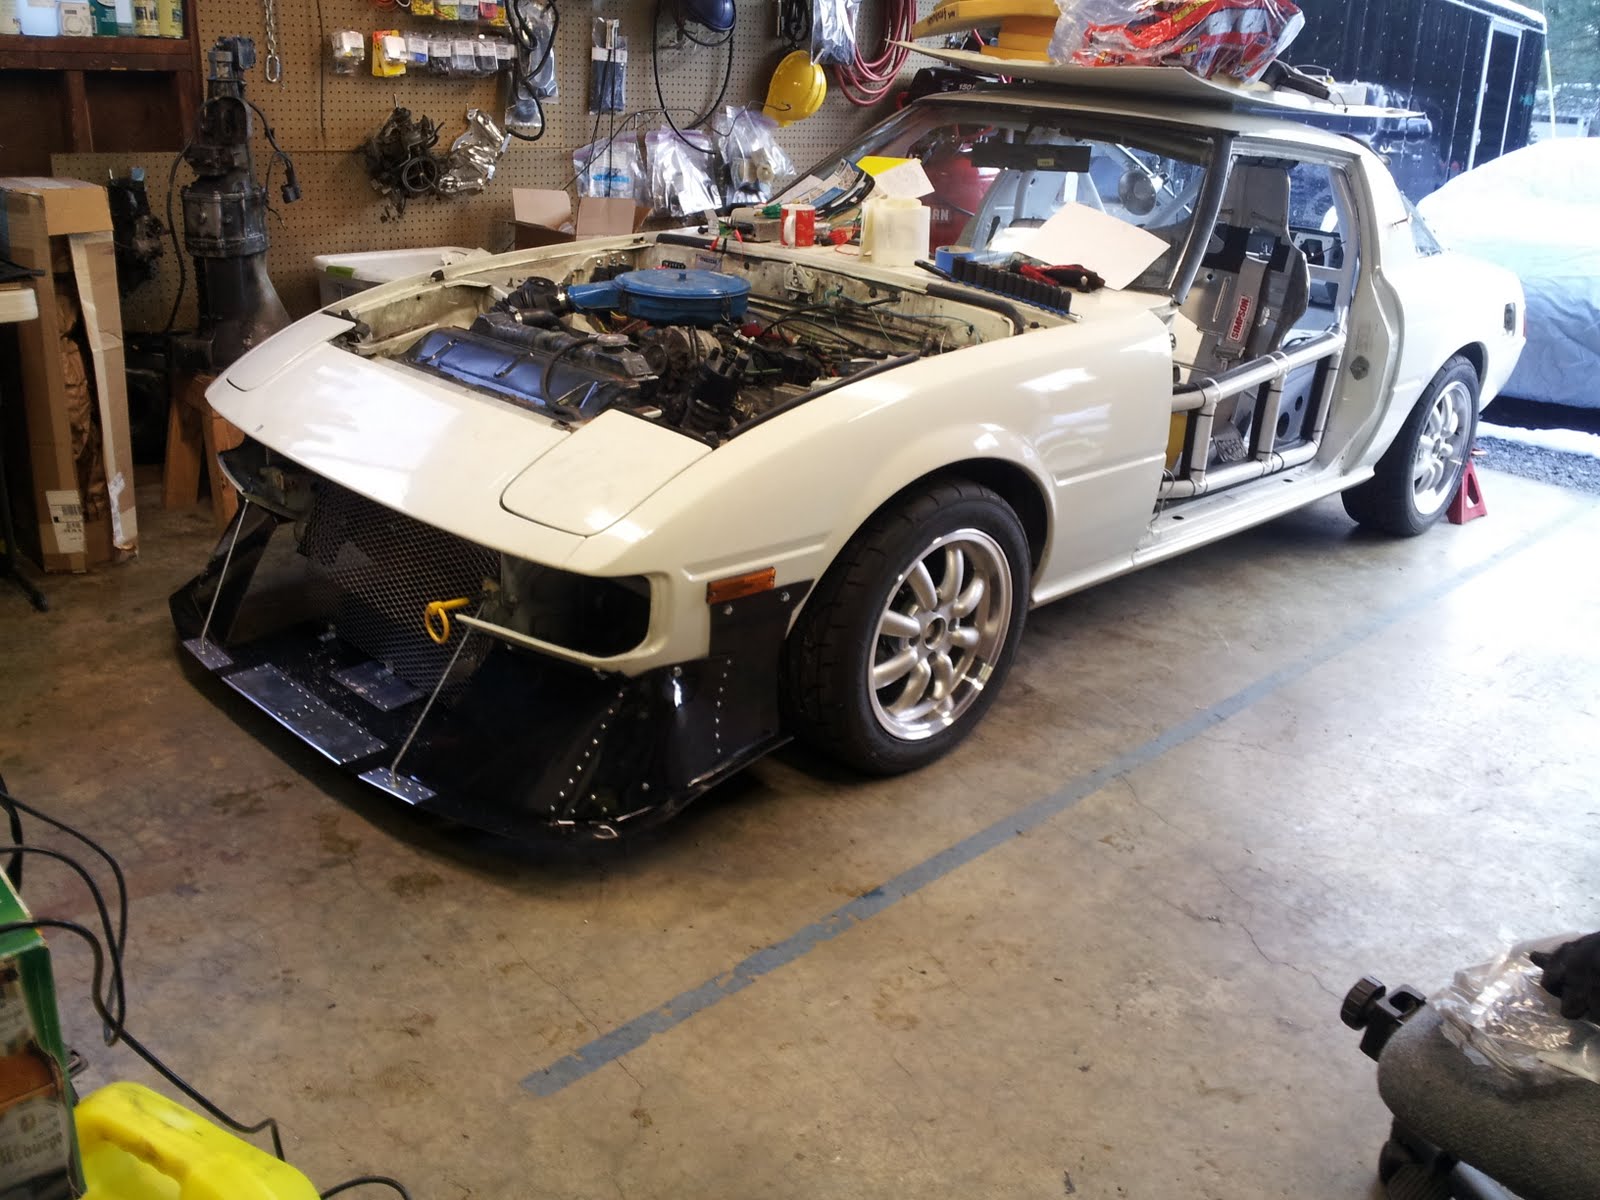
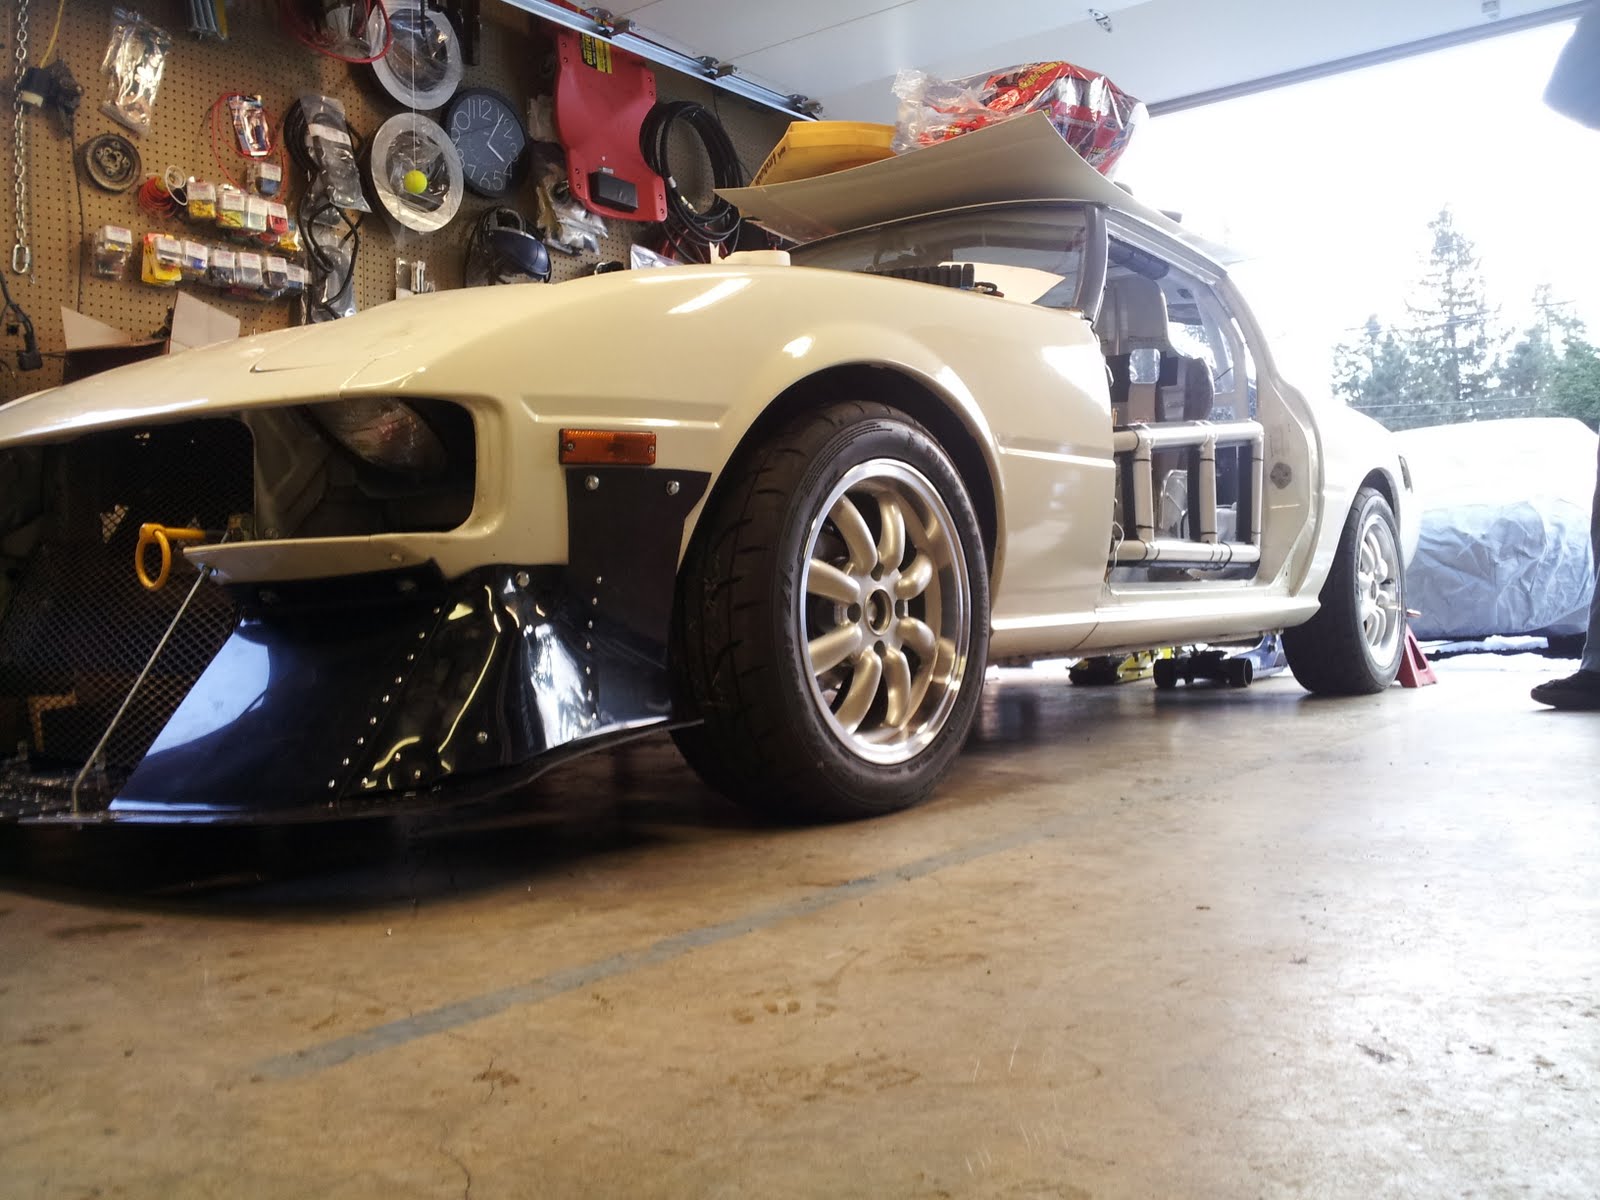
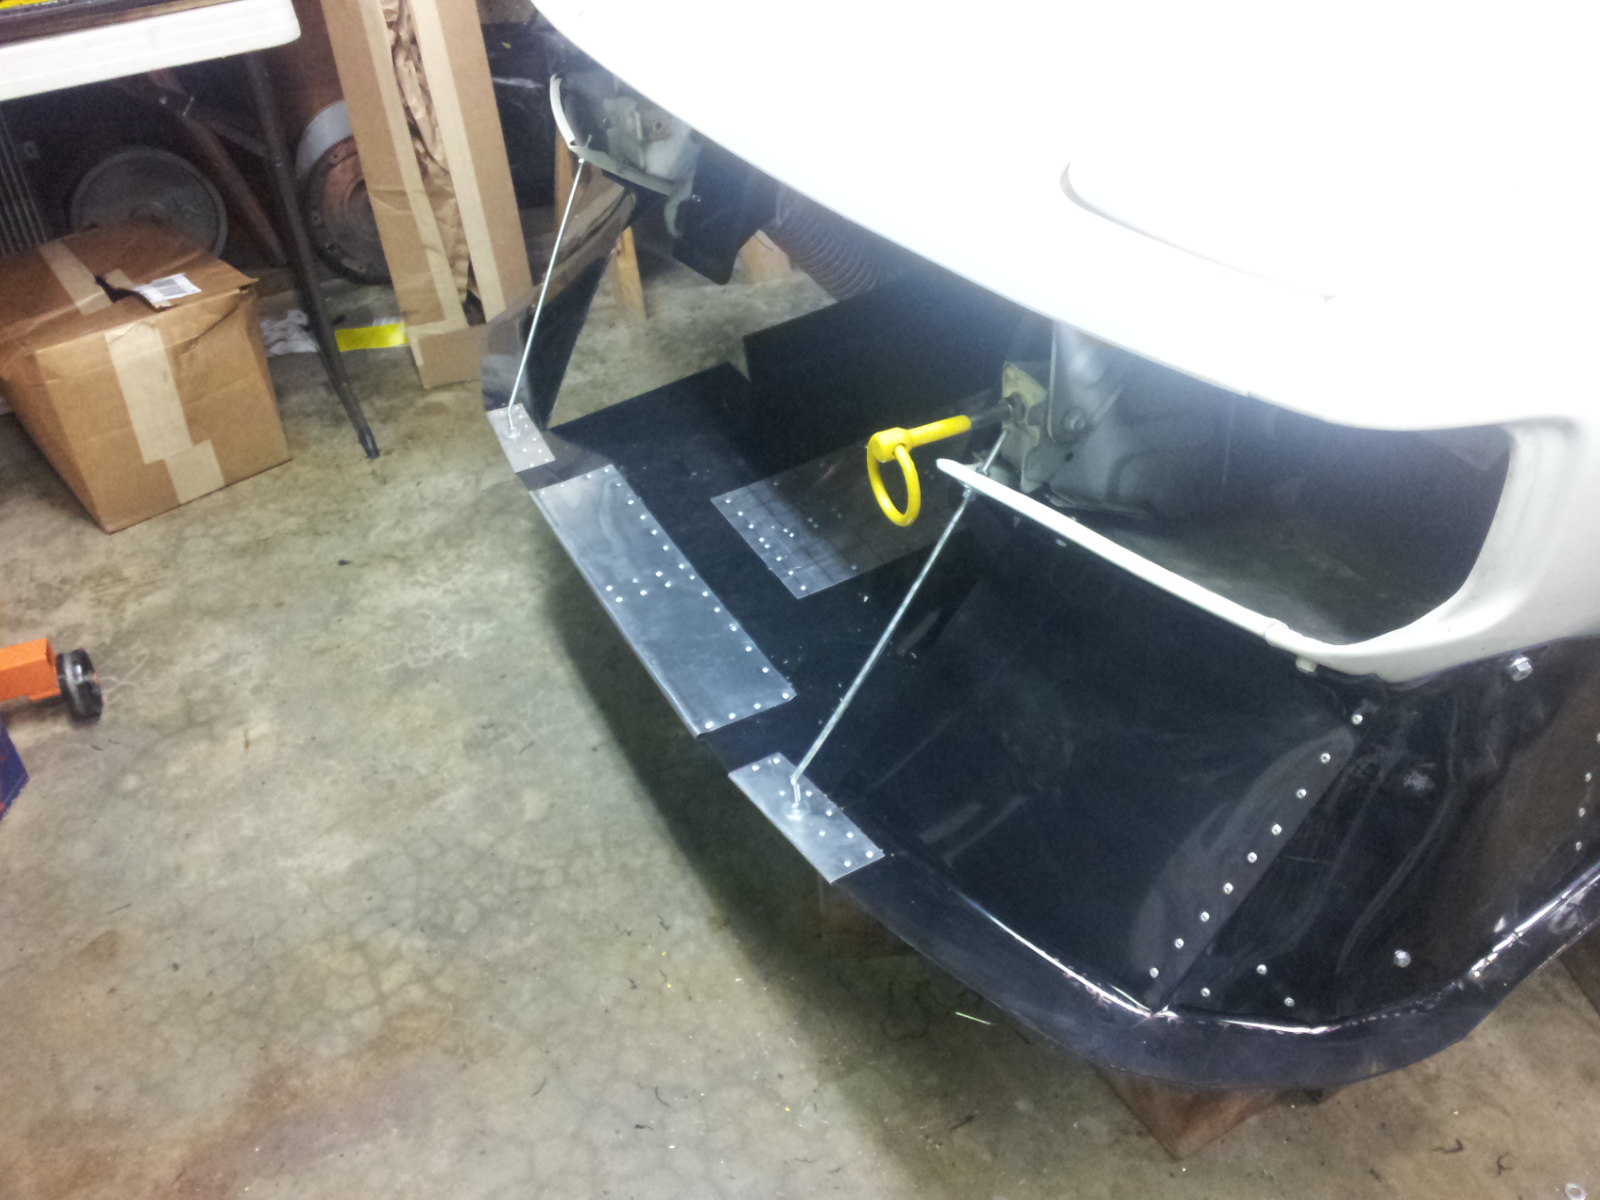
Van's done a kick-ass job on fabricating the front air dam from ABS plastic.
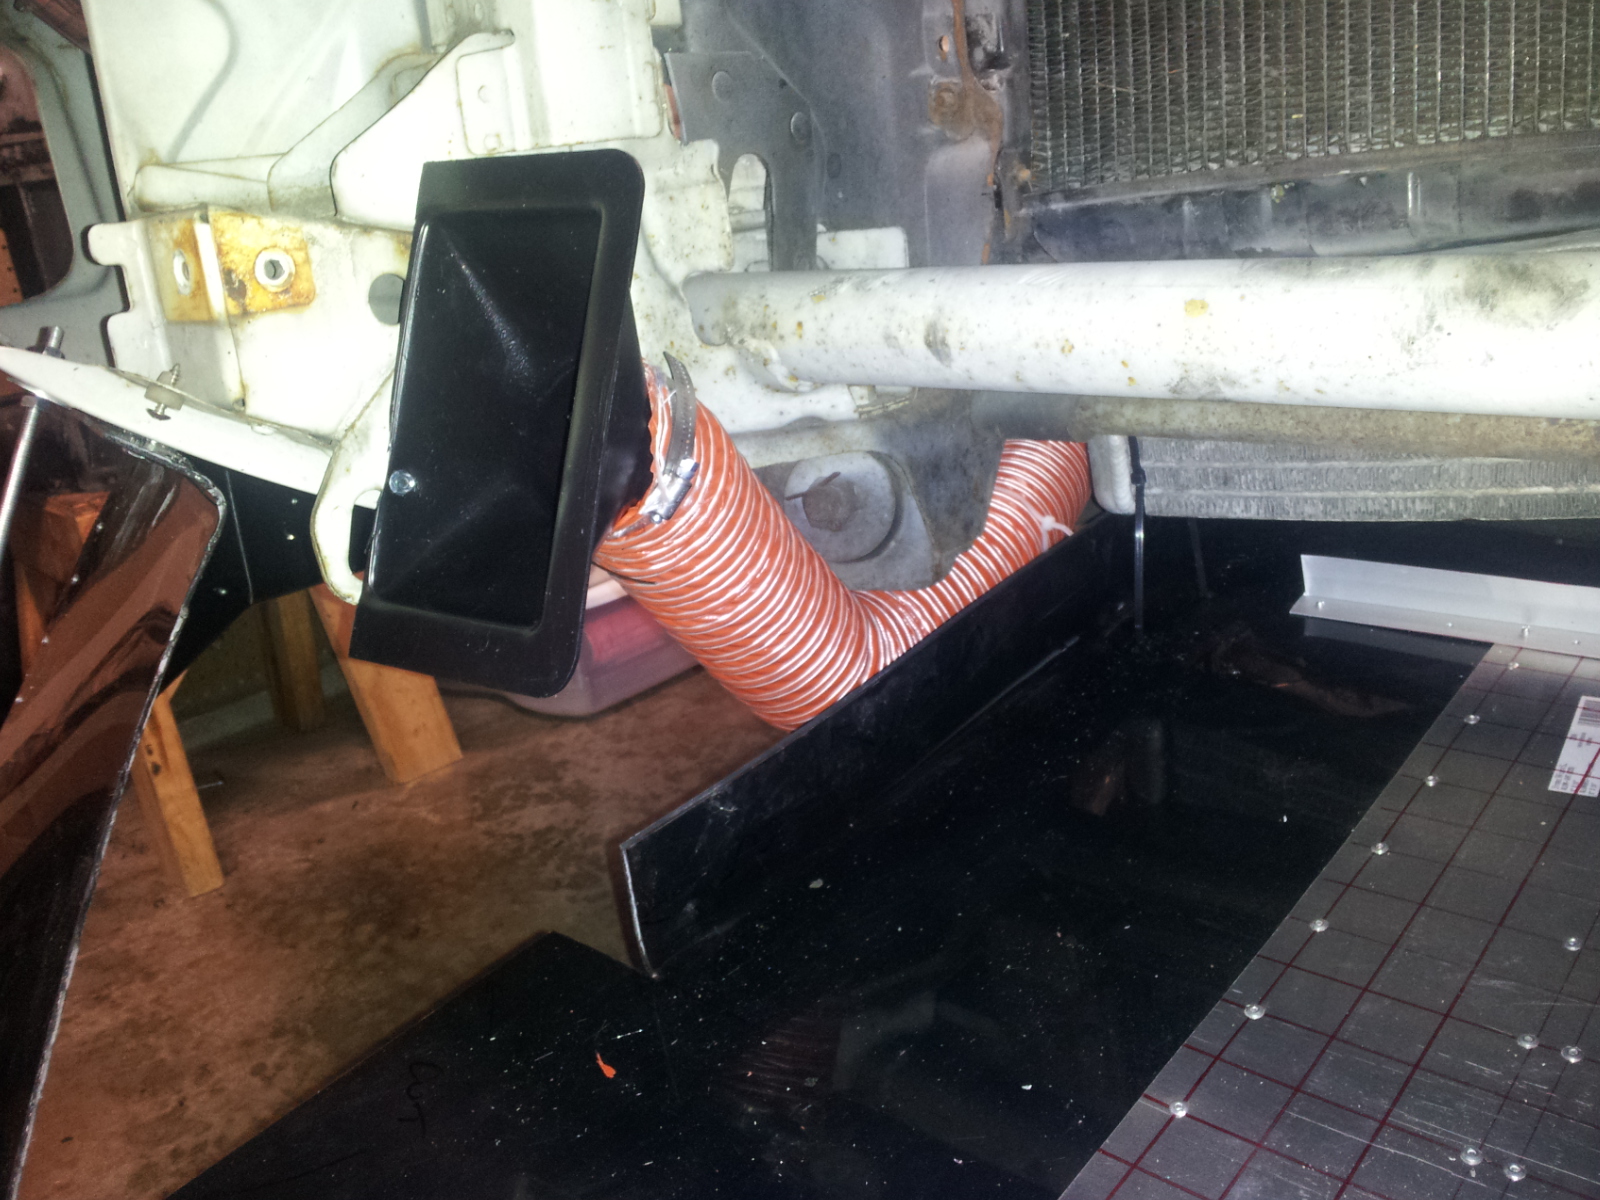
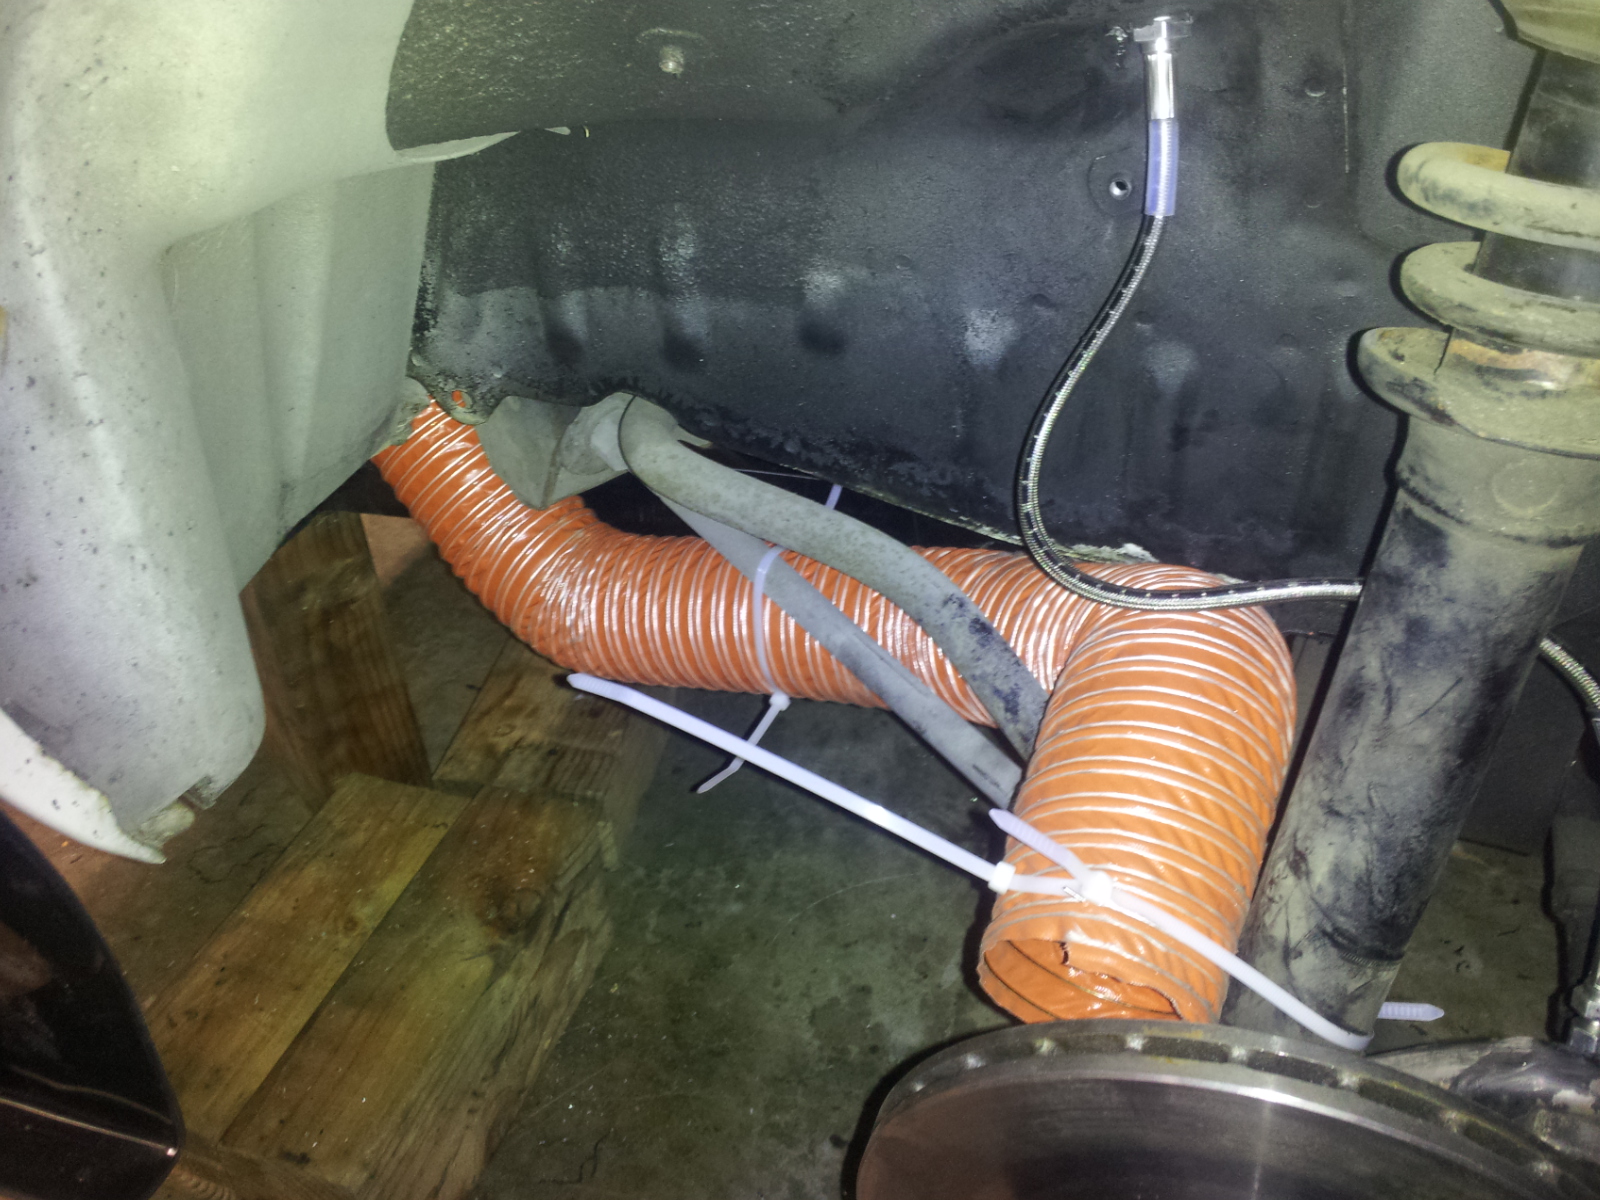
I installed the brake cooling ducts (need to replace the zip ties with hose clamps, but they're basically complete).
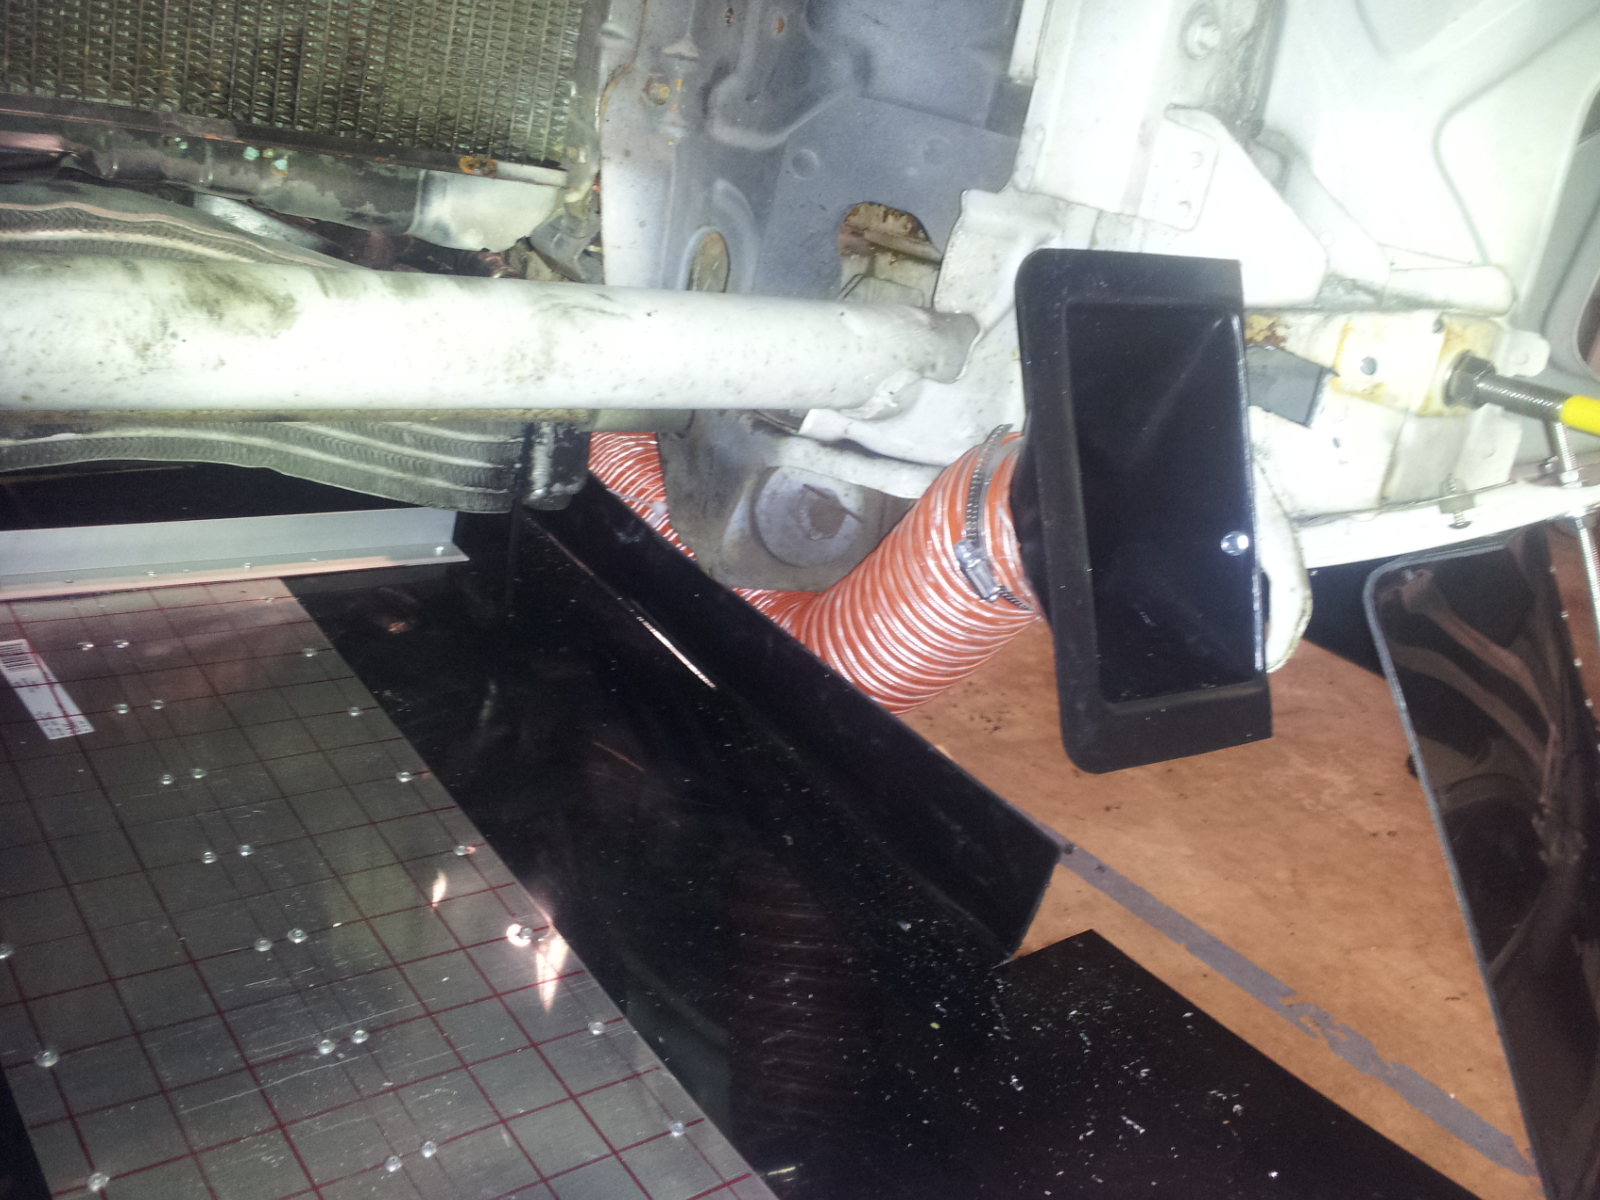
Van added some steel mesh to protech the brake ducts and the radiators.

Van and Carl installed the padding on the roll cage and transmission tunnel.
I found out the hard way that the oil pan has to be installed BEFORE the engine is installed in the car. I ended up having to take a good portion of the steering rack apart to gain access to underside of the engine. I installed studs so we don't have to use the original oil pan bolts. This will make subsequent oil pan removals much easier.
I also installed an oil pan baffle that Van fabricated. The baffle is intended to keep the oil in the lower portion of the pan so that the oil pickup tube is submerged the majority of the time. Without a baffle, during cornering the oil could slosh to one side away from the pickup tube, which can effect the efficiency of the oiling system.
I also found out the hard way that if the oil dip stick has to be removed to install the baffle, said baffle should probably have a hole in it for the dip stick to pass through. Unfortunately, I didn't come to that realization until the baffle and pan had been installed. So I got to crawl back under the car and take everything back off so Van could put another hole in the baffle.
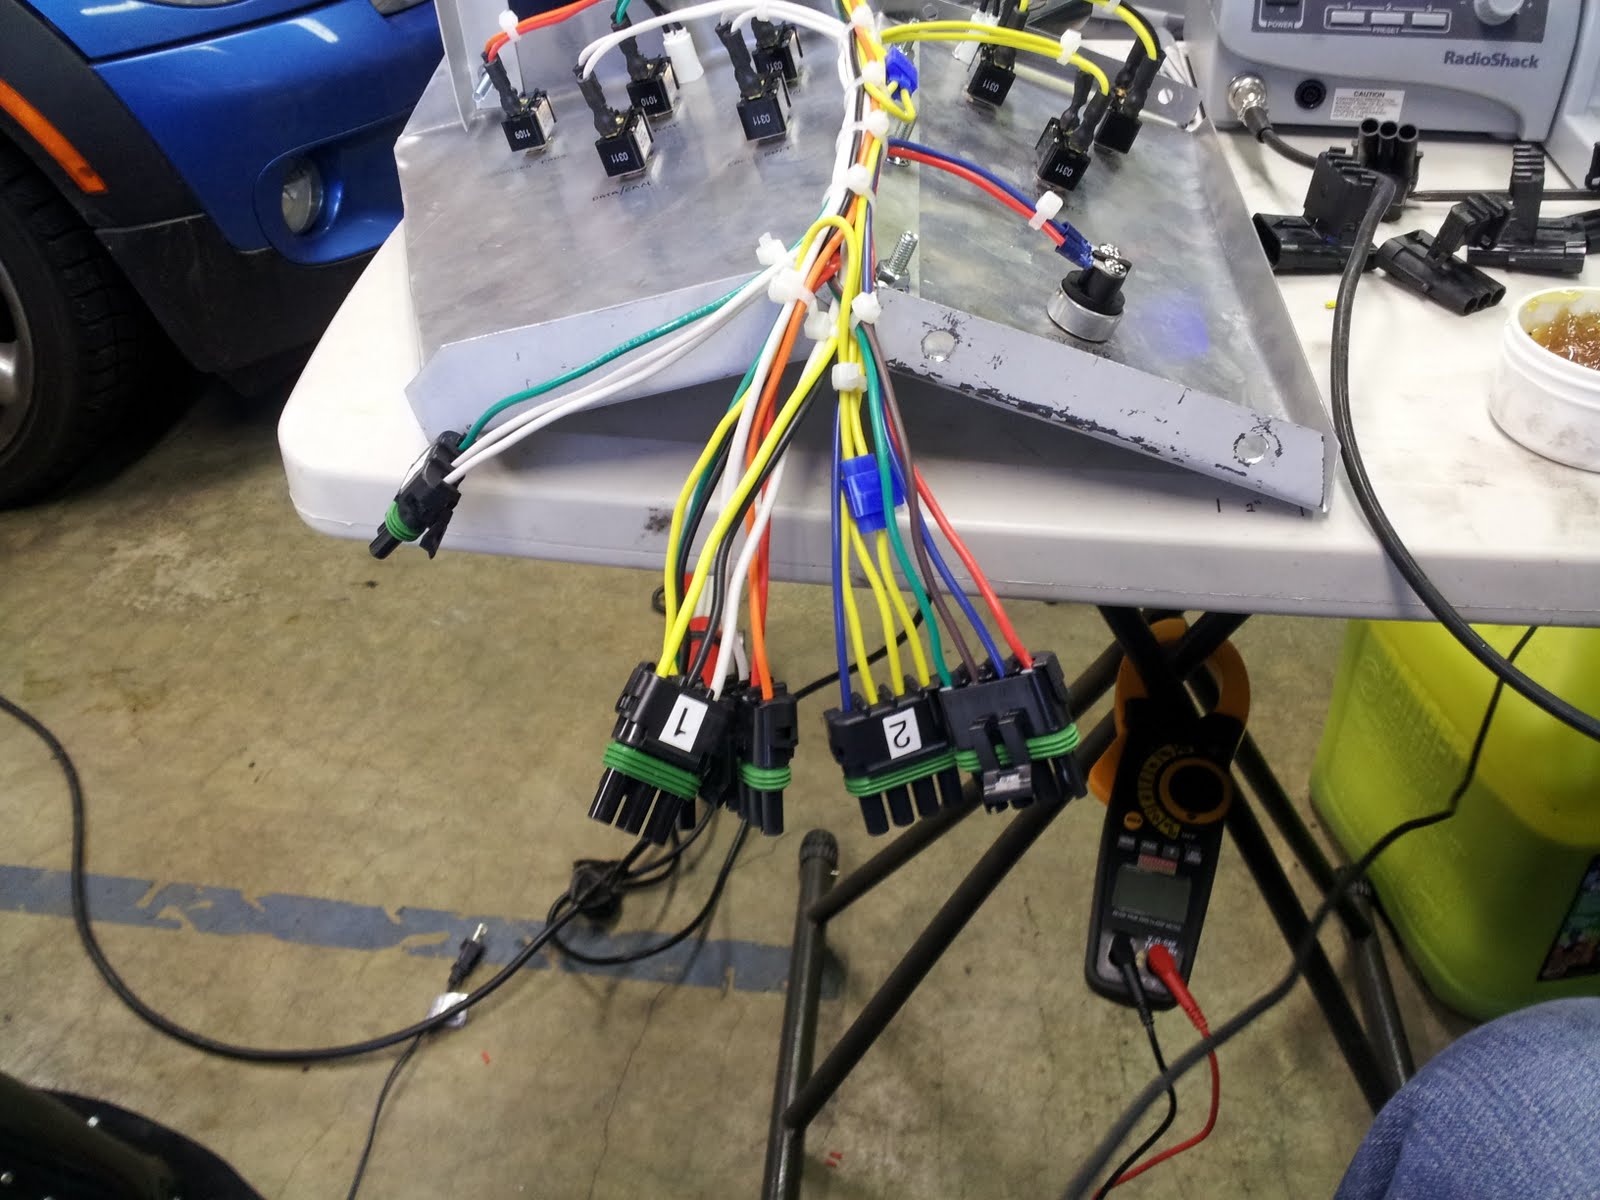
Batter box and batter are installed. We actually powered up the car and I was surprized to find that everything works! I was sure that at least one thing would be wired incorrectly...

Van installed the brake proportioning valve and the master cylinder, fabricated all new brake lines, and bled everything out. No leaks! Things are going TOO smoothly...
I recieved the removable steering wheel hub on Friday. I had to cut off the stock adapter from the back of the steering wheel, painted it, then drilled holes for the hub. We decided to keep the OEM steering wheel because most aftermarket wheels quite a bit smaller. Since the advent of power steering, there's much less effort involved in turning your car's wheels, even at a stop. Our car does not have power steering; a larger wheel will give more leverage.
The hub has wiring and terminals for a horn, if you were to use it in a street car, but I'm going to use it for the push-to-talk switch for our radio. That way, we'll be able to remove the wheel without having to worry about any wires.
We're getting close to actually starting the thing up! We have to put some oil and premixed fuel in it, install the drive belt for the alternator and water pump, align the distributor and install the plug wires, then see what happens. Once the car is running, I can install the ECU, finalize the interior electrical isntallation, get the switch panel installed, etc.
68 days to go...